2 Easy Spring Inspired Cards in a Pretty Pastel Color Palette
Hello Altenew friends! Hannelie here with two Spring inspired cards using a pretty pastel color palette… and guess what? You will only need one background panel to make both cards!

You can use any suitable stencil or stencil set for this design concept, but today I decided to use the Daisy Craze Stencil Set because I thought it would be perfect for my spring-inspired theme!
There are 4 stencils in the set, and it covers an A2 card front, showing of a stunning display of abstract daisies.

To make today's Spring inspired cards, you will need:
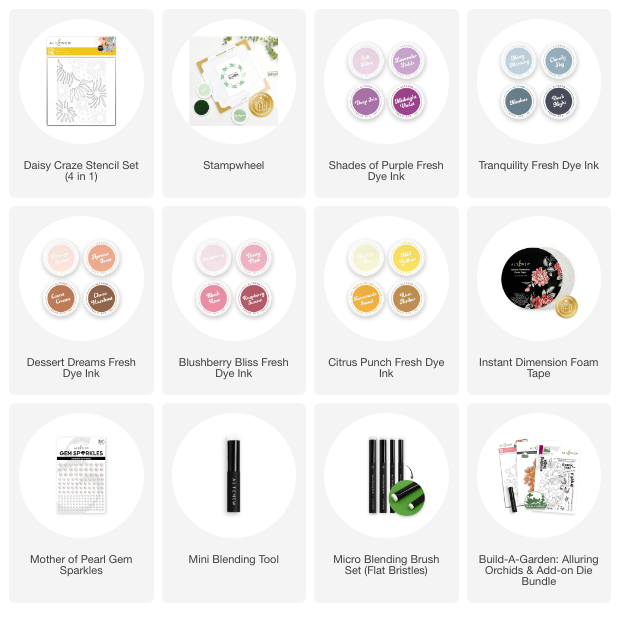
- Daisy Craze stencil set
- White card stock.
- Soft Lilac ink from the Shades of Purple Fresh Dye Ink Bundle
- Misty Morning ink from the Tranquility Fresh Dye Ink Bundle
- Orange Sorbet ink from the Dessert Dreams Fresh Dye Ink Bundle
- Strawberry ink from the Blushberry Bliss Fresh Dye Ink Bundle
- Lemon Ice ink from the Citrus Punch Fresh Dye Ink Bundle
- Blending brushes: Mini & Micro
- Sentiments from the BAG – Alluring Orchids stamp set and add on die bundle
- Die Cutting machine
- Circle Die
- Stampwheel
- Mother of Pearl Gem Sparkles
- Instant Dimension Foam tape
We will start by stenciling the background, using the Daisy Craze stencil set.
- Trim a piece of white cardstock to 4.25″ x 5.5″.
- Secure the cardstock to the sticky mat of the Stampwheel.
- Start with stencil #1, applying ink with the appropriate blending brushes and your chosen ink color.
- Continue with stencils #2 to #4, layering ink to achieve a soft, blended look.
Step by step instructions to make the Spring inspired “thank you” card :
- Trim and fold a piece of white card stock to create an A2 size card (4.25″ x 5.5″).
- Trim the stenciled background panel slightly smaller than your A2 card base. This subtle border creates a framed effect, adding visual interest while giving your design a bit of breathing room.
- Use a circle die (6,5 cm or 2.5″) and die cutting machine to cut out an aperture from the stenciled background. Remember to keep the cut-out piece, because you will use it to create the second card!
- Secure the card base to the Stampwheel and position the stenciled background on the card base to determine the precise placement of the sentiment.
- Stamp the sentiment, using your preferred color of ink. I used Soft Lilac.
- Remove the card base from the Stampwheel.
- Apply Instant Dimension Foam Tape to the back of the background panel, then adhere it to the card base, making sure the stamped sentiment is beautifully framed for added depth and impact.
- Use Gem sparkles to embellish the card.

Step by Step instructions to make the Spring inspired “hello” card:
- Trim and fold a piece of white card stock to create an A2 size card (4.25″ x 5.5″).
- Use the circle you cut out while making the first card, along with the “hello” die from the Alluring Orchids Add-On Die Set, to cut out a designated spot for stamping your sentiment. (please refer to photo below).
- Secure the card base onto the Stampwheel.
- Position the background circle onto the card base to determine the perfect placement for your stamped sentiment. ***Tip*** Use a pencil to lightly trace the spot before stamping the sentiment for precise alignment. Remember to erase the pencil line before you adhere the circle to the card base!
- Remove the background circle and stamp the “hello” sentiment in the predetermined spot for a perfectly placed design. I used Soft Lilac ink once again for stamping the sentiment.
- Stamp the second part of the sentiment. I stamped it vertically for added interest.
- Apply Instant Dimension Foam tape to the backside of the circle background and adhere it to the card base, making sure the stamped sentiment is beautifully framed for added depth and impact.
- Use Gem sparkles to embellish the card.

Let's take a look at the pair of cards we just created from one stenciled background! Don't you think the colors are just perfect for our Spring inspired designs?

As you may know by now, Altenew ink color families are designed with a beautiful gradient from light to dark, perfect for achieving stunning layering effects. I usually gravitate toward the mid to darker shades, as my design preference leans toward bold and vibrant looks. However, after trying the lighter shades on today's cards, I’m thrilled to say that I absolutely LOVE the soft pastel effect the lighter shades create!
What’s your go-to color palette? Do you prefer bold and bright hues or soft and subtle tones? I’d love to hear your preference—let me know in the comments below!
Happy crafting!
SUPPLY LIST: