Instant Dimension Foam Tape in Focus! | Tremendous Texture with Erica + VIDEO
Hi Altenew fans and friends!
It's your texture and layers loving gal Erica back on the Altenew blog and YouTube channel and today we are going to talk Instant Dimension foam tape. There is something super exciting coming in February, and its got to do with one of my favorite products ever. Oh yes, will be some additions to the Instant Dimension Foam Tape family and not just with one, but TWO different widths. I'm positively GIDDY with excitement about this. There is a video for this too, that will be linked at the bottom of the post.

Here's Why We Love Instant Dimension Foam Tape
I'm the kind of person who likes having lots of crafting options, and I am slightly obsessed with Instant Dimension Foam Tape as it is. I am the first to admit it, I love that stuff and I will never stop shouting it from the roof tops: Foam tape is the bomb!! It can take a good card to a WOW card in… wait for it… an instant! Ha, I wouldn't resist that pun.
Ok, so in today's post I'm going show you what I mean. I'm going to make a couple of completely flat, without any foam tape whatsoever, cards, and then two cards with ALL the foam tape I could possibly use. It really takes a card to a whole new level.
So, first I have done four backgrounds with the help of some stencils and inks. Ink blending is so fun, and you can be so creative with it.

This background is made with one of my favourite stencils from 2024, Stencil Art: Nature Splashes. I have used my favourite ink bundle, Tranquility, to ink blend a fun background.

This is another really fun stencil set, it's called Scattered Tiles and I have used only two colors for this background. These greens are probably my top green choices out of all of the gorgeous greens Altenew carry. If you can only have two greens in your ink collection, these are fab: Bamboo and Parrot. They are from the Tropical Forest Fresh Dye Ink Bundle.
You can keep your cards very simple by leaving your backgrounds with just the ink blending, and just plonk a sentiment on top. Easy peasy. If you like layers and textures, and I'm going to assume that you do a little bit if you have read this far, let's break out the foam tape and let's go to town. Oh and some shimmer and sparkles thanks to the Metallic Watercolor 14 pan set. That's another given when it comes to me.

On the blue background I used the Sterling Silver and on the green one I used Enchanted Gold.

Sneak peek no2 involves the Shimmer Relief Paste!! On the ink blended panels that don't have any water color spatter on them, I have used some of that delicious paste to add some shimmer. On the blue one I used Antique Silver, and it was the perfect choice for those cool blues. On the green one the clear choice was Enchanted Gold. I forgot to take progress pictures of these before I finished the cards.
Next up we are going take a bunch of that Instant Dimension Foam Tape, all three widths, and put them on the back of backing tape that we have (naturally) kept from the back of all the double sided tape we have used. This is a top tip when it comes to avoiding getting the sticky stuff on your scissors when you cut your foam tape into size.

Sentiment wise you can do the same thing. You can stamp it directly onto your background, and that works great. Especially when you are mailing the card, the flatter the better really. You can die-cut it out and pop it up with some Instant Dimension Foam Tape. It makes such a big difference! I don't even care if I have to mail my cards in boxes, this stuff is amazing!
We are going to need to gather some courage for this next part though and remember that it is just paper. We are going to chop the background into geometrics pieces, and then we are going to pop these up with some of that magic stuff. The backing tape on the back of the Instant Dimension Foam Tape makes it so easy to cut the angles and pieces to fit them perfectly onto your pieces. You are welcome for that little top tip!
I have layered up the Instant Dimension Foam tape on one of the pieces for EXTRA oomph because why not??
My blue and Antique Silver Shimmer Relief Paste backgrounds I chopped into strips, and each one has Instant Dimension Foam Tape on the back so they are all level. The background is Dark Night Crafty Necessities Colored Card stock, to create depth and dimension, and each strip is adhered with a bit of a gap in between them.

The other two backgrounds have both been adhered to a card base directly, to keep them flat. Including the one done with the Enchanted Gold Shimmer Relief Paste.

At this point we already have a lot of delicious texture and layers, right? Will we stop there? No, of course not! When it comes to adding fun details with your sentiment you can do so many things, like stacking a word die-cut slightly off-center to create a shadow, or pop three or four on top of each other for a solid height, or use Instant Dimension Foam Tape to really make them pop!
I have used the same sentiment die-cut for all four cards, You Are Loved, to show you a few different looks and how they can make your card stand out.
I cut out four out of white card stock, one out of Brushed Gold Metallic cardstock, one out of a matte silver metallic card stock I found in my scrap box, two out of Crafty Necessities Dark Night cardstock and one out of Nimbus cardstock. You would think that this would be enough, but no.

I also decided add some color to one of the white die-cuts by ink blending some Parrot ink on it in an ombré look. The Grippy Mat from the Stampwheel came in so handy for this, as it can be tricky to ink blend on a word die-cut without it bending and getting ink on it in an uneven fashion, without this great tool. I loved that so much I had to do the same with Nimbus ink!
At some point I was able to rein myself in and actually start assembling the cards, and I do really like how they all turned out. These are quite masculine You Are Loved cards, as even with Valentine's Day coming up, not everyone likes pink and super sweet cards. These are quite far outside of my usual flower and colorful box, but I'm so pleased I gave this a try as I learnt a few things along the way too.
If you have made it this far, big huge gold star for you!! I made a YouTube video for these cards too, and it's a REALLY long one. You might need to use the bathroom, grab yourself a snack and hydrate first, and let your loved ones know you will be gone for at least half an hour… just a friendly PSA!

However, there are some great tips and tricks in the video on how to adhere your background puzzle pieces together, without gaps, onto a card base with all that Instant Dimension Foam Tape tape on them, and how to make sure your word die-cut sits flush on top of an uneven background.

With that, I think I'm all done for today. Thank you so much for taking the time to hang out with me today, I hope you are going straight to your craft room full of inspiration, humming with creativity and ready to take your cards to the next level with Instant Dimension Foam Tape! If I missed addressing something here that you would like more clarification on, please do leave a comment down below or on the video and I will do my best to explain it better.

Obviously I'd also love to hear which one of these cards you like the best as well. I do love blues of all shades, and there are some amazing blues to choose from amongst the blues that Altenew carry, but this Tranquility Fresh Dye Ink Bundle stole my heart at first glance. It's the perfect mix of cool blues! It might not come as a surprise that the two blues are high on the list, but I also love dimension and layers on my cards so the green one with the ink blended You Are Loved might be my favorite.

It's hard to pick just one to be honest so give me your input and feedback and let's see if we can narrow it down together!

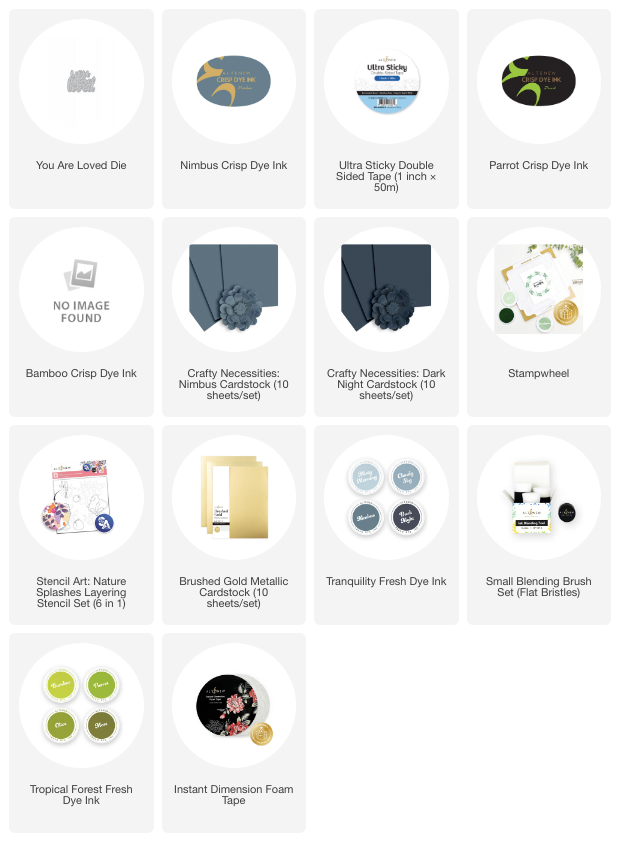
All the products that are available will be linked down below in the supply list, and it will be updated once the February release is live so if you want to bookmark this post for future reference it should all be here after that.
Now I really and going to let you go. Lots of love and big crafty hugs from Erica