How to Smash Out 2 Quick Backgrounds | Take 2 With Therese + Video Tutorial
by Therese Calvird March 19, 2025

 Hi there, it's Therese, and I'm back with another edition of Take 2 with Therese! Today, I'm sharing two different ways to make quick and easy backgrounds, using the Zero-Waste: Berries and Branches Die!

Welcome to Creativity Unlocked, where we highlight a new product from each month's collection or a fan favorite from past collections!

Need some beautiful backgrounds for your cards really quick? Then, you can't go past these versatile Zero-Waste Dies from Altenew, with just one pass through a die-cutting machine, you have a ton of images ready to go. But there is more that you can do…
Technique #1: Embossing
Did you know that you can emboss cardstock with a ‘cutting die'. It's very easy to do and you may have everything you already need for this technique. Many die-cutting machines include a ‘silicone' mat, but they can also be purchased separately if needed (these were often called ‘tan' mats, because the original versions were tan in color).

Each machine will have its own specific ‘sandwich' to emboss with a cutting die, so check your manufacturer's recommendations. But basically, what happens is the silicon mat prevents the die from cutting into the cardstock and instead, it leaves an embossed impression of the cutting die.
PRO TIP: To ‘erase' the numbers embossed into the cardstock, flip it over and use a bone folder to rub over them by pressing into the silicon mat (or you could use a mouse pad here instead).

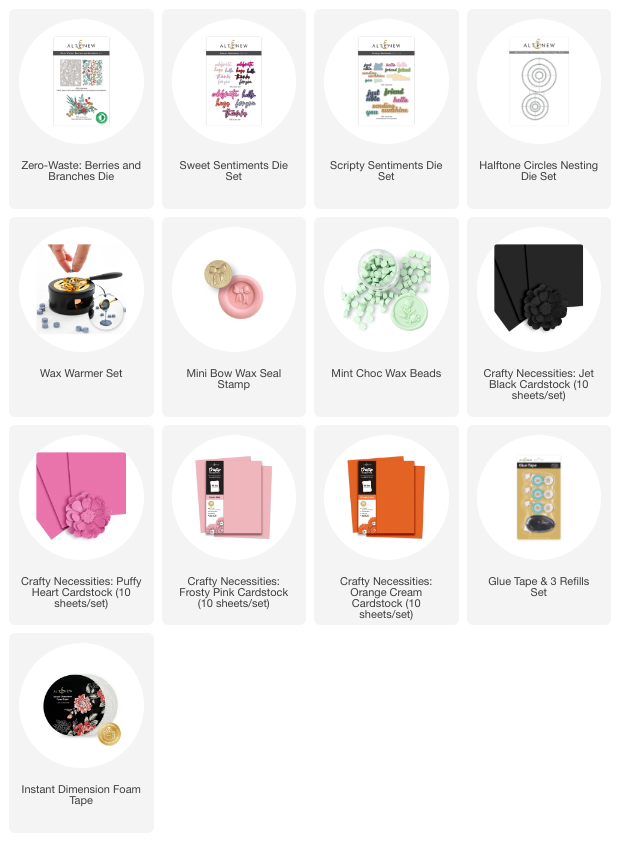
I added a sweet Mini Bow Wax Seal Stamp using the Mint Choc Wax Beads. And this sentiment is from the Sweet Sentiments Die Set.

Technique #2: Create a Pattern
Using multiple die-cut images, such as these berries and leaves, makes it easy to create a patterned background and add just a little bit of dimension. The best thing is that using a die that cuts multiples images in one pass makes this process even quicker.

I, however, chose to use multiple colors for this background, but you could just as easily add these images in just one color or even tone-on-tone to create an embossed look. Think ‘white on white', or what about starting with a colored background panel!
BONUS IDEA: You can also recreate this style by using the original die as the negative background panel die-cut in white cardstock and then inlay the colored images instead.

To keep the background the main focus I added a simple die cut sentiment from the Scripty Sentiments Die Set, which was framed using a Halftone Circles Nesting Die Set.

How to Smash Out Two Background Panels!
Watch the video tutorial below to see how I made these cards. Click here to watch it in HD on YouTube.

I hope you are inspired to create using Die-Cut Images using one of these techniques on your next project! If you do, don't forget to share them on social media with me, I'd love to see what you make!
Have fun crafting!
Supply List ~