How to Make an Underwater Shaker Card & Spotlight Reef Card
Key Takeaways
Maximized Supply Versatility: Learn how to use a single paper crafting collection—the Coral Reef Wonders Kit—to create two entirely different, unique card designs.
Interactive Shaker Elements: Master how to use partial die cutting, clear acetate, and iridescent sequins to build a 3D fishbowl window with realistic underwater movement.
Depth Without Bulky Layers: Discover the spotlight ink-blending technique using masking paper and contrasting inks to draw the eye to a vibrant focal point.
Advanced Stenciling & Embossing: Elevate handmade cards by combining ink stencils with 3D embossing folders to add lifelike texture to die-cut coral reefs.
Fixing Crafty Mishaps: Learn how to embrace unexpected ink smudges and turn standard paper crafting mistakes into beautiful, intentional design details.
Need some fresh inspiration for creating underwater cards with extra depth and dimension? Today, I’m sharing two distinct handmade card designs created with similar products, but using vastly different techniques to frame the scene and really stretch your card making supplies.
From partial die cutting and DIY shaker elements to heat embossing, stenciling, and a dramatic spotlight effect, these paper crafting ideas are fun to try. They can completely change the way you build an underwater card design, helping you get the most out of your stamps, dies, and stencils.
Hi there, it's Therese, and I'm back with another edition of Take 2 with Therese!

2 Creative Ways to Frame an Underwater Card Scene
Both featured cards utilize the same gorgeous ocean theme, but the scene is framed in two very different ways. The first design uses partial die cutting and shaker elements to create a clever fishbowl window. The second design relies on strategic ink blending and a spotlight effect to guide the viewer's eye exactly where you want it.
In these featured handmade cards, I focused on mastering these essential paper crafting techniques:
- Creating a custom window with partial die cutting.
- Adding interactive movement with DIY shaker elements.
- Using a spotlight beam to guide the eye to a focal point.
- Building visual depth with contrasting dark and bright ink blending.
- Stretching your supplies by turning the same ocean theme into two entirely different card designs.
Card #1: Fishbowl Shaker Card
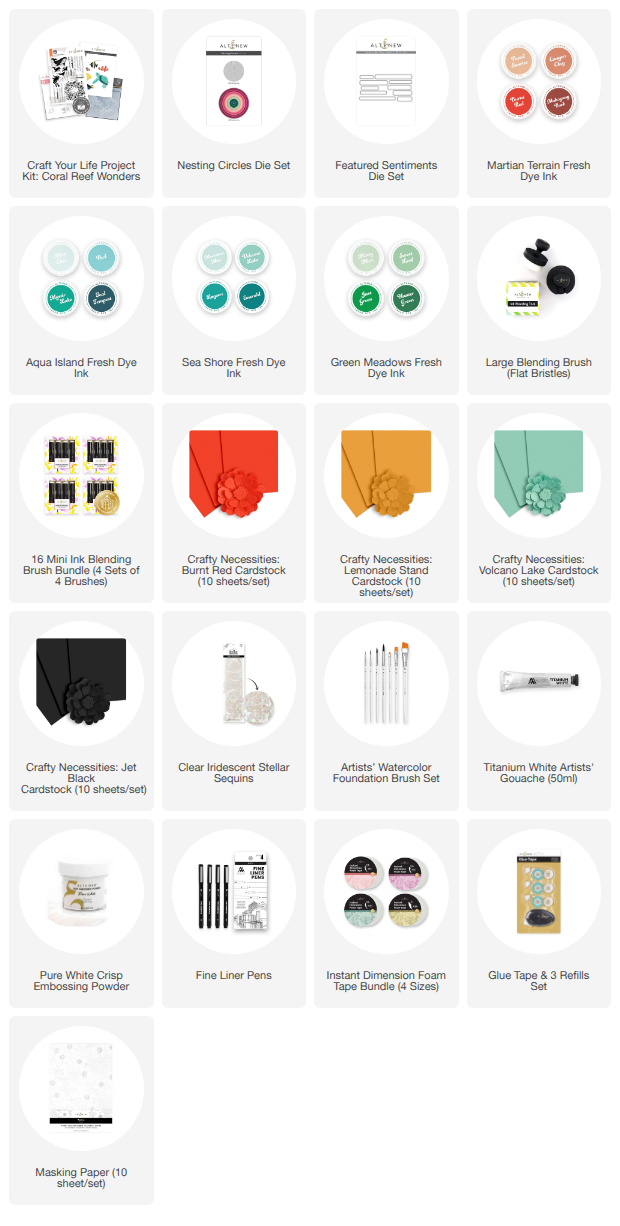
Shop the supplies used to make this card:
- Craft Your Life: Coral Reef Wonders
- Nesting Circles Die Set
- Featured Sentiments Die Set
- Jet Black Cardstock
- Lemonade Stand Cardstock
- Burnt Red Cardstock
- Volcano Lake Cardstock
- Martian Terrain Fresh Dye Inks
- Aqua Island Fresh Dye Inks
- Sea Shore Fresh Dye Inks
- Green Meadows Fresh Dye Inks
- Embossing Ink
- Pure White Embossing Powder
- Titanium White Gouache
- Clear Iridescent Stellar Sequins
Step-by-Step Shaker Card Instructions
For my first card, I created a playful fishbowl shaker card using the Coral Reef Wonders Kit.
I started by partially die cutting the largest Nesting Circle from the card panel to create the bowl shape, then added acetate and some Clear Iridescent Stellar Sequins to add some bubbles and that fun “looking through water” effect.

I built the reef inside the bowl using the coral stencils and a coordinating embossing folder, then added another stencil at the top to create the waterline. This really helps frame the underwater scene.

To finish the scene, I added a bright little anemone fish from the Coral Reef Wonders Kit as the focal point.
Did you see him jumping back into the water? I think he’s having the best time creating all those bubbles!

Card #2: Spotlight Reef Technique
Shop the supplies used to make this card:
Step-by-Step Shaker Card Instructions
For my second card, I used light as the frame - literally! I used Masking Paper to highlight a spotlight beam coming from the silhouette diver’s hand, then used brighter colors inside the beam to highlight the bright coral reef.

The rest of the panel was blended with darker blue-greens, so the surrounding coral looks more silhouetted and the spotlight becomes the main frame for the scene. This is a great way to create depth and focus without adding extra layers.

I also had a little red ink mishap while blending, but it turned into a happy accident. The tiny dots of red spread through the ocean around the coral, and it reminded me of seeing coral spawning when I used to go diving.

If you'd like to watch the instructions for this stencil project in-depth, take a look at the video on YouTube.

A shaker window, a masked spotlight, a bold geometric shape, or even an unexpected ink smudge can completely change the artistic feel of your handmade cards.
I hope these two designs inspire you to look at your existing paper crafting supplies in a whole new way and think about how you can frame your next card design.
I’d love to hear from you: Have you ever had a crafty mishap turn into your favorite design detail? Let me know in the comments below!

Enjoy up to 40% off Stencils Collection from June 17, 2026 at 12:01 AM EDT until June 19, 2026 at 11:59 PM EDT. Shop here: https://altenew.com/collections/stencils
SUPPLY LIST