How to Make a Shaker Card: Simple Tips for Maximum Sparkle
Key Takeaways
The 3 "Ws" of Shaker Cards: Successful shaker cards rely on a Window (the acetate opening), a Well (foam tape depth), and a Wall (the backing layer or card base).
Maximize Shaker Movement: Use a dimensional adhesive like 1/8-inch Instant Dimension Foam Tape to give contents room to slide freely; more movement generates more light-catching shine.
Enhance Visual Interest: Mix multiple sizes of sequins (such as Dazzling Diamond Stellar Sequins) inside the well to vary how light reflects and catches the eye.
Versatile Window Design: While the Nesting Arches die set provides a large focal area for movement, crafters can use geometric dies, outline dies, or sentiment shadow dies to frame the shaker window.
Efficient Crafting Alternatives: Backgrounds can be enhanced quickly using tools like the Flourishing Coral stencil, while simpler, flat cards can be created alongside shakers using basic masking, stamping, and pre-foiled sentiment banners.
Shaker cards are one of my absolute favorite ways to wow a card recipient. They add an interactive, playful element that immediately elevates your handmade projects. Today, I'm sharing a simple shaker design and a few expert tips that make making shaker cards a breeze, even if you are a beginner!

Hi! It's Carissa Wiley here for your monthly Touch of Sparkle. I'm always a fan of something sparkly, and I think shakers are my favorite example of cards that truly shine. Sometimes, learning how to make a shaker card can seem complicated, but today I'm going to share a few foundational tips to make shaker cards simple for you.
The Build-A-Garden Leaning Lily Product Suite
Today's cards feature the new Build-A-Garden Leaning Lily product suite. I absolutely love this set because it is incredibly versatile; it can be dressed up or dressed down and used for a wide variety of occasions, from birthdays to thank-you cards.
Before we dive into the assembly, let's look at the anatomical breakdown of an interactive shaker card.

What are the Main Elements of a Shaker Card?
If you want to master how to make a shaker card simple, you just need to remember the "Three Ws." Every successful shaker card relies on three main structural elements: a window, a wall, and a well. In addition to these structural pieces, you will also need some sparkly bits to put inside.
Pro-Tip for Maximum Shine: Today, I'm using the Dazzling Diamond Stellar Sequins in multiple sizes for my sparkly bits. Mixing various sizes of sequins is a great trick to create more interest and movement. You'll find that different-sized sequins catch light differently, creating an eye-catching, dynamic effect on your shaker.

1. The Shaker Window (Choosing Your Dies)
Essentially, you can use almost any type of die to create the window for your shaker card. Today, I'm using the Nesting Arches die set.
However, don't feel limited to basic shapes! You can experiment with outline dies, nested geometric shapes, and even sentiment shadow dies for a completely different look. Personally, I love using a large shape like the arch I've used today; it really catches the eye and allows for a lot of movement for your sequins inside.
2. The Shaker Well (Creating the Depth)
The well of your shaker should be built up with a foam layer deep enough to create physical space for your sparkly elements to move freely. If your foam is too thin, your sequins will get trapped and won't shake!
For this project, I find that the 1/8 inch Instant Dimension Foam Tape is a great way to ensure that you have plenty of room for your shaker elements to move. Remember: more movement creates more shine!
3. The Shaker Wall (Sealing the Card)
The final element, the wall, is essentially anything that holds your shaker elements securely inside the window, so they don't spill out.
To keep this process as simple as possible, I've used my actual card base as the wall for my shaker. To give the background a bit of extra character, I've added a touch of beautiful texture to the card base using the Flourishing Coral stencil before sealing it all together.
Bonus Project: Modern Masking and Stamping
In addition to the main shaker card, I've also created a second card using some simple masking and stamping techniques.
I love the clean, modern design of this card. It pairs beautifully with the striking, crisp look of the black foiled One-Go: Solid Sentiment Banners. It's a great alternative if you want to use the same product suite for a quicker, flat design!

Watch the Step-by-Step Shaker Card Video Tutorial
Are you ready to see these techniques in action? Watch the video tutorial below to learn exactly how to make a shaker card and master this fun cardmaking technique!

Thanks for stopping by and hanging out with me today! I hope you were inspired to add a little extra dimension and sparkle to your next crafting session. Until next time, I hope you have a fabulous day!
XOXO,
Carissa
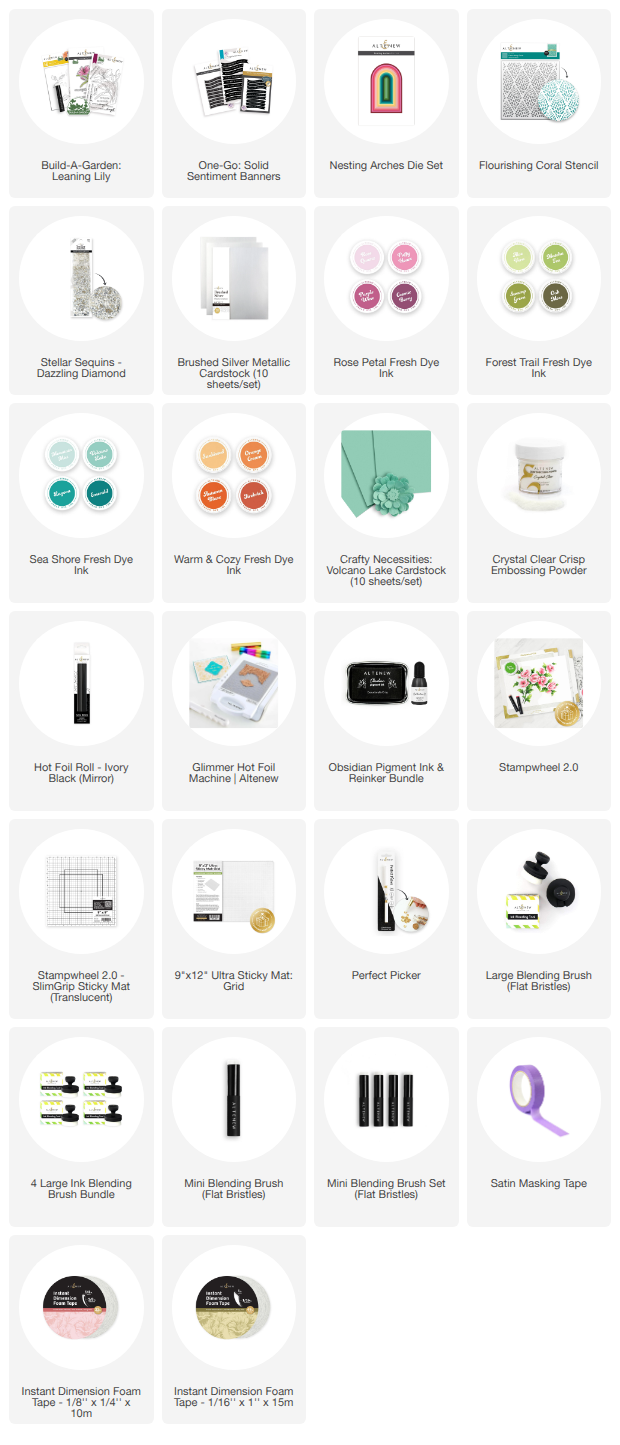
SUPPLY LIST