How to Create Scenic Cards with Ink Blending & Masking
by Mindy Eggen July 25, 2026

Key Takeaways
Focal-First Design: Assemble your main die-cut focal point (e.g., the Jack Pine Tree) before ink blending so you can accurately match background colors to it.
Containment Masking: Place a geometric mask stencil (like an arch) beneath scenic stencils to keep ink blending cleanly contained without extra tape or trimming.
Atmospheric Depth: Apply background inks with a light hand; keeping background tones soft ensures the detailed focal die-cut remains the visual star.
Break the Frame: Allow stamped sentiments or die-cut edges to overlap the masked border to break rigid lines and create visual movement across the card.
Hi everyone! It's Mindy, and welcome back!
Today I'm sharing another project from my monthly Altenew YouTube series, Inking It Up with Mindy, where we explore different ink blending techniques and creative ways to use your favorite Altenew products. Each month I share tips, tricks, and ideas to help you build confidence with ink blending while creating beautiful handmade cards.

For today's project, we're combining layering dies, masking, and stencils to create a peaceful scenic background with soft color and subtle depth. The landscape is designed to complement—not compete with—the layered Jack Pine Tree Layering Die Set, allowing the detailed focal point to really shine.
Create the Layered Jack Pine Tree
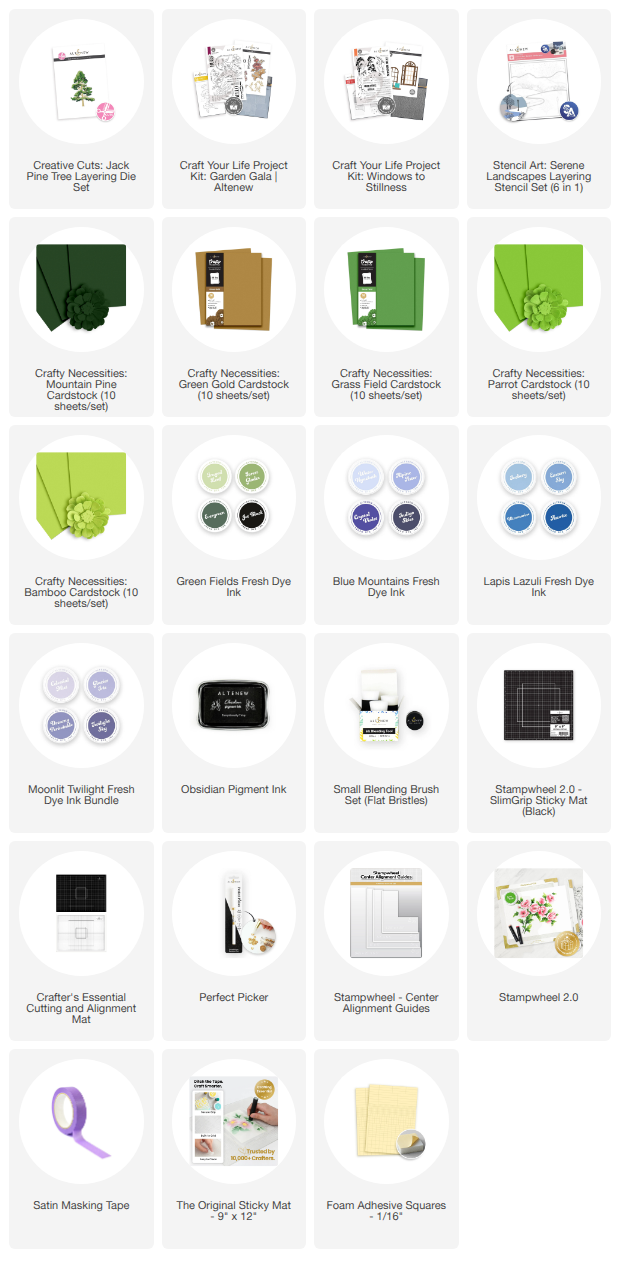
I began by die cutting the Jack Pine Tree Layering Die Set from Mountain Pine, Green Gold, Grass Field, Parrot, and Bamboo cardstock. I chose a variety of green shades to give the tree a natural look while allowing each layer to stand out and create beautiful dimension.
Having the layered die cut assembled before creating the background also makes it easier to choose ink colors that complement the focal point and keep the overall design balanced.

The darkest layer goes on the bottom, gradually working your way to the lightest layer on top. One thing I really appreciate about this die set is that each layer is labeled, making assembly quick and easy.
One of my favorite things about layering dies is how versatile they are. While I chose traditional greens for today's tree, don't be afraid to experiment! Try warm oranges, reds, and yellows for a beautiful autumn tree, or even shades of gray to create a striking silhouette for an evening scene. Simply changing the colors can completely transform the look of the finished card.
Build a Soft Scenic Background
With the focal point complete, it was time to create the landscape.
I placed a piece of white cardstock onto a sticky mat and centered the Arch Stencil from the Garden Gala Craft Your Life Project Kit over the card front. This stencil acts as a mask, defining the area where the landscape will be created.
Next, I layered the stencils from the Stencil Art Serene Landscapes set over the top. Using the arch stencil underneath keeps all of the ink blending contained inside the arch shape, creating a clean, finished look without needing to trim or mask multiple pieces later.
One of the things I love about using a masking stencil like the arch is that it instantly gives your design a focal area. Instead of allowing the landscape to extend across the entire card front, the masked opening frames the scene and naturally draws your eye toward the center. It's an easy way to create a polished design without adding extra layers or specialty dies.

For the colors, I kept everything soft and peaceful:
- Frayed Leaf from the Green Fields Fresh Dye Ink Collection for the rolling hills
- Water Hyacinth from the Blue Mountains Fresh Dye Ink Collection for the stream
- Iceberg from the Lapis Lazuli Collection and Glacier Iris from the Moonlit Twilight Collection for the sky
I used a small blending brush for all of the ink blending and applied the ink with a very light hand. Since the layered tree is the star of the card, I wanted the background to support it rather than compete with it. Keeping the colors soft helps create depth while allowing the focal point to remain the center of attention.
This is one of my favorite design principles when creating scene cards—let the background establish the setting while keeping the focal image as the first thing your eye notices.
Finishing the Design
Once the ink blending was complete, I placed the panel into my Stampwheel and stamped one of the sentiments from the Windows to Stillness Craft Your Life Project Kit using Obsidian ink.

I love how the sentiment extends just beyond the edge of the masked arch. Allowing elements to overlap the frame helps break up the border and keeps the design from feeling too boxed in. It's a simple design trick that creates a little more movement and encourages your eye to travel across the card instead of stopping at the edge of the masked area.
Even though the landscape is contained within the arch, having the sentiment extend beyond it helps connect the focal point to the rest of the card and gives the overall design a more open, balanced feel.
To finish the card, I adhered the layered Jack Pine Tree with foam squares. The added dimension helps separate it from the softly blended background, giving the entire scene even more depth and making the tree feel like it's standing naturally in the foreground.
Watch the Video Tutorial
I hope today's card inspires you to combine masking, ink blending, and layering stencils to create your own scenic backgrounds. It's a simple technique that adds a lot of interest, and you can easily customize the colors and die cuts to create scenes for every season.
If you'd like to see the entire card come together, be sure to watch the coordinating Inking It Up with Mindy video on the Altenew YouTube channel. I walk through each step, share additional blending tips along the way, and show exactly how I created this peaceful landscape.

Thanks so much for stopping by today, and happy crafting! I'll see you again soon with another project and another episode of Inking It Up with Mindy.


Get FREE U.S. Shipping on orders over $49 (no code needed) from July 24, 2026 at 12:01 AM EDT until July 26, 2026 at 11:59 PM EDT. Shop here: https://altenew.com/collections/all-the-paper-crafting-supplies-you-need
SUPPLIES