How to Create Scene Cards with Layering Stencils & Die Cuts
by Mindy Eggen August 13, 2026

Key Takeaways
Combine Stencils & Dies: Build rich, detailed backgrounds using layering stencils, then add dimension with a focal die-cut piece.
Match Colors Dynamically: Blend your stenciled scene first, then use cardstock swatches to choose coordinating die-cut colors.
Precision Inking Tools: Switch between mini, micro, and standard blending brushes to maintain control over detailed stencil areas.
Smart Framing: Crop your background panel after ink blending with a nested die to perfectly position your focal element.
Hello, friends! It's Mindy, and I'm back on the Altenew Blog and YouTube channel for another episode of my Inking It Up With Mindy series. Today, we're exploring how to combine layering stencils and die cuts to create a colorful scene card. If you love ink blending, scene card making, and getting more from your layering stencils, this tutorial is for you!

Be sure to watch the YouTube video for the complete tutorial, where I walk through each step of the process, share my ink blending tips, and assemble the die-cut scooter from start to finish.

Step 1: Ink Blending the Scene Background with Layering Stencils
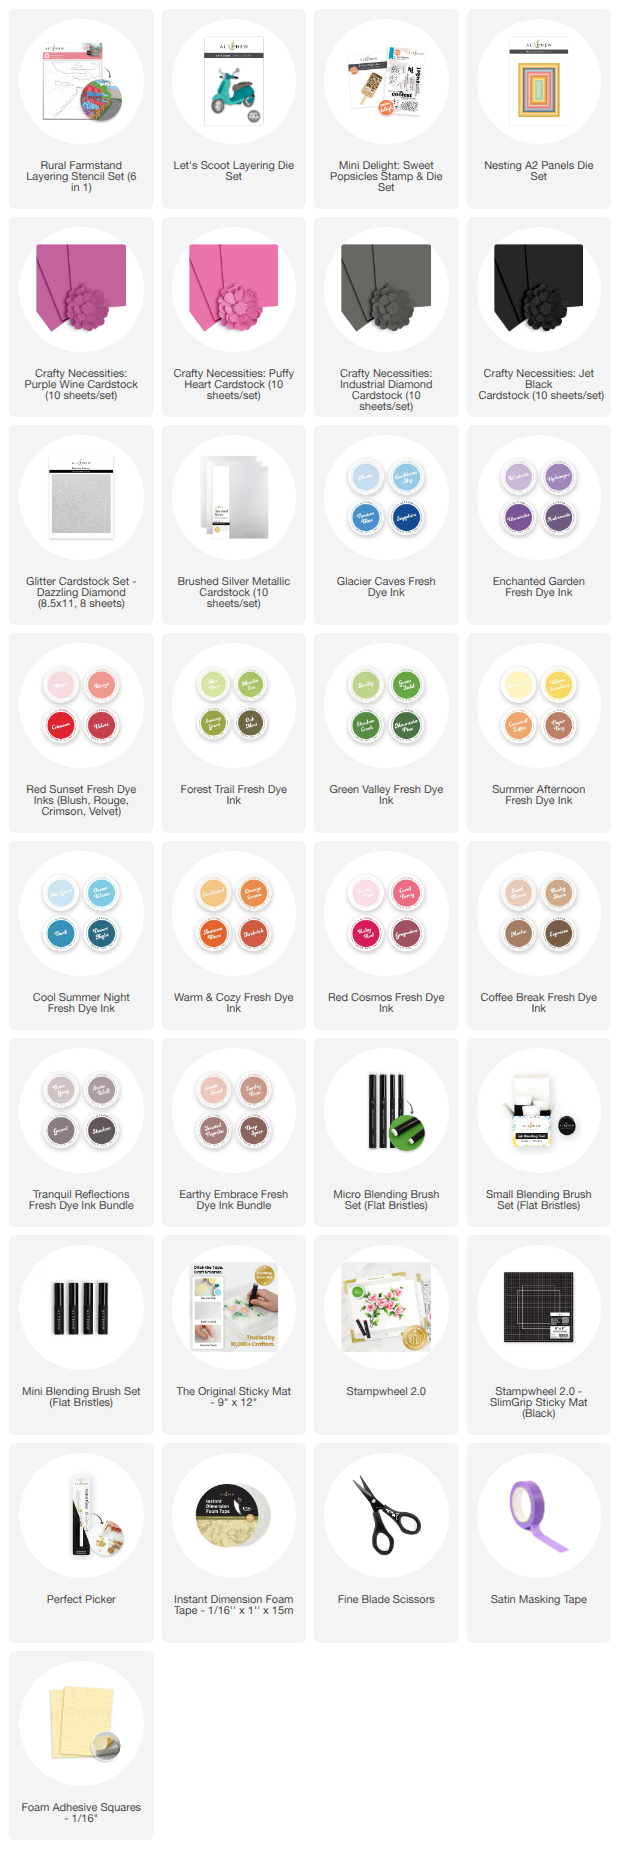
For today's card, I started by creating an ink-blended scene background using the Rural Farmstand Layering Stencil—one of my favorite tools for building detailed scene cards.
If you are new to layering stencils, Altenew includes a helpful guide inside the packaging, complete with registration marks, guidelines, and etched labels on each stencil to make alignment effortless.
Setting Up Your Workspace for Precision Stenciling
To keep everything secure while working through multiple stencil layers:
Place a 6" x 6" piece of white cardstock onto a 9" x 12" Sticky Mat.
Secure the stencil over the cardstock using Satin Masking Tape.
Between the Sticky Mat and the masking tape, you won't have to worry about paper shifting, allowing you to focus entirely on building smooth blends and crisp, clean lines.
Ink Blending Tips for Multi-Layer Stencils
Work Background to Focal Point: My goal was to fill the scene with a cheerful, subtle rainbow palette woven throughout the farmstand. I intentionally created the stenciled landscape first so it could inspire the final colors of my die-cut scooter.
Mask Neighboring Areas: Several stencil layers contain multiple image sections. Use painter’s or masking tape to block off adjacent open areas while blending to keep ink strictly where you want it.
Choose the Right Brush Size: Switch between small, mini, and micro blending brushes depending on the image size. Smaller brushes offer significantly better control around narrow details, helping you build soft depth gradually without over-applying ink.

Step 2: Assembling Focal Die Cuts & Matching Cardstock Colors
Once the farmstand background was complete, I noticed it needed a touch of purple to balance the warm tones.
I pulled out my Altenew Cardstock Swatch Booklet to narrow down the perfect shades, selecting Purple Wine and Puffy Heart cardstock for the scooter.
Pro Crafting Tip: If you don't have a cardstock swatch book, I highly recommend making one! Having every shade swatched in one place makes it easy to compare tones against your ink-blended backgrounds before cutting into full sheets.
To add sparkle and metallic shine to the scooter die-cut:
Accents: Dazzling Diamond Cardstock
Headlight, Handlebars & Rims: Brushed Silver Cardstock

Step 3: Trimming, Framing, and Adding Sentiment
After assembling the scooter, I used the Nesting A2 Die Set to trim the stenciled panel down to size.
I love waiting until the background is fully inked before deciding where to crop. Sliding a nesting die over the finished scene allows you to preview different compositions, ensuring your focal element is framed beautifully without trimming away the best details.
Selecting the Sentiment
For the greeting, I selected a stamp from the Mini Delight: Sweet Popsicles Stamp Set that reads: "You're the Coolest Person I Know." Even though it originates from a popsicle-themed set, it pairs playfully with the scooter theme!

Step 4: Assembling the Final Dimensional Card
To assemble the final A2 card:
Adhere the trimmed stenciled panel to a side-folding A2 card base using foam adhesive.
Mount the die-cut scooter onto the background using foam squares for added dimensional pop.
The bright background, metallic accents, and layered depth bring this farmstand scene to life!

Quick Recap & Project Ideas to Try
Before you head to your craft room, keep these key scene cardmaking tips in mind for your next project:
Let the Background Lead: Blend your background first and let those colors dictate your die-cut paper choices.
Vary Your Blending Tools: Match brush size to stencil detail for cleaner, sharper ink application.
Add Multi-Layer Depth: Combine flat stenciling with popped-up die cuts for dynamic card layout design.
Thanks so much for stopping by! I hope this inspires you to mix layering stencils and dies on your next card. Happy crafting!

SUPPLIES