How To Create a Simple Shaker Window With a Floral Focal Point | Terrific Tags with Michelle
Hello there, Michelle here with Terrific Tags with Michelle and another edition of Creativity Unlocked featuring Cute Open Rose Layering Die Set. Today I am creating a simple shaker window as a background for my floral focal point.

Inspired by the vibrant red-orange hue of the Nelson Mandela Rose, the Cute Open Rose Die Set lets you craft a stunning open rose with just a few layers. The set also includes a pair of leaves to beautifully complement the bloom and elevate your floral compositions.
Floral Focal Point

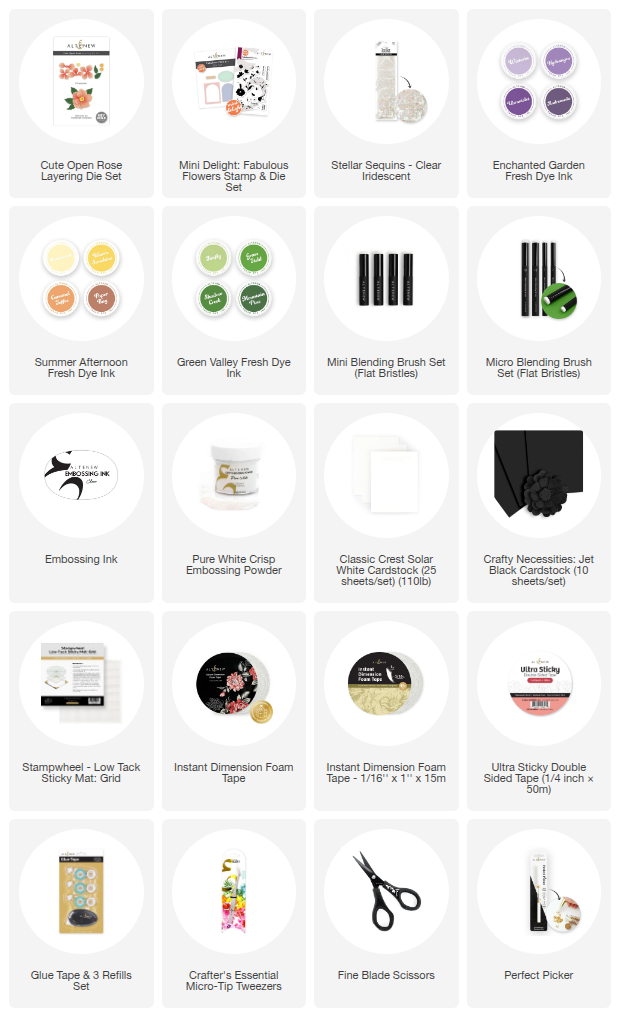
I am starting off my card by creating the floral focal point. I die cut two of the Cute Open Roses Layering Die Set, plus a few extra leaves, from Classic Crest 110lb Solar White Cardstock.
I placed the petals onto my Stampwheel – Low Tack Sticky Mat: Grid and added color to them with ink blending using a Mini Blending Brush and Enchanted Garden Fresh Dye Inks. I blended Wisteria on first, focusing the color towards the centers of the petals, I then added a layer of Hydrangea, followed by Ultraviolet, making sure to not add as much of these inks as the lighter one.
I then added ink blending to the flower centers using a Micro Blending Brush and Summer Afternoon Fresh Dye Inks. I added Warm Sunshine to the base layer and Buttercream to the top layer.

For the leaves, I used Green Valley Fresh Dye Inks and a Micro Blending Brush. I added a layer of Firefly first, followed by Grass Field and Shadow Creek towards the base of the leaves.
I set the pieces aside to dry for a few minutes and then assembled the flowers using the keyhole system. It is really easy to add the layers one on top of each other lining up the keyhole in the center. I used liquid glue to adhere the layers.
I then set the flowers and leaves aside while I worked on my shaker background.
Simple Shaker Window

I took a 4.25″ x 5.5″ panel of Classic Crest 110lb Solar White Cardstock and die cut the arch die from the Mini Delight: Fabulous Flowers Die Set in the top center.
I flipped the panel over and added Ultra Sticky Tape around the window. I removed the backings off the tape and placed a piece of acetate on top. I then added Instant Dimension Foam Tape (1/16″ x 1″ x 50m) to the back of the panel, leaving the window open.
I placed a mix of Stellar Sequins – Clear Iridescent (of all six sizes) in the center of an A2 sized card base and then adhered the shaker window piece on top. This creates a simple shaker background for my flowers to place onto.

I adhered the flowers on top using Instant Dimension Foam Tape and the leaves using Glue Tape.
I stamped the ‘thank you' sentiment from the Mini Delight: Fabulous Flowers Stamp Set onto Crafty Necessities: Jet Black Cardstock using Embossing Ink. I applied Pure White Crisp Embossing Powder and heat set. It was cut into a strip and adhered to the card using Instant Dimension Foam Tape.
Video Tutorial: Simple Shaker Window
I hope I have inspired you to try adding a simple shaker window to work as a background to floral focal points. You can watch the full process video below or on YouTube.

Don't Miss This!

World Caring Day Special Offer!
Spread love with our brand-new Best Wishes Tags Die Set (worth $10.99)! Get this for FREE on orders over $79 from June 7, 2025 at 12:01 AM EST until June 10, 2025 at 11:59 PM EST. Shop here: https://altenew.com/collections/all-altenew-products (The free gift will be automatically added to eligible orders—while supplies last.)
Thank you so much for stopping by today, I hope you have a wonderful day!
Supplies: