Highlight Focal Points To Make Them Pop | Terrific Tags with Michelle
Hello there, Michelle here with another edition of Terrific Tags with Michelle. Today I wanted to share a way to make focal points pop on projects.

Create a Dark Background
One way to make a focal point pop is to make the background darker than the focal point.
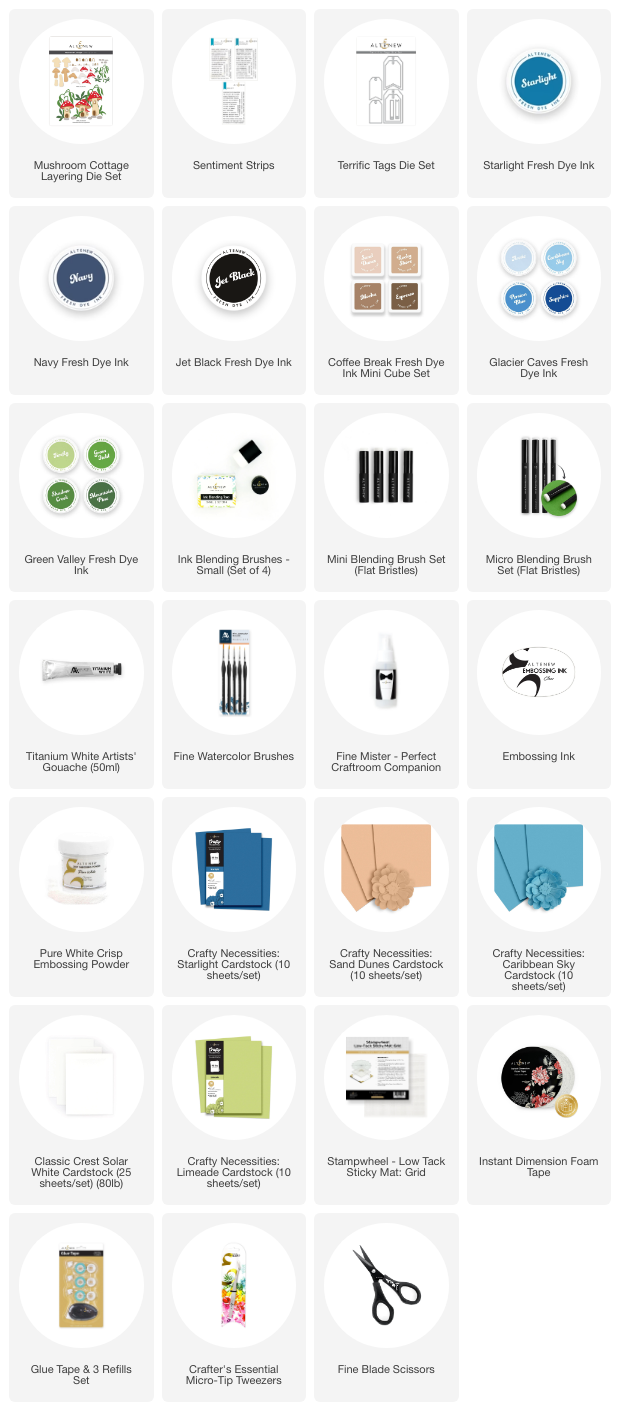
I die cut a Terrific Tags Die from Crafty Necessities: Starlight Cardstock. I then added ink blending around the outside edges.
I started off with Starlight Fresh Dye Ink, using a Small Blending Brush. This is the same shade as the cardstock, so when the ink dries, it will fade into the cardstock and you will get a nice transition from the lighter shade of the cardstock and the darker shades of ink that you add on top.
I then went around the edges of the tag using Navy Fresh Dye Ink. This time, I used a Mini Blending Brush to increase the saturation of color. Last but not least, I added a little Jet Black Fresh Dye Ink around the very edges.
TIP: By adding darker color around the outside edges, it will automatically make a highlight in the center and draw your eye in.
I wanted to add a little extra interest to the background, but nothing that would detract from the focal point, so I mixed a little Titanium White Artists' Gouache with water and splattered it onto the tag.

The Focal Point
For the focal point, I am using the fabulous Mushroom Cottage Layering Die Set. Although these dies make the mushrooms into cottages, I am using them without that element today. I love how versatile the set is!
I die cut the base of the mushrooms and stems from Crafty Necessities: Sand Dunes Cardstock and added ink blending around the outside edges, as well as the underside of the mushrooms with Coffee Break Fresh Dye Inks (the three lightest shades).
I die cut the bottom layers of the tops of the mushrooms from Classic Crest 110lb Solar White Cardstock and the tops from Crafty Necessities: Caribbean Sky Cardstock. I added ink blending to the blue layers with Glacier Caves Fresh Dye Inks (the three darkest shades), making sure to leave a highlight at the top.

I die cut the foliage from Crafty Necessities: Limeade Cardstock and added ink blending using Green Valley Fresh Dye Inks (all four shades), focusing on the color at the base of the leaves.
The ink blending adds dimension to the mushrooms and will help them to pop off the background. They were assembled and adhered using liquid glue.
The foliage was adhered to the tag first, using liquid glue also. The mushrooms were then adhered to the tag using Instant Dimension Foam Tape, making sure not to add any where they overlap the sides of the tag.

Bringing the Tag Together
I stamped a sentiment from the Sentiment Strips 2 Stamp Set onto Crafty Necessities: Starlight Cardstock using Embossing Ink. I applied Pure White Crisp Embossing Powder and heat set.
It was cut into a strip and then I realized that I wanted it to match the background better, so I took the residual ink left on the brushes and added it on either end of the sentiment strip, leaving the center a bit lighter.
It was adhered to the tag using Instant Dimension Foam Tape. To finish, I added twine through the top of the tag and tied in a bow.
Video Tutorial : Make Focal Points Pop
I hope I have inspired you to try these tips and tricks to help make focal points pop! You can watch the full process video below or on YouTube.
 Thank you so much for stopping by today, I hope you have a wonderful day!
Supplies