October 2026 Guest Designer of the Month
by Altenew LLC October 16, 2026


Get to Know Our Guest Designer - Mirisha
Hello, crafty friends! My name is Mirisha, and I am so excited and truly grateful to be joining Altenew as the Guest Designer of the Month!
I am a cardmaker, content creator, and the creative behind The Diary of Belle Rose. Creating has become such a meaningful part of my life, and I never take for granted the gift of being able to take an idea, bring it to life, and hopefully encourage or inspire someone else along the way.
My cardmaking style is filled with layers, dimension, beautiful florals, texture, and, of course, a little sparkle! I especially love finding ways to transform simple die-cut elements through strategic ink blending, precise layering, and thoughtful finishing details. And if you’ve followed my work for any length of time, you probably know I can almost always find a reason to incorporate a touch of elegant metallic gold!
One of my favorite aspects of paper crafting is the absolute freedom to experiment. Sometimes an idea turns out exactly as envisioned, and other times the creative process leads somewhere completely unexpected. That’s a wonderful part of the journey! I love sharing that process with the paper crafting community and encouraging crafters of all skill levels to simply enjoy the act of creating.
I’m incredibly grateful to Altenew for inviting me to share my passion with you today. Let’s take a closer look at the step-by-step process for today's project!
Connect with Me
I’d love for you to join me for even more cardmaking inspiration, tutorials, and crafty fun!
Website/Blog — The Diary of Belle Rose
https://www.thediaryofbellerose.com
YouTube — The Diary of Belle Rose
https://www.youtube.com/@thediaryofbellerose
Instagram — @thediaryofbellerose
https://www.instagram.com/thediaryofbellerose
Facebook — The Diary of Belle Rose

Crafting a Layered Gardenia Friendship Card
For today’s cardmaking project, I wanted to combine several core design elements I love most: bold florals, dramatic dimension, detailed texture, soft color gradients, and a touch of metallic shine.
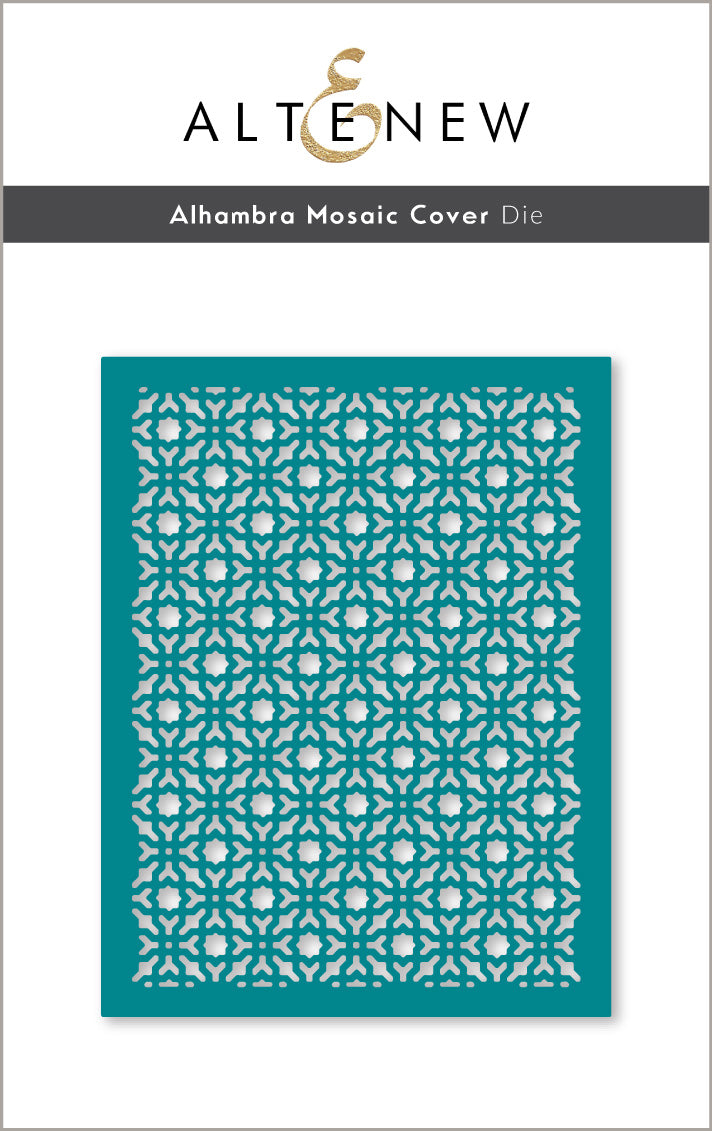
The beautiful Craft-A-Flower: Gardenia Layering Die Set served as the main focal point. I paired these oversized gardenia florals with the intricate geometric lines of the Alhambra Mosaic Cover Die background, finishing the layout with a clear, heartfelt sentiment: "Friend — You Are So Loved."
I love crafting handmade cards that carry encouraging, meaningful messages, and this sentiment offers a wonderful reminder to send to someone special in your life.


Mastering Floral Shading: Ink Blending Die-Cut Gardenias
To begin crafting the focal elements, I die-cut all necessary pieces for the gardenias and foliage from high-quality cardstock.
To bring flat die cuts to life, I applied ink to add soft, natural shading across the petals. Focusing the ink blending around the base and center while preserving lighter cardstock tones at the petal tips instantly adds shadow and highlights.
Pro Tip: Concentrating ink blending on petal centers while leaving outer edges light emphasizes depth and highlights once multi-layered floral dies are assembled.
For the foliage, I blended ink along the leaf bases to create rich green shading and realistic contrast. Once satisfied with the color depth, I assembled the layered gardenias and leaves before moving on to the card background.
Did You Know?
In historical flower language (Floriography), gardenia blossoms signify secret love, joy, purity, and deep refinement. Sending a handcrafted gardenia card conveys unspoken affection and appreciation—making it an ideal floral choice for meaningful friendship and encouragement cards!
Incorporating Metallic Gold Accents for Polish
If there’s one finish I love adding to paper crafts, it’s a delicate touch of metallic shine.
To frame the mosaic background, I cut a thin frame from metallic gold cardstock. While a subtle design addition, it produced a significant visual impact by providing clean visual separation between card layers and imparting an elegant, polished border.
Incorporating metallic cardstock in narrow structural frames demonstrates that reflective elements don't need to dominate a design to make a lasting impression.

Building the Floral Arrangement: Layering with Foam Tape
With the textured background panel prepared, I assembled the final card structure:
Layout Positioning: I arranged the assembled gardenias and foliage across the mosaic panel, allowing stems and leaves to overlap naturally across the gold frame.
Elevated Adhesives: I combined liquid craft adhesive with varying thicknesses of foam tape.
Dimensional Depth: Staggering adhesive height creates distinct physical planes, preventing elements from lying flat against one another.
Varying element height across a card layout significantly elevates the realism of dimensional floral designs.
Selecting and Positioning Sentiments
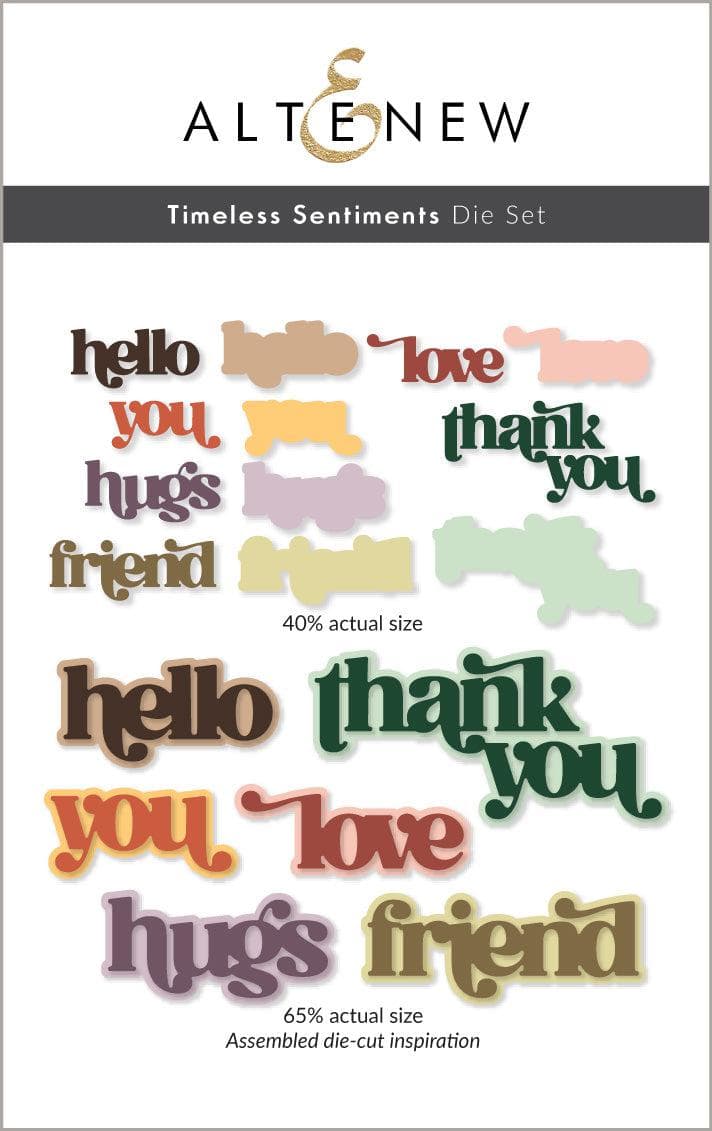
For the main greeting, I used the Timeless Sentiments Die to create a bold black "friend" focal sentiment. The high contrast of black cardstock grounds the soft lavender florals and blue mosaic background. Placing the sentiment across the lower section of the floral cluster integrates it seamlessly into the arrangement.
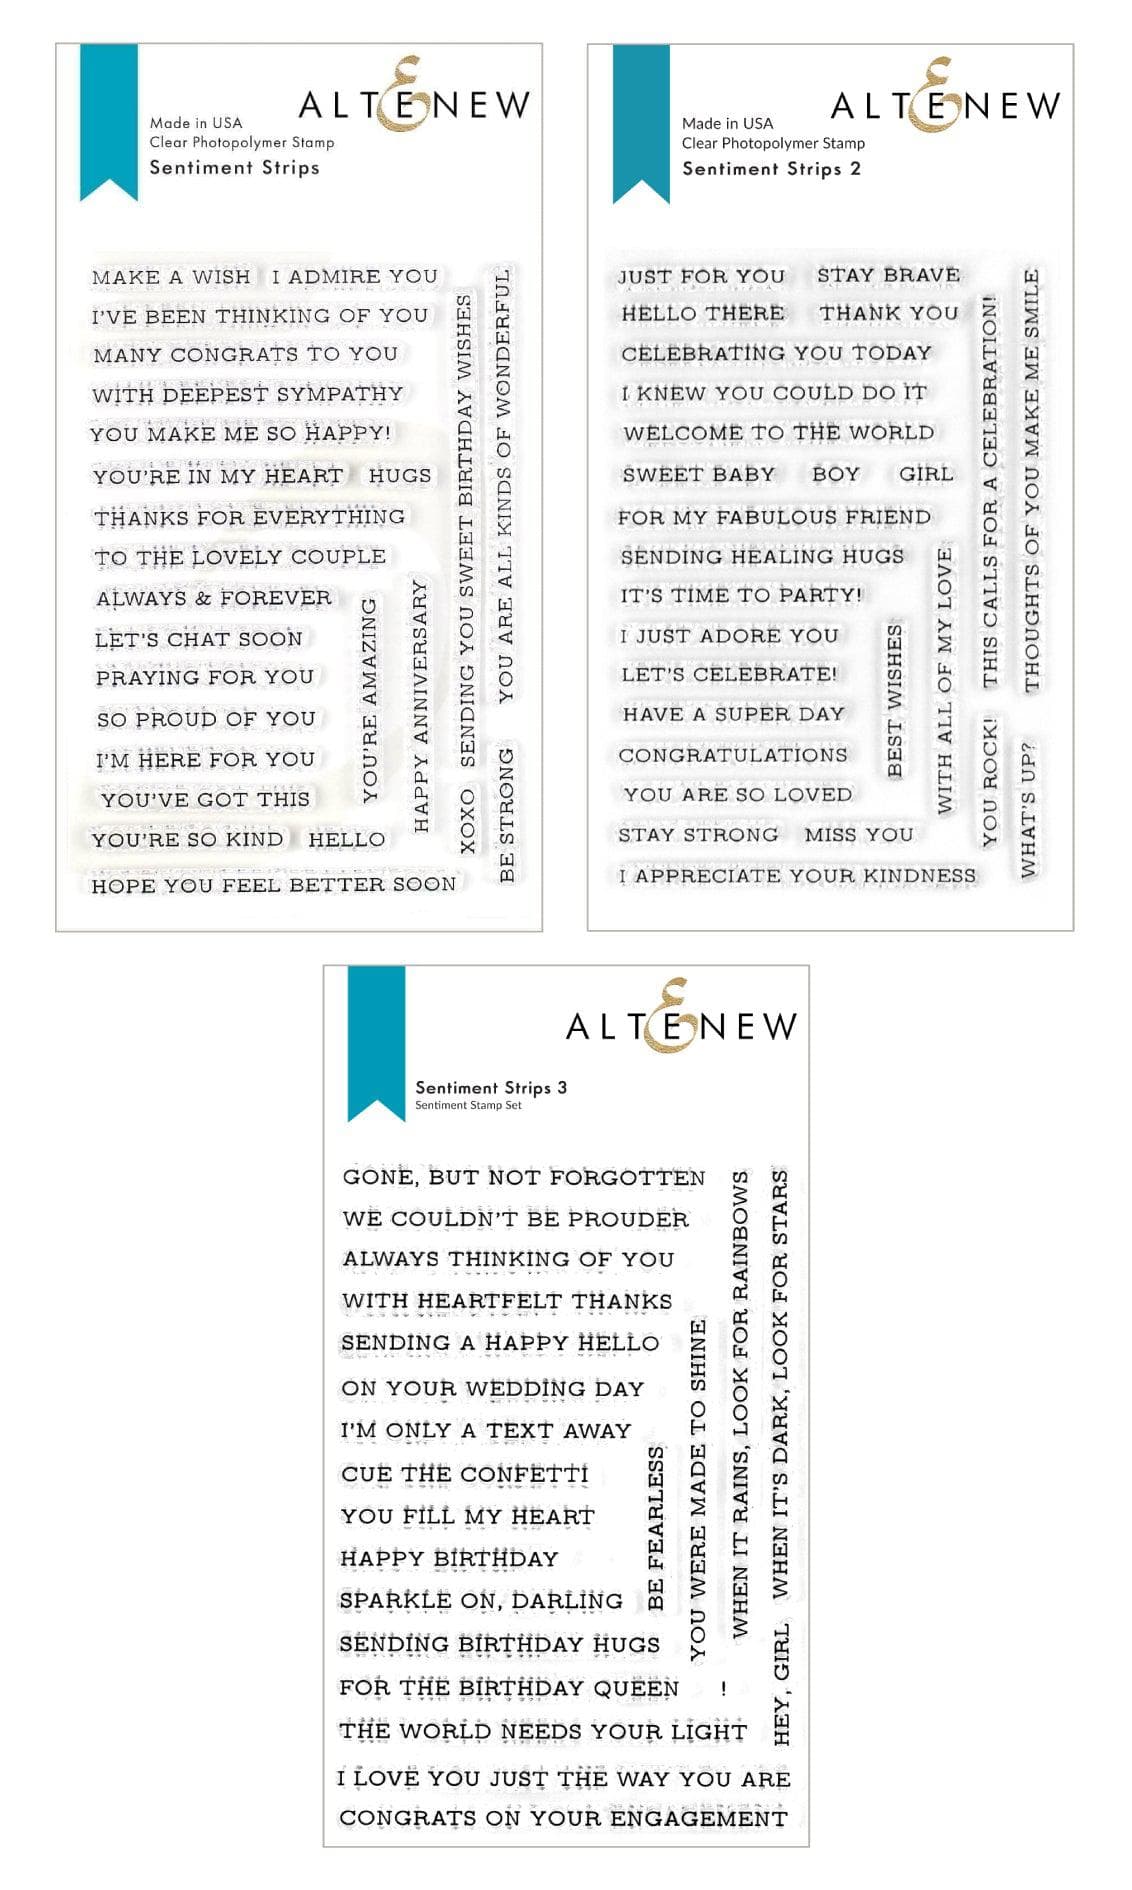
Next, I stamped "You Are So Loved" using Sentiment Strips 2, yielding a cohesive message:
“Friend, you are so loved.”
Combining bold die-cut script with understated stamped sentiment strips creates clear typographic hierarchy on handmade cards.


Adding Subtle Sparkle and Finishing Touches
To complete the design, I added fine splatters across the panel using a metallic ink spray. The fine mica particles catch light subtly without pulling attention away from the dimensional gardenias.
Combining tiny reflective splatters with the thin gold border ties the metallic elements together across the entire card layout. These refined finishing details often transform a design from nearly finished to complete.

Combining Cardmaking Techniques for Maximum Impact
This project demonstrates how multiple fundamental cardmaking techniques unite into a cohesive design:
Layering Dies: The Craft-A-Flower: Gardenia Layering Die Set provides realistic structural dimension.
Background Texture: The Alhambra Mosaic Cover Die creates geometric background contrast.
Ink Blending: Ink shading adds depth and realistic color gradients to paper.
Metallic Accents: Gold cardstock framing and mica splatters deliver subtle elegance.
Sentiment Layering: Combining die-cut focal words with stamped strips builds clear messaging.
Frequently Asked Questions About Dimensional Cardmaking
What are the best adhesives for creating dimensional die-cut cards?
Combining liquid craft glue for flat base layers with double-sided foam tape or foam dots in varying thicknesses (1mm to 3mm) provides strong adhesion and structural height variation across die-cut elements.
How do you blend inks on layered die cuts without over-saturating paper?
Use a light touch with blending tools or fine detail blending brushes, working from the outer edges inward. Tap off excess ink onto a craft mat prior to application to maintain soft gradients and protect paper integrity.

Final Thoughts & Crafty Inspiration
One of the most rewarding aspects of cardmaking is watching individual paper pieces transform into a complete artistic design through ink blending, layering, texture, and subtle shine.
Beyond the creative process, handmade cards carry meaningful personal connection—offering a tangible way to remind friends and loved ones that they are thought of and appreciated.
I hope this dimensional floral tutorial inspires you to pull out your layering dies, experiment with color blending, and add subtle metallic touches to your next paper crafting project!
Thank you again to Altenew for having me as the Guest Designer of the Month. Happy crafting!
Mirisha