How to Stamp Multiple Layered Flowers Using the Stampwheel! | Take 2 with Therese (with Video Tutorial!)
by Therese Calvird March 22, 2023

Hi, it's Therese, and I am back with another edition of Take 2 with Therese. Today, I'm sharing two beautiful Antique Rose birthday card ideas!
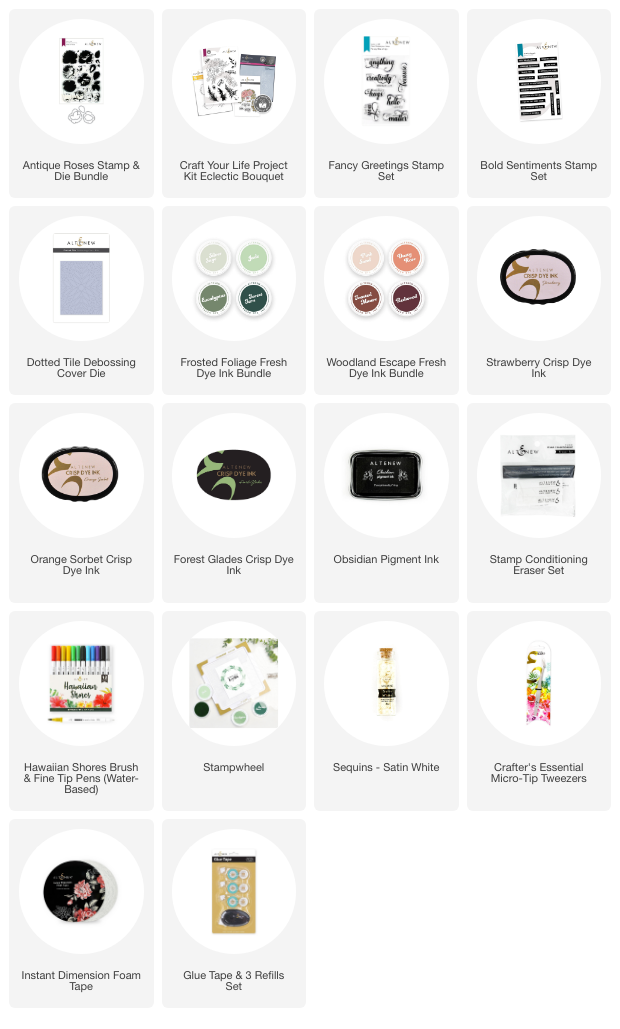
Do you like layer stamping? If you do, then you already will know how easy it becomes when you use a stamp positioning tool. Have you seen the Stampwheel in action yet? It has many fabulous applications but today I thought I would try it out to see how I could create ‘multiples' using layering stamps.
Time for Some Beautiful Antique Roses!
 I wanted to choose a layering stamp set that didn't include an outline image. I find that this gives a more realistic look and the Antique Rose Stamp Set was perfect.
Birthday Card # 1 – Sending Hugs
The Stampwheel has some unique qualities. One of my absolute favorite things is the photopolymer layer that sits at the base of the stage, this holds the cardstock in place.
PRO TIP: The Sticky Mat is also brilliant for coloring and ink blending.
 I was able to turn the flip plate and create multiple images of the flowers and leaves at one time. These flowers are the same but look a little different as I alternated the layers of inks.
 This birthday card has some extra background foliage from the Eclectic Bouquet Project Kit and a sentiment from the Fancy Greeting Stamp Set (classic set)!
 Birthday Card # 2 – Thinking of You
This card is very similar to birthday card #1 and that is because the focus was on creating multiples. But I did change it up just a little. This time, I added a Dotted Tile Debossing Cover Die background.
BONUS TIP: For a different look why not use one of the beautiful Altenew Design Papers on the background!
 I added a sentiment from the Bold Sentiments Stamp Set.
 You can see my video here or watch it in HD on YouTube.