Ink Blending Magic: Joseph's Coat Technique
by Michelle Short November 20, 2026

Key Takeaways
What It Is: The Joseph's Coat ink blending technique layers vibrant dye inks, clear heat embossing, and a dark topcoat of ink to create a dramatic stained-glass or resist effect.
Versatile Stamping: While traditionally done with outline stamps and rainbow hues, this method works just as well with solid stamps and monochromatic or cool-toned color palettes.
Crucial Prep Step: Always heat-set your base layer of ink and apply anti-static powder before embossing so clear powder only sticks to your stamped design.
Trust the Process: The project looks messy when covered in black ink, but buffing the embossed areas with a dry cloth instantly reveals the bright colors trapped underneath.
Hello there, Michelle here with another edition of Terrific Tags with Michelle. Today I have a fun ink blending technique to share - Joseph's Coat.
The idea of the Joseph's Coat technique is to create a vibrant colorful background with ink blending to mimic Joseph's (from the Bible) colorful coat. You then add clear embossing powder on top, followed by a dark ink. This hides the colorful layer of ink blending underneath, but when you wipe it away, it is revealed again!
This ink blending technique is traditionally used with outline images and rainbow colors, but I am mixing it up today to work for my project!

Colorful Ink Blending
I am creating a tag today (but this technique will work great for cards and other projects too), so I started off by die cutting one of the larger tags from the Terrific Tags Die Set from Classic Crest 110lb Solar White Cardstock.
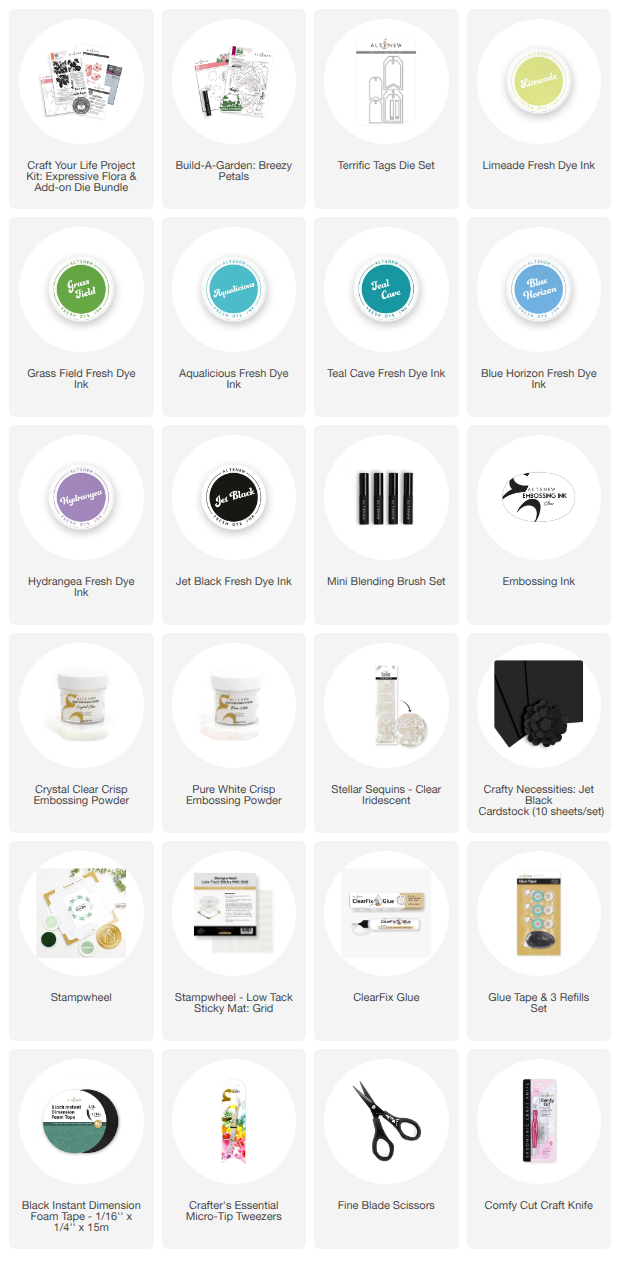
I placed it on my Sticky Mat and added ink blending on top. I used the following Fresh Dye Inks:
I applied them using a Mini Blending Brush onto the tag in a random way, trying to blend to the colors together as best as possible.
This technqiue will not look great for a while but at the end, it comes togther nicely. You just have to trust the process!

Stamping + Heat Embossing
I then heat set the inks until they were completely dry and applied anti-static powder. This step is really importatnt as you don't want embossing powder to stick to the ink blending.
I placed the tag inside the Stampwheel and stamped the leaf cluster image from Craft Your Life Project Kit: Expressive Flora Stamp Set at the top of the tag using Embossing Ink.
I applied Crystal Clear Crisp Embossing Powder and heat set. I then repeated the process to stamp the leaf cluster again in the the bottom to corners of the tag.

Joseph's Coat Technique
The next part of the ink blending technqiue is both scary and fun at the same time!
I placed the tag back onto the Sticky Mat and applied Jet Black Fresh Dye Ink, covering the entire tag, using a Mini Blending Brush.
You want to cover all of the tag, including going over the embossing powder with the ink blending. This will get the ink inside all of the veining on the leaves. Don't worry, the embossing powder will resist the ink!
I then took a dry cloth and buffed away the ink to reveal the colorful ink blending underneath that has been trapped under the embossing powder.
You do not have to use black ink for this step; any ink will work as long as it is darker than the inks you used for the ink blending. I really love the contrast between the black and the vibrant colors on the leaves though!

Tag Assembly, Sentiment + Finishing Touches
I die cut the tag again from Crafty Necessities: Jet Black Carstock and adhered it behind the ink blended one using Glue Tape. This adds some stability to the tag. If I want to write a personal message on the back I can use a white gel pen.
I stamped a sentiment from Build-A-Garden: Breezy Petals onto more Crafty Necessities: Jet Black Cardstock using Embossing Ink. I applied Pure White Crisp Embossing Powder and heat set. It was die cut out using the coordinating die. It was adhered to the tag using Black Instant Dimension Foam Tape.
To finish, I threaded black twine through the hole the top of the tag and tied in a bow. I then embellished with Clear Iridescent Stellar Sequins, adhering in place with ClearFix Glue.
Video Tutorial: Joseph's Coat Ink Blending Technique
I hope I have inspired you to try this fun ink blending technique! As mentioned, The Joseph's Coat technique is traditionally done with outline images but as you can see, solid images can be used too! Experiment with different color combinations and have fun with it! You can watch the video tutorial below or over on YouTube.
Thank you so much for stopping by today, I hope you have a wonderful day!

- Enjoy FREE U.S. Shipping on orders over $49 (no code needed)
- Enjoy $10 OFF International Shipping on orders over $99.
Valid from November 20, 2026 at 12:01 AM EST until November 30, 2026 at 11:59 PM EST.
Shop here: https://altenew.com/collections/pre-black-friday-deals
Disclaimer: Free shipping valid on qualifying orders of $49+ after discounts, promotions, and reward point redemptions are applied.
Supply List