Flowering Quince 3 Ways: Love Card, Heart Wreath, and Decorative Border!

Hello creative friends! Are you looking for a way to maximize your craft supplies and make two beautiful cards in one go? Today, I’ll show you how to create a stunning heart wreath design and a clean and simple topper using the Flowering Quince & Add-on Die Bundle.
With a little creativity and thinking outside the box, you can make two beautiful cards using one set of materials—perfect for saving time and giving your projects a unique twist!
I used a mix of pinks, blue, and greens for a natural, springtime vibe, but feel free to customize the colors to suit your style!
Watch the video on Flowering Quince Cards!

Materials Needed:
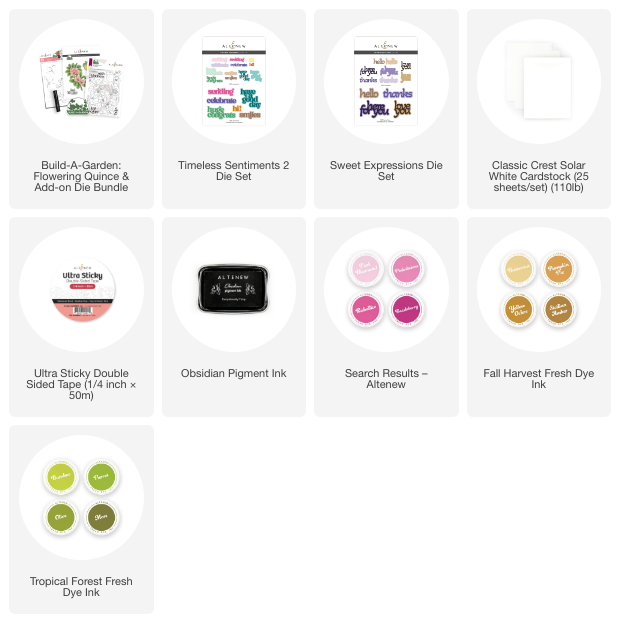
- Build-A-Garden: Flowering Quince & Add-on Die Bundle
- Timeless Sentiments 2 Die Set
- Sweet Expressions Die Set
- Altenew 1/4″ foam tape.
- 7×7 inch card base
- Classic Crest Solar White Cardstock.
- Gold Mirror and Gold Glitter Cardstock.
- Acetate.
- Obsidian Ink
- Ink pads (your choice of colors- I used inks listed in the supplies list)
- Liquid Adhesive
- Die-cutting machine
Tips:
- Play around with different colors and compositions to create your own unique versions of these cards.
- For a more dimensional effect, consider adding foam tape behind the heart die-cut to give your wreath card a bit of height.

Step 1: Create the Heart Wreath Card
Start by taking your 7×7 inch card base. Using the Build-A-Garden: Flowering Quince & Add-on Die Bundle to create two images.
After die-cutting, join them together to create a wreath-like effect.
Use a large heart die to cut out the center. This will give you the look of a blooming wreath, all framed within the negative space of the heart.
To finish the card, use a large die-cut sentiment. This has to be large enough to reach the inner edges of the die-cut heart shaped window and it will be better if it has a backing outline plate.
With the backing plate die, cut a piece of acetate and cut the sentiment out of gold cardstock.
I used ” Shine Bright” from Timeless Sentiments 2 Die Set .
Use double sided tape at the back of the die-cut sentiment, behind the letters so you can't see it and stick in the center.
The acetate will stabilize the sentiment ( Paper) and also will give a gorgeous floating effect.

Step 2: Make the Topper for Your Second Card

Now, don’t throw away that beautiful negative die-cut heart! You’ll use it to create a clean and simple topper for a second card.
Take a fresh 4- 1/4 x 5-1/2 inch card base and place the die-cut heart from Step 1 on the front of the card.
Since you’re going for a more minimalist design, you can add a die-cut sentiment without much effort.
You now have two beautiful cards from just one bundle!
Bonus Card

This 6×6 card was the first card I made using the Flowering Quince & Add-on Die Bundle. Then, the other two ideas were born.
That's all for today
Thanks for stopping by
X Bibi
Supplies