Try These 2 Easy Watercolor Background Ideas with Enchanted Roses!
Hello friends! Hannelie here today and I’m sharing two cards featuring the Enchanted Roses Stamp Set—each one finished off with a watercolor background that’s simple, loose, and completely beginner-friendly.
I love the bold effect you get when the roses are stamped in black ink, and I thought a soft watercolor finish would beautifully complement the images. With its two elegant rose images and a stunning range of sentiments, the Enchanted Roses set completely stole my heart.

Watercolor has always felt a little unpredictable to me—but in the best way. I love how just a few brushstrokes can turn a plain background into something soft and expressive, even if you’re not totally comfortable with water coloring … like me!
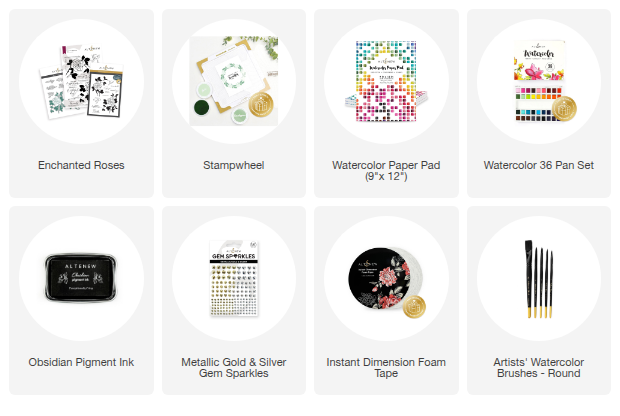
To make today's cards you will need :
- Enchanted Roses Stamp and Die Set.
- Stampwheel.
- I used 110lb Neenah white cardstock since I only added a small amount of water. If you plan to use more water for your technique, watercolor paper would be a better choice.
- Die Cutting machine.
- Obsidian Black Ink.
- Altenew 36 Pan Watercolor Set – I used Cotton Candy, Coral Berry, Cosmic Berry and Fresh lemon for the first card, and Midnight Violet, Persian Blue and Ocean Waves for the second card.
- Metallic Gold and Silver Gem Sparkles.
- Instant Dimension Foam Tape.
- Watercolor Brushes.
Before we start, I want to share the following – You don’t need to be a watercolor artist to enjoy adding soft color and movement to your cards. I’ve come to realize with water coloring, that when I stop striving for perfection, I enjoy the process more—and the results often turn out even better.
Since the steps for both cards are nearly identical, I’ll focus on the two different background techniques separately.
- For the card in pink and yellow tones, I used light washes of Cotton Candy, Coral Berry, Cosmic Berry and Fresh Lemon, painted in a diagonal direction, just letting the water colors do their thing, no measuring or masking, just relaxing brush strokes. Leave to dry.
- For the card in blue and purple tones, I used a soft wash starting from the middle and working outwards in a circular motion. I love how the colors blended to create a soft spotlight effect behind the rose. Leave to dry.
Step by step instructions to make the cards :
- Trim and fold the white card stock to create two A2 size cards.
- Use a rectangle die to cut out the background panels you painted earlier.
- Use Instant Dimension Foam Tape to adhere the background panels to the two card bases.
- Stamp the Enchanted Roses images using the Stampwheel and Obsidian Black Ink.
- Use the watercolors listed above to paint the roses. Begin with the lightest shades, then gradually layer darker tones to add depth and dimension.
- Use the coordinating dies to cut out the images.
- Stamp and cut out the sentiments with the coordinating dies.
- Adhere the rose images and sentiments to the cards using Instant Dimension Foam Tape.
- Embellish the cards with metallic gem sparkles.
Take a look the card in pink & yellow tones : The colors blend beautifully for a gentle, uplifting feel.

Take a look at the card in blue and purple tones : The cool tones creates a calming effect and the circular wash draws the eye to the focal point .

I hope you take away from today’s crafting session that you don’t have to aim for perfection—just have fun experimenting with shapes and colors to see what unfolds. That’s the joy of watercolor: letting go and discovering where the water leads you!

Have you tried adding watercolor to your cards? Or worked with this stamp set before? I’d love to hear about your experience—let’s chat in the comments!
Happy crafting!
SUPPLY LIST: