Enchanted Castle Window: Embossed Background Elevated with Die-Cut Accents
One of my favorite ways to elevate an embossed and stenciled background is by layering in a few well-placed die-cut elements—and that’s exactly the approach I’m sharing today.
Hello friends, Hannelie here and today I’m showcasing the Altenew Enchanted Castle Window 3D Embossing Folder and Simple Coloring Stencil Set. This embossing folder and coordinating coloring stencil set creates a stunning focal point all on its own, or by keeping the coloring soft, added die cuts can bring just the right amount of dimension and help guide the eye across the design.
One of the things I love about combining coloring stencils with embossing folders is how they instantly elevate the depth and detail of your design. The embossing folder gives you beautiful texture and dimension, while the stencils allow you to add color in a controlled, precise way, bringing out the intricate details of the raised patterns. You can achieve subtle shading, soft gradients, or even bold, vibrant areas—all without overpowering the design. This makes it easy to turn a simple embossed panel into a standout background, whether you keep it simple, or layer in die-cut elements for extra interest, like I did today!

I intentionally chose soft neutrals and earthy tones for this project to create a gender-neutral design. This approach makes the card versatile and suitable for many occasions, whether it’s for encouragement, sympathy, or simply letting someone know you’re thinking of them.
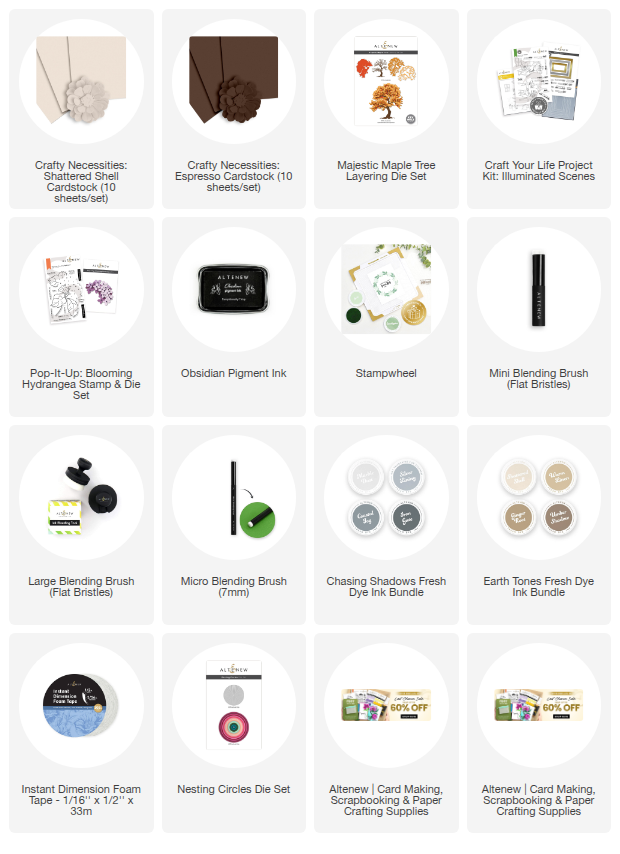
Supplies You Need
- Enchanted Castle Window 3D Embossing Folder
- Enchanted Castle Window Simple Coloring Stencil set
- White Card stock
- Shattered Shell cardstock
- Espresso cardstock
- Chasing Shadows Fresh Dye Ink – Iron Gate & Coastal Fog
- Earth Tones Fresh Dye Ink – Umber Shadow & Warm Linen
- Blending Brushes – Large, Mini & Micro
- Die cutting Machine
- Stampwheel
- Obsidian Black ink
- Circle Die from the Nesting Circle Die Set.
- Rectangle frame die and 3D Embossing Folder from Craft Your Life Project Kit – Illuminated Scenes
- Majestic Maple Tree Die
- Thinking of you stamp from: Pop it up: Hydrangea stamp set
- Instant Dimension Foam Tape

Step by Step Instructions
1: Prepare the Card Base
Trim and fold a piece of white or Shattered Shell cardstock to create an A2-sized card base.
2: Cut the Card Panel
Trim a second piece of white cardstock to use as your main card panel.
3: Emboss the Window Panel
With the design and focal point placement in mind, position the card panel to the left side of the embossing folder so the window detail appears on the right-hand side of the card. Run the embossing folder with the card panel inside through your die-cutting machine.
4: Secure the Panel for Stenciling
Remove the embossed panel from the folder and secure it onto the sticky surface of the Stampwheel, making sure it is well aligned for easy stenciling.
5: Color the Embossed Design
Using the coloring stencils in numerical order, begin coloring the embossed panel.
Use a large blending brush for bigger areas like the window.
Switch to a mini blending brush for smaller sections.
Add extra depth and dimension to detailed areas, such as the corners, with a micro blending brush.
6: Adhere the Embossed Panel
Once coloring is complete, use your adhesive of choice to adhere the finished panel to the card base.
7: Die Cut the Tree Trunk
Die cut the Majestic Maple tree trunk from Espresso cardstock and set it aside.
8: Create the Frame
Die cut the frame from Shattered Shell cardstock using the frame die from the Illuminated Scenes Project Kit. Add texture to the frame by placing it in the coordinating embossing folder and running it through your die-cutting machine.
9: Stamp and Cut the Sentiment
Stamp your sentiment onto Shattered Shell cardstock using Obsidian Black Ink, then die cut it with a small circle die.
10: Assemble the Card
Adhere the tree trunk to the left side of the window. Attach the sentiment onto the tree trunk, then finish by adhering the frame to the card.
All elements were adhered using Instant Dimension Foam Tape for added depth.
Helpful Tip
When die cutting the tree trunk, you’ll notice a keyhole opening, as the die is designed to coordinate with other foliage dies in the set. An easy solution is to position the sentiment over the keyhole to conceal it.
You may also notice a small debossed number “2” on the trunk. If this isn’t covered by the sentiment, gently burnish it out with a bone folder for a smooth finish.
Take one more look at the beautiful scene we just created with the amazing Enchanted Castle Window Embossing Folder and coloring stencil set !

I hope this inspires you to play with die-cut elements and bring your embossing folder designs to life in a whole new way!
Happy crafting!
In Case you Missed It

Experience the magic of the Pop-It-Up: Blooming Hydrangea Stamp & Die Set in this action-packed replay. Join Bridget to transform flat paper into dynamic, high-dimension floral art.
Ready to elevate your cardmaking?