Create Stunning Two-Toned Cards with the Stampwheel 2.0 | Quick and Easy Card Set
by Erum Tasneem November 4, 2024

Hello, crafty friends! Erum here. In today’s blog post, I’m excited to share a beautiful, easy-to-make card set using the Stampwheel 2.0 and the Craft Your Life Project Kit: Mixed Blooms. This project is all about creating a one-layer, two-toned stamped card set—perfect for sending out clean, simple, yet stunning cards to your loved ones.
Whether you’re a beginner or an experienced cardmaker, this tutorial is quick and easy to follow. Let’s dive into it!

Prepare Your Cardstock Panels
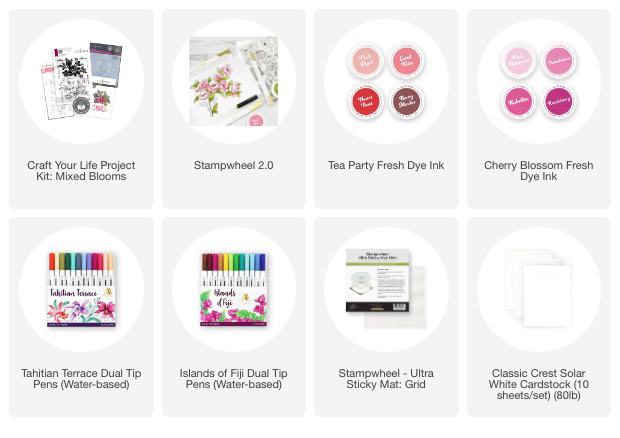
Start by taking a full sheet of Classic Crest Solar White Cardstock (80 lbs). Use a ruler to draw guide marks at 4.25 inches vertically and 5.5 inches horizontally to divide your cardstock into four A2-sized panels. For this tutorial, I’m creating four identical cards, and cutting them later will make the process efficient.
Set Up Your Stampwheel
Remove the side frame of the Stampwheel 2.0 and place the cardstock sheet inside. Position the open side of the Stampwheel towards yourself, making it easier to move the cardstock for stamping.

First Layer of Stamping
For the first layer of stamping, use the solid floral stamp from the Craft Your Life Project Kit: Mixed Blooms. Stamp the floral design along the vertical line of your panel using Pink Pearl and Pinkalicious Fresh Dye Inks. Blend the colors evenly as you stamp to create a soft, seamless look.
Tip: You can adjust how much or how little of each ink color you use depending on your preference—every design will turn out beautiful!
Second Layer of Stamping
For the second layer, switch to darker inks like Rubellite and Coral Bliss Fresh Dye Inks. Apply these randomly on parts of the stamp and blend the edges with your finger or a blending tool to soften harsh lines. Keep stamping along the vertical line, moving the stamp slightly for variation.

Rotate and Repeat
After completing the top section, rotate your cardstock, place it back in the Stampwheel, and repeat the two-toned stamping process on the lower half of the panel to balance the design.
Cut the Panels
Once stamping is complete, use a paper trimmer to cut the cardstock into four A2 panels. Each panel should measure approximately 4.25″ x 5.5″.
Personalizing Each Card
Card 1: Full Coverage Stamping

For this panel, I decided to cover the entire background with the stamped florals, creating a more intense and bold look. Add a sentiment in the blank space on the left, or cut and pop up the sentiment for added dimension.
Card 2: Doodles and Dots

To keep it simple yet interesting, I used Coral Berry and Peach Perfect Dual Tip Pens to add hand-drawn doodles and dots along the stamped florals. You can also add a sentiment on the right side of this card.
I messed up the card panel and ended up with a smudge on the top portion. So, I used the backside of the Sticky Mat with the grid design to selectively stamp the grid on the panel to give it a grungy look and hide my accidental mishap.
Card 3: Balanced White Space

This card focuses on keeping some white space. I stamped extra florals on one side while leaving enough room for a sentiment in the open space. The contrast between the florals and the white space adds elegance.
Card 4: Ink Splatters

For a fun twist, I applied Pinkalicious and Pink Pearl Fresh Dye Inks onto the flip plate of the Stampwheel, spritzed them with water, and created ink splatters on the card. This technique adds an artsy touch and is a great way to change the design.
To watch how effortlessly these cards came together, click HERE or on the photo below to take you to the YouTube tutorial.

And there you have it—four beautiful, clean, and simple cards made in no time with the help of the new Stampwheel 2.0! These two-toned, one-layer cards are perfect for any occasion, and you can easily experiment with different color combinations to suit your style.

I hope you enjoyed this tutorial! Don’t forget to share your creations with me—tag me on Instagram, and I’ll feature your projects in my stories. Happy crafting!
~SUPPLIES~