Easy Interactive Memory Keeping feat. Pocketful of Joy Bundle (With Video Tutorial)
Hello crafty friends! It's Nathalie with you today bringing a new idea for an easy interactive memory keeping layout featuring the new Pocketful of Joy Bundle. This new bundle includes the beautiful Scandinavian Tag Die Set, and Pocket Sentiments stamp and die set. The delicate design in the pockets of the tags, as well as the sweet and versatile sentiments in the stamp set make this bundle a must for any occasion, especially holiday /gift card making.
I want to show you how this bundle can easily transform your regular memory keeping into a fun interactive page. Let's get started.
Easy Interactive Memory Keeping Page

I love how this interactive idea can help you document multiple pictures in a clean and fun way. Here is how this all came together:
1 – Create the background

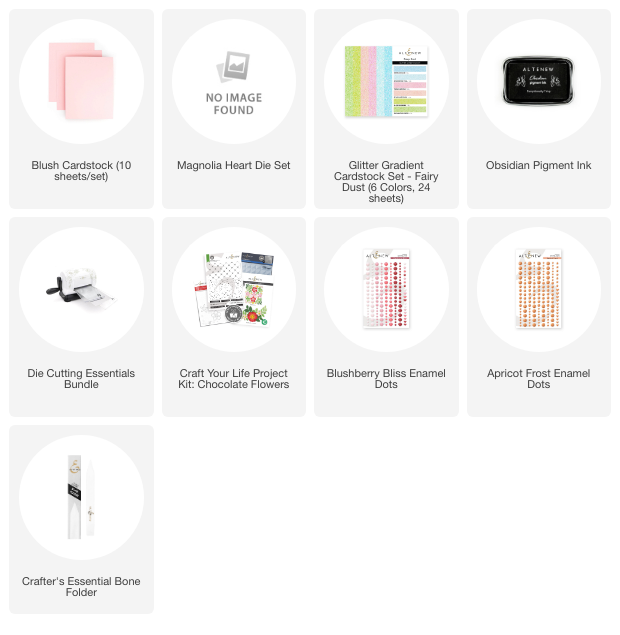
I am using the grid design stamp from Craft Your Life Project Kit: Chocolate Flowers and Obsidian Pigment Ink to create two borders along the 11″ edge of a Blush Cardstock sheet. These borders will help to anchor all the elements to the spread.
2 – Time for the interactive pieces

The new Scandinavian Tag Die set is the key for creating this easy interactive memory keeping layout. The design of tag and pocket are an invitation to adding/housing extra photos, memorabilia, and/or journaling. I'm choosing to use the tags to house extra photos and the pictures to 2 1/4″x 3 1/4″.

In addition, I am using the pocket design -only- to help me anchor extra sentiments and embellishments to the page. I am choosing the option of keeping this non-interactive as they complete and balance my page.
3 – Select a grid design
I set the pictures, tags, and pockets on a grid design on the page. I made sure that elements are set in a zig-zag design on the page, as this formation helps to make the page concise and easy to read.
4 – Add some embellishments

I am using a small color palette for my spread ( I picked the colors from the clothing my girls are using in the color photo), so I cut hearts from the Fairy Dust Glitter Gradient Cardstock and set them in the small insert (2 1/4″x 3 1/4″). The peaking hearts help balancing the size of the tags and pockets in the spread.

In addition, I am using the Pocket Sentiments to add sentiments to each of the pockets. I am changing the style of the pocket in the left side of page to transform the sentiment into the title of the page. Fpr this pocket, I am gluing one of the glitter hearts to the front of the pocket, then setting one of the die cut sentiments atop of it. A few enamel dots (Blushberry Bliss and Apricot Frost) help with the final touches of the layout.
5 – Time to journal

I added one last pocket to the bottom of the color picture (title pocket). My journaling insert is a piece of white cardstock measuring 2 1/4″ x 3 1/4″. I am using the small branch design of the stamp set to bring a bit of embellishing to the card without overwhelming the page.
Process Video:
You can watch how this memory keeping layout comes together in this video. You can watch it below or in HD over on the Altenew YouTube Channel.

I hope this inspires you to check this beautiful new bundle as I am sure you will love all the crafty possibilities!!
I cannot wait to see what you create!
———- SUPPLY LIST ————