Creative Layering & Watercolor Magic: Elevate Your Cards
by Erum Tasneem September 2, 2024

Hello, creative friends! It’s Erum here, and I’m thrilled to share a super easy and quick watercolor technique with you today, featured in the latest installment of my Creative Coloring with Erum video series.
If you love creating bold, vibrant cards without spending hours on coloring or struggle with using Watercolor Brush Markers, then this technique is perfect for you. I’ll walk you through one of my favorite methods to achieve stunning results with minimal effort. Plus, I’ll show you how to elevate your card design by using elements from the stamp set in a unique way!

- Start by stamping the floral image from the Build-A-Garden Lovely Rose Peony Stamp Set on Hot Pressed 5×7 Watercolor Sheet with Embossing Ink.
- Next, cover with Antique Gold Crisp Embossing Powder, remove the excess, and heat set.
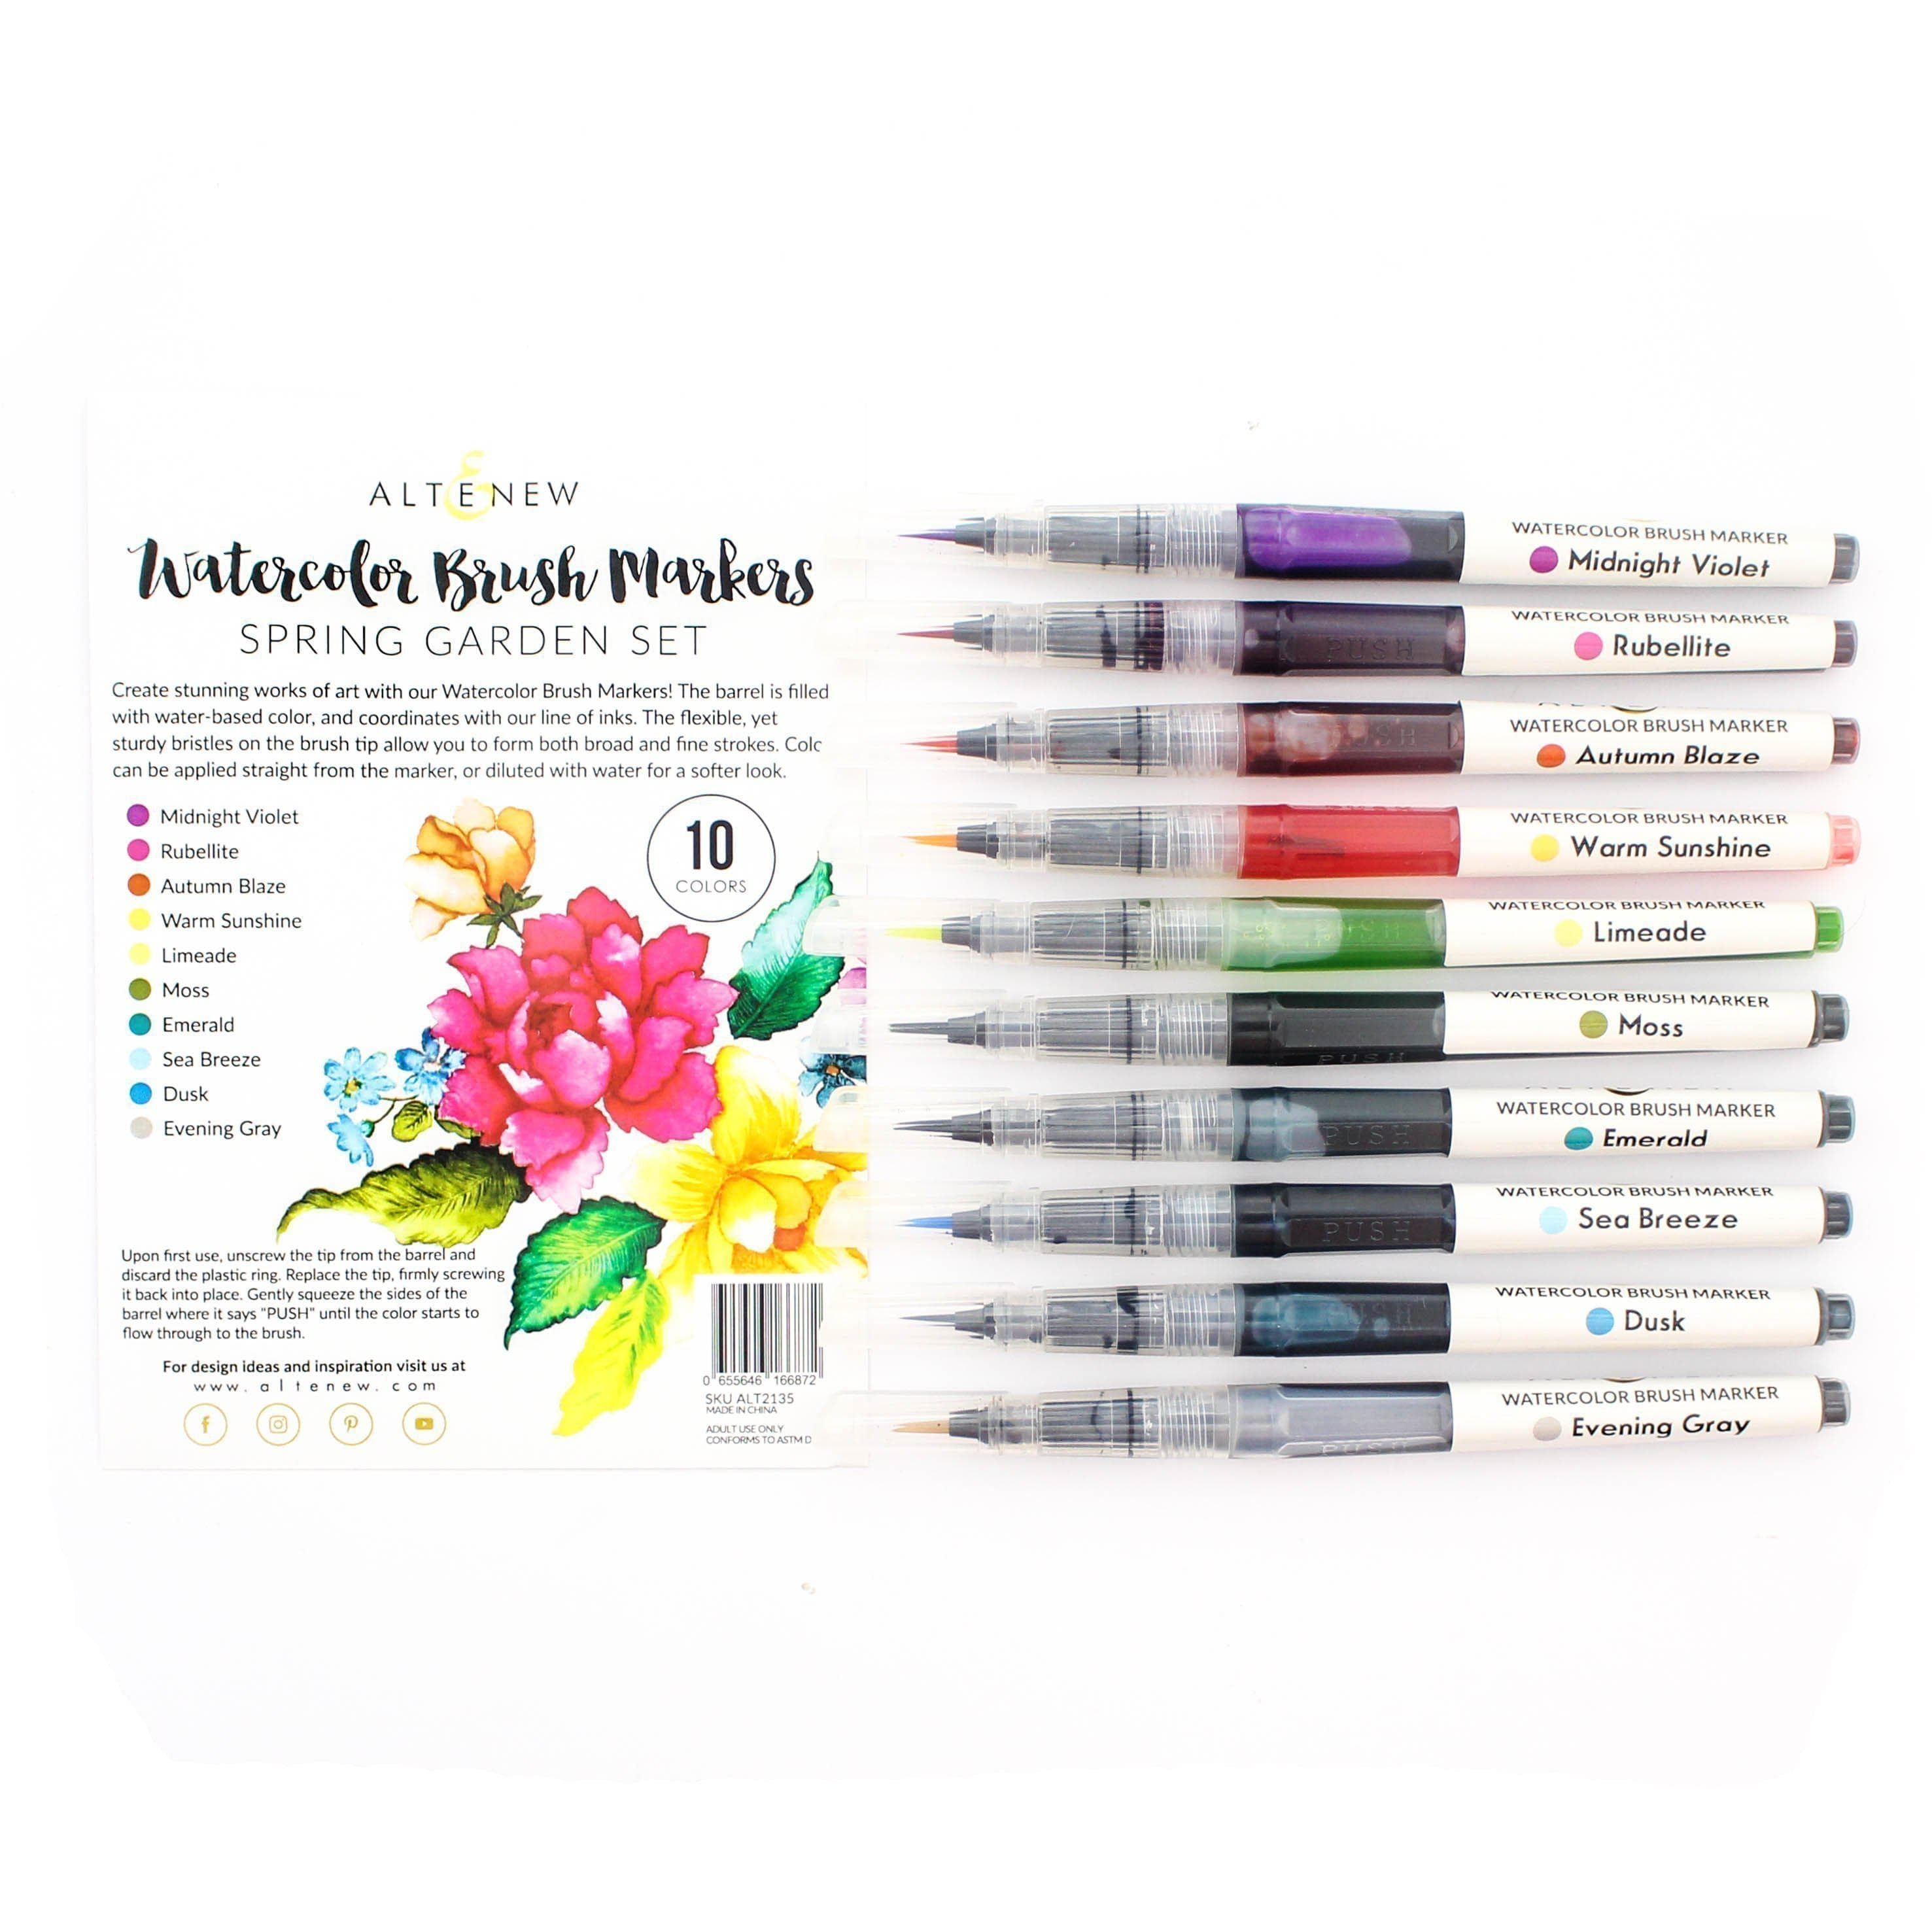
- Use Rubellite from the Spring Garden Watercolor Color Brush Markers Set to color the flower on the front. Scribble pigment right next to the base of the petals, then activate with water using a Watercolor Brush. Move the pigment towards the petal tips, diluting it as you go.
- Tip: If there’s too much pigment or you want to lighten some areas, twist a piece of tissue to a blunt point and gently blot the pigment. This random blotting gives a more organic look.
- Follow the same steps using Ruby Red from the Winter Wonderland Watercolor Brush Marker Set for the second flower.
- Use Lime from the Tropical Fiesta Watercolor Brush Markers for the leaves and Fresh Lemon for the flower centers. Set aside to air dry.
- Cut a panel 1/4″ smaller than your card size out of Olive Cardstock. If your card size is A2, this panel will be 4″ x 5 1/4″.
- Use Mountain Pine Fresh Dye Ink or Green Onyx Crisp Dye Ink to darken the edges with a Small Blending Tool. Tip: Green Onyx is very intense, so start lightly. I began with Mountain Pine and then added Green Onyx to the edges with a Mini Blending Brush.
- Add gold splatters from the Metallic Watercolor 14 Pan Set.
- Adhere it to a kraft cardstock base with Instant Dimension Foam Tape and set aside.
- Stamp the vase from the stamp set twice on Olive Cardstock, heat emboss it, and fussy cut it. Ink the edges with Mountain Pine Fresh Dye Ink using a Mini Blending Brush.
- Add splatters of clean water to the watercolored image, let it sit for a few seconds, and then sop it with tissue. The watercolor Brush Marker pigment is very reactive to water, and doing this will result in beautiful textures.
- Next, use the add-on die to cut the image, or fussy cut it if you don’t have the die. Arrange the vases as accents on the panel and adhere them with Instant Dimension Foam Tape. Then, adhere the image with foam tape as well.
- Heat emboss a sentiment on Olive Cardstock, cut it out, and ink the strip with Green Onyx Crisp Dye Ink to darken it. Pop it up with foam tape over the image.
- Add Metallic Gold Gem Sparkles to complete the look.
I hope you enjoyed this quick and easy coloring tutorial! It’s amazing how a few simple steps can create such a striking and elegant card. If you try this technique, I’d love to see your creations, so be sure to tag me on social media. Don’t forget to check out the full video tutorial by CLICKING THE PHOTO BELOW or click HERE to watch it on YouTube.
VIDEO: Creative Layering and Watercolor Magic

Happy crafting, and until next time, keep creating beautiful things!
~SUPPLIES~
|