Holiday Card with Tit Birds: A Winter Scene Full of Charm and Sparkle
Hi friends, Svitlana here. Today, I'm excited to share with you a holiday card with tit birds. This design features a couple of tit birds in a serene winter scene.
In my culture (I'm Ukrainian), tit birds are cherished symbols of the winter holidays, much like cardinal birds are in the USA. So, when I saw the recently released Sweet Garden Bird Die Set, I knew I had to use it to create a pair of these gorgeous feathered friends for a festive card.

Let’s Make the Birds for the Holiday Card!
The Sweet Garden Bird Die Set allows you to craft one left-facing bird using its layering dies. To create a companion right-facing bird, I flipped the die-cuts by adhering each layer back-side up. While the second bird lacks some of the debossed details due to the inversion, I think it turned out well enough to complement the design.
Flipping die-cuts does come with its challenges, and I’d love to share a couple of tricks I used to achieve a polished result.
First, the underside of a die-cut often picks up texture from the die-cutting machine’s bottom plate, which can make it look rough. To avoid this, I placed a piece of thin printer paper beneath my cardstock while die-cutting. This kept the surface smooth.
Second, flipped die-cuts can have slightly uneven edges. To fix this, I ran the die-cuts through the die-cutting machine again, sandwiched between two paper shims. This flattened the edges beautifully and made the pieces more uniform.
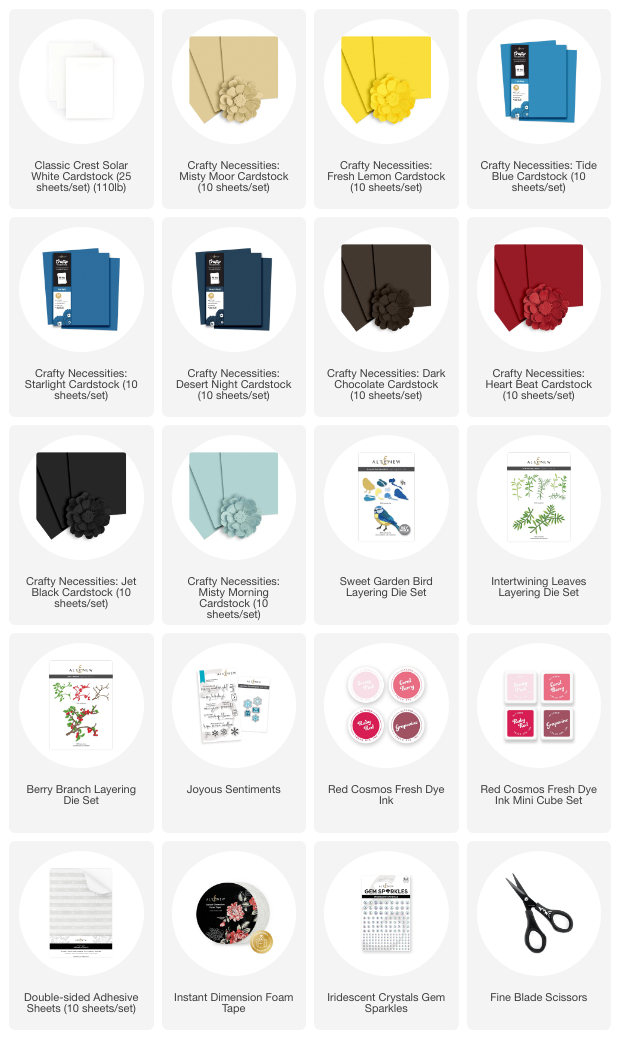
For the birds, I used Crafty Necessities Cardstock in the shades Moor, Fresh Lemon, Tide Blue, Starlight, Desert Night, and Jet Black. These colors brought the birds to life with a striking and natural look.

Designing the Winter Scene
The wintry background began with a panel of Crafty Necessities Misty Morning Cardstock, which I framed using white die-cuts from the thinnest dies in the Intertwining Leaves Die Set. The delicate white border added an ethereal touch to the card, perfectly capturing the quiet beauty of winter.
For the branch, I turned to the Berry Branch Die Set, using Dark Chocolate and Heart Beat Crafty Necessities Cardstock for the base and berries. To make adhering these intricate die-cuts easier, I applied Double-Sided Adhesive Sheets to the back of the cardstock before die-cutting. This technique saved a lot of time and ensured clean and secure placement.
The berries got a bit of extra attention: I sprinkled them with sparkling embossing powder for a frosty, festive effect. Instead of using a full branch, I strategically cut one die-cut into three smaller sections, arranging them around the birds to fill empty spaces. This way, I could stretch one branch across the design without wasting any parts hidden behind the birds—a trick I often use to maximize intricate die-cuts.

Assembling the Holiday Card
Once the branches and birds were in place, I foam-mounted the entire panel onto a white card base using Instant Dimension Foam Tape. The added height gave the design depth and brought the elements to life.
For the sentiment, I chose a stamp from the Joyous Sentiments Stamp Set. I stamped it onto white cardstock with Ruby Red Fresh Dye Ink, fussy-cut it with Fine Blade Scissors, and adhered it to the card using foam squares. The bright red sentiment added a cheerful holiday touch.
To finish the card, I sprinkled in some Iridescent Gem Sparkles for a bit of wintery shimmer. Combined with the sparkle of the berries, these gems added just the right amount of magic to the design.

Final Thoughts
This card captures everything I love about winter and the holidays—cozy scenes, nature-inspired elements, and a touch of sparkle. It was such a joy to combine the tit birds, symbolic of Ukrainian winters, with festive details like the shimmering berries and intricate branches.
If you're inspired by this holiday card with tit birds, be sure to try creating one of your own using these techniques.
~SUPPLY LIST~