An EASY Way to Add Depth and Dimension to Handmade Cards | Creativity Unlocked!

Hi Altenew friends, Hannelie here, and I am delighted to share some tips on how to easily add depth and dimension to your handmade cards! The stamp set I'm using today is part of the Craft Your Life Project Kit: Treasured Memories. This set has a lot of sweet and heartfelt sympathy card messages, so be sure to check it out if you're in need of sympathy sentiments.

Welcome to Creativity Unlocked, where we highlight a new product from each month's collection or a fan favorite from past collections!
 Add Depth and Dimension to Your Handmade Cards with This Easy Trick!
In the process of design, it's often the tiniest tweaks that can have a big impact. As I was busy making this sympathy card, inspiration struck unexpectedly! Initially intending to keep the design really simple, I was just about to assemble the card, when a leftover piece of cardstock caught my eye. I realized there was a way to keep the design simple, while adding a bit of interest.
But before we get to that part, let's go back to where it all started.
Create the focal point:
- Secure a piece of cardstock on the sticky mat of the Stampwheel.
- Position the stamp on the cardstock and use Obsidian Pigment Ink to stamp the image.
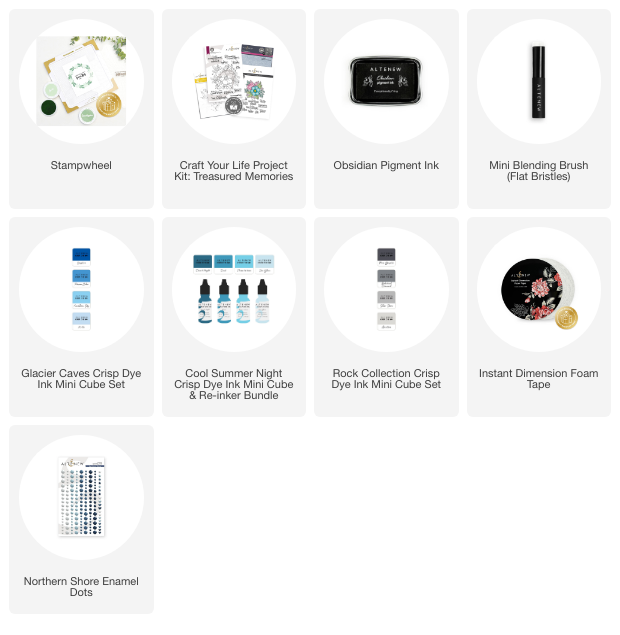
- Decide on a color palette and use the coordinating stencil set and a blending brush to color the image. I decided to use a monochromatic blue palette using inks from the Glacier Caves mini cube set, Cool Summer Night mini cube set as well as grays from the Rock Collection mini cube set.
- To prevent any shifting of the stencils during the inking process, keep the cardstock secure on the sticky mat. TIP: An additional benefit of retaining the cardstock on the sticky mat within the Stampwheel, and with the stamp still affixed to the clear flip plate, is the opportunity to re-stamp the outline post-stenciling, ensuring a sharp and defined black line.
- Remove the stamped and colored cardstock from the Stampwheel.
- Use the coordinating die to cut out the image.
- Decide on a layout for your card. I decided to divide the image into two sections, placing the larger part in the top right corner and the smaller portion to the bottom left. This card layout ensures ample space for stamping the sentiment of your choice. NOTE: All the sentiments of this set come with coordinating dies, offering further inspiration for your design decisions.
It was at this stage that inspiration struck!

Just before I completed the next step, I got the idea to use the left-over piece of cardstock from die-cutting the flowers, as a stencil to create a shadow effect behind the image.
For the first layer, I just applied the residue ink on the blending brush , which was Sapphire Ink from the Glacier Caves Mini cube set . I took it one step further, moved the ‘stencil' a bit and applied another layer of blue, choosing Dusk from the Cool Summer Night mini cube set, enhancing the depth and dimension of the shadow effect.

After the little detour, it is time to complete the handmade card.
- Stamp the sentiment.
- Adhere the two pieces to the card base using Instant Dimension Foam Tape.
- Embellish the card with Enamel Dots. I used dots from the Northern Shore Enamel Dot Set.

Here are a few things I usually keep in mind when designing a sympathy handmade card:
- Set the tone with a calming color palette. Monochromatic greens or blues are suitable.
- Use the minimum embellishments.
- Symbols from nature or appropriate symbols of religion are great choices as a focal point.
Pro Tip: Making a sympathy card in a moment of sadness is not easy. Try making a few cards when you have the time, so you'll have one on hand when needed.

If you have an easy idea to add depth and dimension to your handmade card designs, I'd love to hear from you! Please feel free to share your ideas in the comments below.
Wishing you a wonderful creative day, thanks for stopping by!
~Supply List~