2 Stunning, Easy Ways to Color in 3D | Take 2 With Therese + Video Tutorial
by Therese Calvird December 18, 2024

Hi there, it's Therese, and I'm back with another edition of Take 2 with Therese! Today, I'm sharing how you can turn 2 beautiful 3D bouquets into stunning cards!

2 Ways to Color in 3D with Embossed Images
There are many different ways to take 3D Embossing Folders a step further. Today's technique involves adding color to the embossed image, I've got 2 different ideas and a video which will walk you through the process step-by-step.
TECHNIQUE TIPS
- Choose a 3D embossing folder with an image such as a bouquet (and if possible, one that has a coordinating stencil).
- Emboss a cardstock panel placing the image in your preferred position (try not to hang the cardstock outside of the folder as this may leave ridges when embossed).
- If you are using a thicker cardstock or watercolor cardstock, you may need to give it a ‘light spritz' with water prior to embossing to help prevent the cardstock from cracking.
- Choose the medium you prefer. I used both alcohol markers and ink blending for my examples.
- You can change up the medium, but be aware that if the paper becomes ‘wet' it may lose some of the sharpness to the embossed areas. So, try not to overwork an area, or add too much water if you are watercoloring.
- PRO TIP: You can always re emboss the panel once it is colored and dried. Simply align the image back within the folder and run it through your die cutting machine a second time.
- Markers | Pencils | Watercolors – I like to start in the center of the petals/leaves with a darker color and then blend it out with a lighter version of the same tone. You may also notice that I added some of the darker color to the tips of some of the petals/leaves as well as left some white space. Both of these techniques add highlights to the image.
- Ink Blending – Use the coordinating stencil(s) to add as many layers of color as you like.
- If you decide to cut the panel down, use a paper trimmer instead of a rectangle die in a die cutting machine, as this will put pressure on the image and flatten it out.
- Use a strong adhesive to attach it to the card, as there is less surface area touching the card front in the embossed areas.
Idea #1: Artist Markers
This process does take some time, I won't lie. But if you like to color (and I do) then, that is part of the joy. I walk through the color in 3D technique in the video, but I basically use the embossed image as a guide. I colored with Artist Markers directly on to the petals and leaves blending them as I usually would when coloring a ‘flat' image

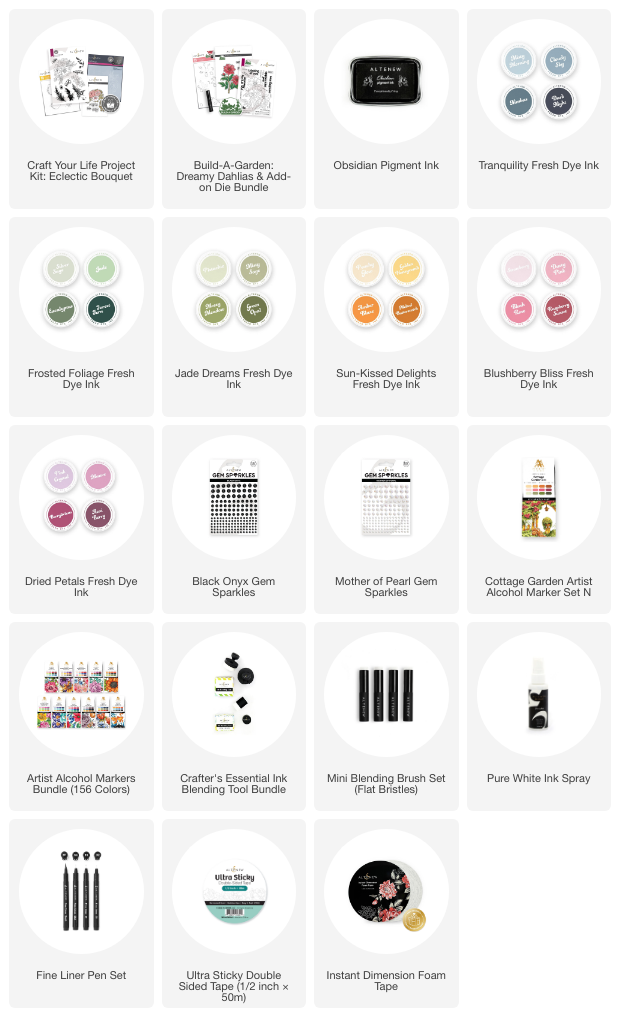
I used the Craft Your Life Project Kit: Eclectic Bouquet on both designs, but any bouquet or even a single large bloom would look amazing.
PRO TIP: Having trouble seeing the pattern? Check the product packaging, the shopfront will also have detailed images of the finished design OR if you have a coordinating stamp and stencil set, create it ‘flat' to use as a guide.

I added some Pure White Ink Spray splatters, but if you don't have a spray you can create the same look using a white water based paint or Titanium White Gouache and add a little water and splatter it with a brush instead. You may also notice some Mother of Pearl Gem Sparkles to embellish the design.

Idea #2: Ink Blending
I wanted to stretch this color in 3D technique a little and create a card in a more ‘modern' style.
So, I used the coordinating stencils and some ink blending to do this. A much EASIER and FASTER technique! It is a simple layering stencil set, but I chose to add only the ‘shadow' layer to the petals of the flowers, this left some fun white highlights.

The extra details such as, drawing in the flower centers with Fine Liners and, some Black Onyx Gem Sparkles really added some interest to this simple modern design.

I used the bold sentiments from the Build-A-Garden: Dreamy Dahlia Bundle on both cards.
BONUS TIP: Did you see my recent card which inspired today's ideas… you can check it out RIGHT HERE.

How to Take Embossing Folders to the Next Level Video Tutorial
Watch the video tutorial below to see how I made these cards. Click here to watch it in HD on YouTube.

I hope you are inspired to color in 3D on your next handmade card project!
Have fun crafting!
~ Supply List ~