It’s Christmas in July! Let’s Explore 6 Ways to Add Shimmer and Sparkle to Your Projects
by Erica Andersson July 30, 2025
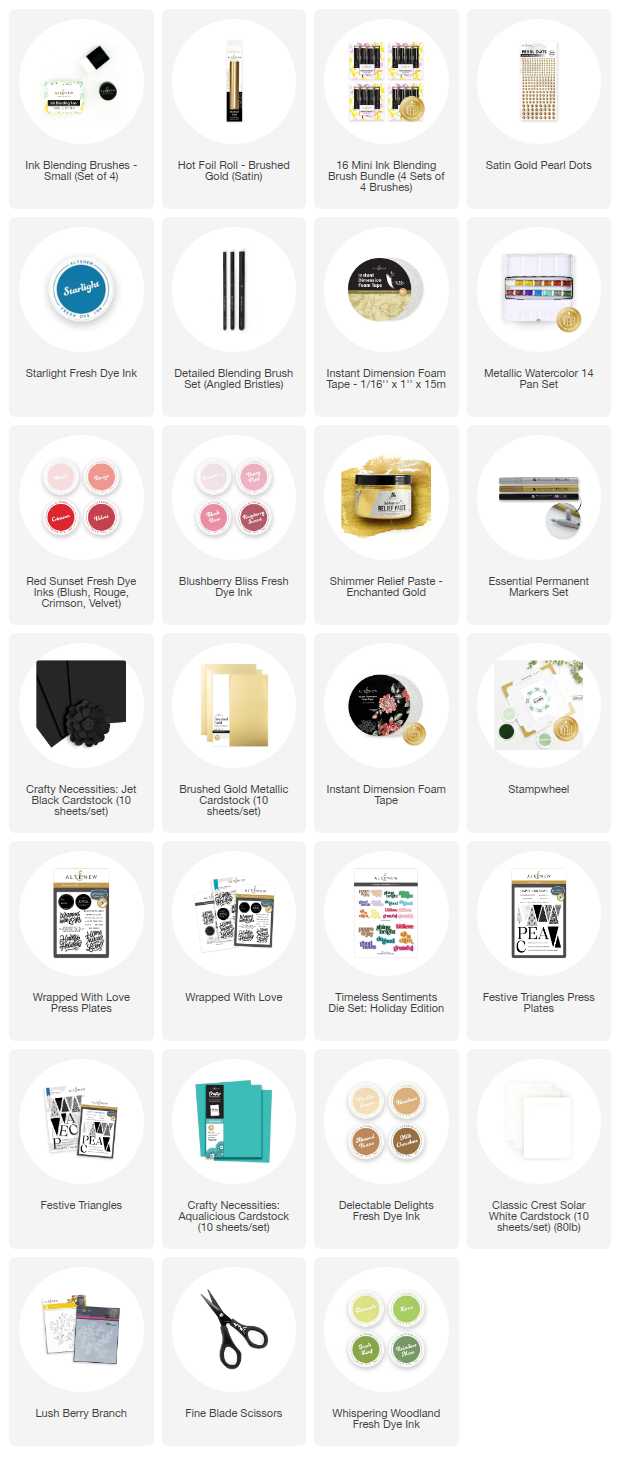
Altenew has an AMAZING array of bling and shimmer products, like Gem Sparkles and Pearl Dots, metallic card stock, hot foil, sequins, and metallic watercolors. So much to choose from! It's like a candy shop for crafters!
Hi Altenew fans and friends! It's your texture-loving gal Erica back on the Altenew blog and YouTube channel. Today I'm going to share four cards, all with different shimmer added to them. In fact, I have used SIX different shimmer/sparkle products on these cards. I like to cover all the basics, as well as all the options. I am definitely an 'options kind of person. Especially when it comes to bling, shimmer, and sparkle.

However, first things first: we need some actual cards to put all our bling and shimmer on, right? All these cards are made with the gorgeous Lush Berry Branch 3D embossing folder, as well as the coordinating layering stencils.

The texture on these panels is amazing, and could easily be the focal point of your card on its own.

The two panels done with white card stock were pretty straightforward. I have used the same ink colors, Raspberry Sunset, Reindeer Moss, and Milk Chocolate, plus a little bit of Crimson on one.
The reason for this is to show you that you can get different looks by changing up how you ink blend your colors. On the panel to the left, I have used a lighter hand at first, and then gone in with the same Reindeer Moss ink using a smaller ink blending tool to add contrasts and details. It's a subtle way of making your ink do more, without having to have loads of different shades and colors.

The panel on the right was done using a much heavier hand, and you can see the difference. It's perhaps not earth shatteringly different, but it is nonetheless different.
To really make them stand out from each other, they have both had different shimmer added to them too. I'm a HUGE fan of splattering gold water colour on backgrounds. It's probably one of my favourite, and possibly the most underrated way, of adding gorgeous and unique shimmer. No panel will be exactly the same!

The panel with the more opaque inks, I decided to add little gold details to the leaves with the Gold Permanent Marker. This is a great option if you like to have more control over where your shimmer will end up, compared to splattering water color, which will go wherever it wants.
I simply dotted each leaf with three gold dots, and this will add a fun detail as well as shimmer. Especially when the recipient tilts the card back and forth under the light. These Permanent Markers are also available in silver and black. The black one will not leave any shimmer through since it's just black.

Both of these cards have been finished off with hot-foiled sentiments. The banner is from the Festive Triangles Press Plate set, and the Happy Holidays is from Wrapped with Love. Both are hot foiled with Brushed Gold hot foil, a gorgeous gold shade, and is a very elegant way of adding shimmer.
On the Aqualicious panel, I used only two of the coordinating layering stencils, but I will say that I should have done stencil 1 and 3, before using the Shimmer Relief Paste on stencil 2. I think it would have added some more details. The ink colour I used is Starlight, and it's such a beautiful compliment to the aqua of the card stock.
I also overworked the Shimmer Relief Paste and made a bit of a mess. So memo to self and everyone who tries this: do not faff about and overwork the paste. Just put it down and remove the stencil asap.

I have managed to cover up some of the mess by adding the sentiment banner across the worst part. I'm not hating the result, as that Aqulicious card stock and the Shimmer Relief Paste (I used Enchanted Gold) are gorgeous together!

The last panel was probably the one that gave me most of a headache.. but the idea I had for it was sound, I just didn't execute the plan properly. If you watch the video , you will see what I mean. Ok, so the idea I had was to dab the Shimmer Relief Paste, again Enchanted Gold, through stencil 1 using my finger tip.
I might have been a bit too excited with the shimmer paste here, and a more gentle dab would have worked great. As it was, I probably added too much shimmer paste on my finger, and it kind of ended up around the edges of the stencil instead of just gracefully adding shimmer to the Jet Black card stock. I will try this again, and be much more patient then. I'm sure this will work fabulously to add shimmer to card stock.

This is the card with the most shimmer on it, which is not how I envisioned it turning out. I thought this was going to end up with some subtle shimmer, not this ka-pow level of sparkle, in all honestly! Ooh well, it might not have ended up like I saw it in my head, but I think the shimmer on this Jet Black card stock is a total knockout!
Just because it is the MOST shimmery of them all (ok, these four) does not mean we are going to stop here! Oh, no. We are going to take it up another shimmer notch! Oh yes, hold on to your horses and Shimmer Relief Paste!
I had a ready made word diecut from the Timeless Sentiments Holiday Edition, made with Jet Black and Brushed Metallic Gold card stock and whoa... it was just begging to be used! It's been adhered to the panel with some Instant Dimension Foam Tape, because you know.. layers, texture, and shimmer are life!
Now, we could have stopped here but are we? Nope. Not when there is Bling Town to go to, LOL! The Satin Gold Pearl Dots were the perfect shimmer icing to this cake. I have perhaps added a few more than a normal person would, but I had the Believe word sentiment staring me in the face and it was asking me 'is this enough? really?' and it wouldn't stop nagging me until we were both happy that we had almost out-shimmer-ed ourselves. (that is definitely a word now, by the way)

I hope that this post will stop any worry that I am not feeling myself after my last post, where I did not use a single bit of bling or sparkle. Hopefully this super maxed shimmer post has inspired you to get your own shimmer party on!
If you get a chance to check out the video over on the YouTube channel let me know which one of the shimmer elements is your favourite, but that is it from me for today! Thank you so much for hanging out with me today, see you soon again!
With sparkle, shimmer and light, from your gal Erica