Adding A Holiday Feel To Your Projects featuring Mini Delights: Time To Celebrate | Inspired By A Card with Nathalie + VIDEO

This beautiful new set can easily be used on all sorts of projects, and I think you are going to love the stamp set and the die (loving the die, personally) and find ways to use them. I'll be creating the cover of my December 2024 family album. The detail, design, and cuteness of this set make it perfect for all sorts of projects, especially those holiday-inspired ones.
Hello crafty friends! It's Nathalie with you to share a new idea on adding a holiday feel to your projects featuring the Mini Delights: Time To Celebrate. I am loving this new subscription and all the possibilities that it offers.
Let's take a look at what I have created with this new Mini Delight set for my memory-keeping album:

Work With Layers
This set is simple, but so much fun. In order to highlight all the pieces, I am taking advantage of layers to make them a focal point. This simple idea will be key on adding a holiday feel to your projects.

I wanted my cover page to add impact, so having acetate as the base of the page makes it. There is nothing better than a little bit of shine to adding a feel of holiday to your projects, therefore, I am adding a frame of Brushed Gold Metallic Cardstock to the white cardstock panel.
Adding A Holiday Feel To Your Projects with With A Repetitive Element

I want to show you how I use the design in the Mini Delights: Time to Celebrate die set to bring movement, dimension and that added touch of shine.

My idea for adding a holiday feel to your projects is all about using the small presents to create a familiar "tree" shape for the panel.
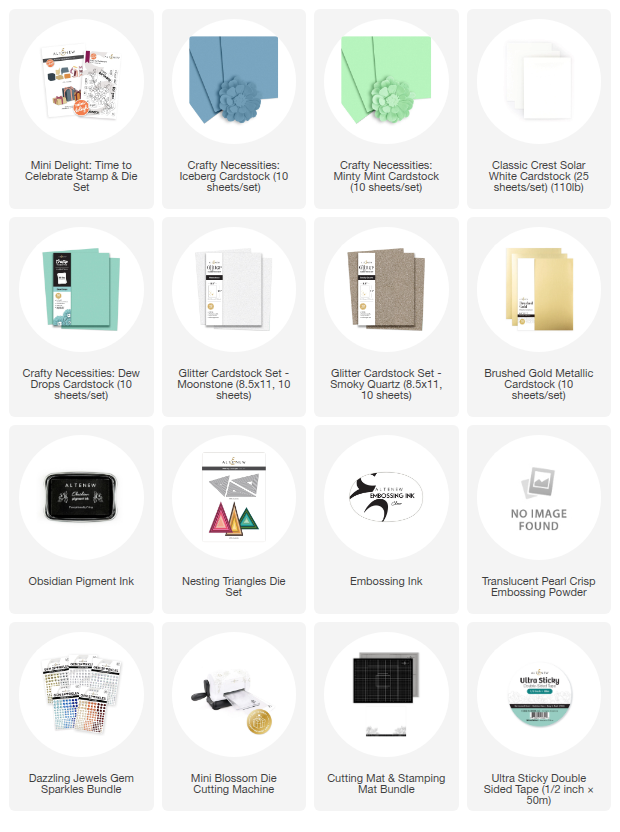
- Select Crafty Necessities Cardstock in Dew Drops, Minty Mint, and Iceberg to create the presents.
- Using Embossing Ink, Pearl Translucent Embossing Powder to stamp the floral image in the Mini Delights: Time To Celebrate onto the colored cardstock.
- Use the die in the Mini Delight set to cut the present shapes from the embossed cardstock, and also some of the solid color cardstock.
- Using White Cardstock, Mini Delight: Time To Celebrate, and Glitter Cardstock Smoky Quartz create the ribbon and bows for the presents.
- Using strong glue to assemble the die cut pieces into "presents", making sure that the solid die cuts have a glitter bow, and the embossed ones a simple white cardstock bow.

- Using the largest piece from the Nesting Triangles Die Set draw the shape onto the center of the white cardstock panel -this is how we go about adding a holiday feel to your projects-.
- Using foam adhesive attach the presents onto the penciled triangle. Keep the shape of the triangle in mind when attaching the pieces.
- Use Obsidian Pigment Ink to stamp the sentiment at the bottom of the triangular shape.
- Attach a few Metallic Gold Gem Sparkles to a few of the bows in the present pyramid.
Adding a Holiday Feel To Your Projects - Process Video-
I have created a video that highlights how you can add a holiday feel to your projects featuring Mini Delights: Time To Celebrate. Watch the video tutorial below to learn more about this technique, and check how you can take wax seals to a new level!
I hope the video has inspired you to use this new creative on adding a holiday feel to your projects idea featuring Mini Delights: Time To Celebrate. There is so much you can create with these new seal designs. I cannot wait to see your projects.
XO!
Leave a Reply