Chic and Easy Unisex Cards: Perfect for Any Occasion!
by Erum Tasneem June 17, 2024

Hello, everyone! It's Erum here, back with another exciting project and a VIDEO for the Creative Coloring with Erum video series. Today, I will share not one but THREE chic, stylish, and easy unisex cards. You can change the color or one element and make them more masculine for men or add a bit of glitter cardstock for the women in your life!
How to Create Chic, Stylish, and Easy Unisex Cards

All my unisex cards feature the amazing Modern Leaf Background Press Plate. I also used the coordinating Coloring Stencil to add color to the leaves.
Dramatic Background with a Pop of Color

- Place the Modern Leaf Background Press Plate on the BetterPress System and apply Obsidian Pigment Ink covering the entire plate.
- Secure the A2 cotton panel with Glue Tape and run it through the machine. Tip: Applying glue tape behind the panel helps secure it, so you won't need to adhere the panel with satin tape. This allows for full ink coverage on the panel. Pro Tip: You can use Altenew A2 Watercolor Cardstock if you don't have BetterPress cotton panels; it works just as beautifully!
- Next, use Jet Black Fresh Dye Ink and Dark Night Crisp Dye Ink to apply ink to the panel with a Small Blending Blending Brush. To add a darker ink around the periphery, use a Mini Blending Brush. Ensure to keep the center slightly light for a dramatic effect.
- Stamp one of the butterflies from the Dovetail Butterflies Stamp Set in Obsidian Pigment Ink on Classic Crest Solar White Cardstock.
- Next, Stamp its full layer using Aqualicious Fresh Dye Ink.
- For a dramatic effect, apply Teal Cave Fresh Dye Ink to the stamp's edges. Soften the ink edges with your finger or a blending tool, and stamp over the ink layer again. This will create a darker edge around the butterfly.
- For additional drama, use a Micro Blending Brush and Dark Night Crisp Dye Ink to add light inking around the edges of the butterfly.
- Adhere the panel to an A2 card base.
- Adhere the butterfly with Instant Dimension Foam Tape.
- Adhere Black Onyx Gem Sparkles to the butterfly's body (optional).
- Stamp a sentiment from the Sentiment Strips 3 Stamp Set and adhere the sentiment with foam tape.
Monogram and Texture

- Following steps 1 and 2 in the previous instructions, prepare a BetterPress panel with the Modern Leaf design.
- Use Modern Leaf Background Stencil 1 to add Dark Night Crisp Dye Ink to the leaves with a Detailed Blending Brush, ensuring it is deeper on the base and lighter on the tips.
- Use the largest die from Labels & Tags 1 Die Set to cut out the shape and save the rest for the next card.
- Use a Mini Blending Brush and leftover Dark Night Crisp Dye Ink to lightly apply ink to the edges of this frame. Set aside.
- Cut a slightly larger than 1.75″ x 5.5″ strip of Solid Cardstock Set – Lagoon and emboss it with the Crystal Wall 3D Embossing Folder.
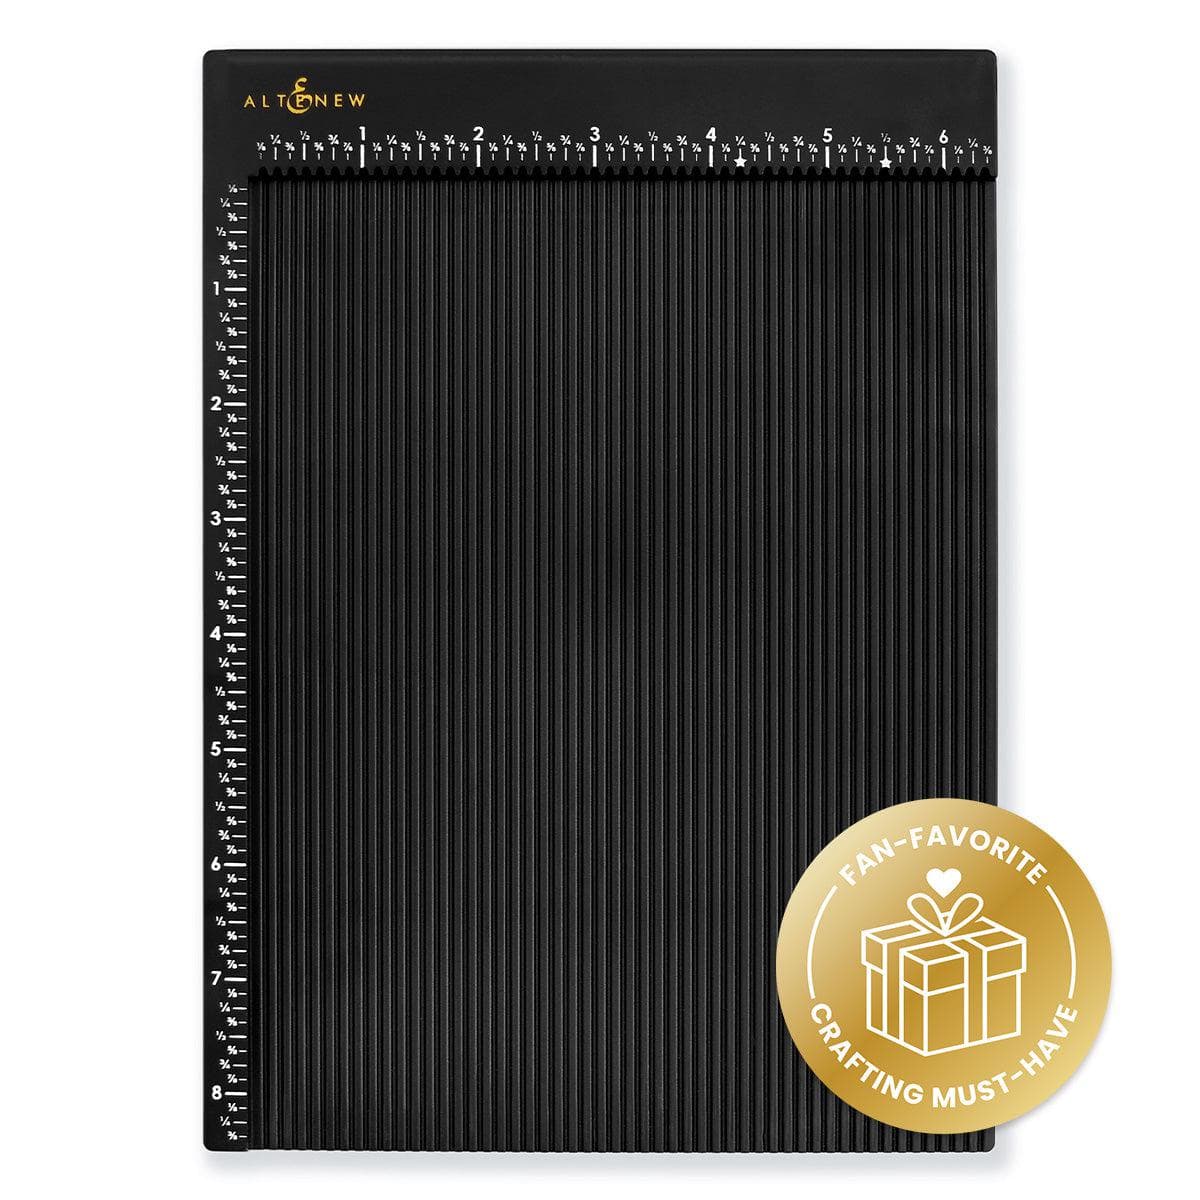
- Use a separate panel for the card front or add score lines directly on the front of the card base for texture to the card base using the Crafter's Essential Score Board. I added three lines without skipping, skipped two, then three, and so on.
- Adhere the strip to the A2 card base with Instant Dimension Foam Tape. Then, adhere the die-cut frame with the Instant Dimension Foam Tape.
- Die cut the letter “T” or your choice of letter from plain white cardstock and the Classic Alphabet Die Set a couple of times. Use Aqualicious Fresh Dye Ink to ink up the first layer, adhere the rest of the layers to make it sturdy. Then adhere the monogram in the center of the label die-cut.
- Stamp a sentiment from the Sentiment Strips 3 Stamp Set and cut it into a strip. Adhere it to the card front.
- Adhere two gems on the side of the label die-cut from the Black Onyx Gem Sparkles.
Drop a Banner, Pop a String, Add some Shine

- Cut a 2.25″ x 4.25″ out of the leftover Modern Leaf piece from the last card.
- On the backside of this strip, find the center from either less wide edges and move up an inch or so or however long you prefer the fishtail (banner) cut to be. Cut diagonally from both corners to that point to create the fishtail banner. Set aside.
- Use one of the hearts from the Halftone Nesting Hearts Die Set and Solid Cardstock Set – Lagoon to cut out one layer. Cut one more layer from plain white cardstock to adhere as a backing. Det the backing aside.
- Use Dark Night Crisp Dye Ink and a Mini Blending Brush to add inking along the edges of the teal heat die-cut to add dimension. Then, adhere the plain white heat behind it with liquid adhesive.
- Die cut the sentiment “hugs”from the Versatile Greeting Die Set and the offset from black and white cardstock, respectively. Adhere them together.
- On an A2 card base, add splatters with a paintbrush from Jet Black Ink Spray.
- Then, adhere the banner on the left-hand side with Instant Dimension Foam Tape.
- Before placing the heat with foam tape, roll a bit of Silky Lilac Thread from the Metallic Thread Set to add texture and shine.
- Place the sentiment die-cut over the heart.
- Finish the design by adhering Metallic Gold & Silver Gem Sparkles.
 Chic and Easy Unisex Cards Video Tutorial
You can watch the process video by clicking the photo below or head to YouTube.

I hope you enjoyed these quick and easy unisex cards that look super chic, too! Add glitter cardstock for your female friends, or swap the color to make it more masculine. Also, try using two colors for added vibrancy! I have so many ideas buzzing in my head that I could go on and on! I would LOVE to see your take on this! Don't forget to come back and share your cards with us. Leave a link or tag us, and we'll make sure to pop by!
Thanks so much for stopping by!
~SUPPLIES~
|