Majestic Mountains Layering Stencil Set | 2 Bright Stencil Techniques + Video Tutorial
by Therese Calvird December 20, 2023

Hi, it's Therese, and I am back with another edition of Take 2 with Therese. Today, I'm sharing 2 bright stencil techniques to stretch your creativity with stencils!
A New Bold Look with 2 Amazing Stencil Techniques!
 Stencils are an easy way to add color quickly, and with layering stencils such as the Majestic Mountains Set, you can achieve a fabulous realistic look.
Today, I decided to change up the color combinations to make the mountains less realistic and more bold and bright. But I wanted more…
Technique #1 – Reverse Image!
The first of the stencil techniques I'll be introducing today is something called the Reverse Image technique.
I wanted to blend a sky behind the mountain but didn't have the positive portion of the image to do this. So, to create the reverse image of the mountain I created a quick mask using a pencil and Masking Paper.
It was easy to fussy-cut this out with some Fine Blade Scissors and the best thing is that I can re-use this mask if I want to.

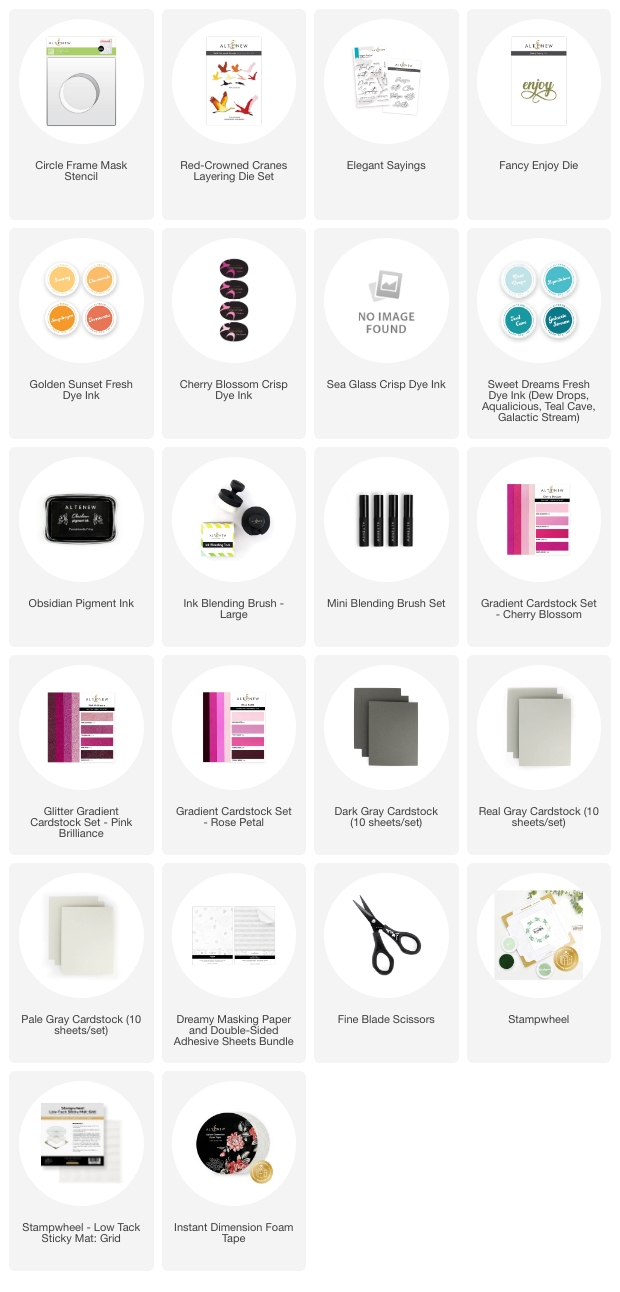
I started with a Pink Diamond base, but otherwise, this mountain was blended using the Golden Sunset Fresh Dye Inks.
PRO TIP:
The Stampwheel Sticky Mat: Grid is the perfect companion to hold stencils in place when blending!
 I added one of the Red-Crowned Cranes from the layering die set, as well as a sentiment from the Elegant Sayings Stamp Set.
But why stop at one bright mountain when you can have two? My next color choice is pink!

Technique # 2 – Layering Stencils!
Why not create a unique focal point using a second stencil?
For example, today I used the Circle Frame Stencil as a base to add the Majestic Mountains image, it changes the look completely and actually makes it more like a focal point.
This time I added a hot pink glittery Red-Crowned Crane.
PRO TIP!
I like to stencil my images onto a separate piece of cardstock and add this to the front of the card, that way, if I make a mistake I have wasted less of my precious cardstock lol.
 And a layered Fancy Enjoy Die cut sentiment.
 You can see my video below.
I hope you are inspired to create with your stencils today! Let me know in the comments below what other stencil techniques you'd like to try out. Have fun crafting!
~ Supply List ~