How To Add Spotlight Shimmer: A Touch Of Sparkle With Carissa Wiley
by Carissa Wiley August 27, 2026

Key Takeaways
- Spotlight Shimmer Technique: Apply shimmering paste over targeted stenciled areas to create an eye-catching focal point without overwhelming your card design.
Easy Vellum Stencil Hack: Create a clean, perfectly blended rectangular background using vellum and nesting dies as temporary stencils.
Product Compatibility: Works best with the Softly Sketched Blooms stamp and stencil suite alongside Pearl Shimmer Relief Paste for a subtle, elegant shine.
Beginner-Friendly Workflow: Simple combination of ink blending, stamping, and dimensional paste technique suitable for papercrafters of all skill levels.
Have you ever wanted to add some spotlight shimmer to bring a touch of sparkle to your handmade cards? I will show you how to achieve this stunning effect—and it is much easier than you think! Stick around, and I will walk you through the entire process step-by-step.
Hi everyone! It’s Carissa Wiley here with you today to share two clean and simple cards that incorporate spotlight shimmer to make them truly shine. These cards feature the Softly Sketched Blooms product suite, which offers a beautiful, whimsical floral design that is perfect for everyday paper crafting and clean-and-simple card designs.

What Is the Spotlight Shimmer Technique?
The spotlight shimmer technique involves applying a shimmering medium—such as relief paste, glitter paste, or shimmer ink—over specific, isolated areas of a stamped or ink-blended focal point. Rather than covering an entire card panel with shimmer, this technique draws the recipient's eye directly to a targeted portion of the design, creating high contrast, tactile texture, and visual interest without overwhelming the card layout.

Creating a Blended Focal Point with Vellum Stencils
To start, I created areas of soft ink blending toward the center of my card panel to anchor the design. To get a perfectly crisp rectangle, I used vellum and the Nesting A2 Panels die set to create a quick, temporary stencil. Masking off the edges this way allows you to achieve smooth, blended color exactly where you want it on both cards.
Once my background blending was seamlessly in place, I stamped the gorgeous main floral image from the Softly Sketched Blooms stamp set directly over the top of the blended area using a crisp black ink.

Adding Spotlight Shimmer with Relief Paste and Stencils
With the ink blending and stamping complete, it was time to bring in the main feature: the sparkle! I picked one of the coordinating stencils from the Softly Sketched Blooms stencil set to layer over my stamped image. Then, using a palette knife, I applied Pearl Shimmer Relief Paste directly through the stencil openings.
This technique applies a subtle, tactile touch of shimmer right over targeted sections of the stamped image. You can customize this technique by choosing different stencil layers to create more or less spotlight shimmer depending on your personal taste—the choice is completely yours!


Watch the Step-by-Step Video Tutorial
I demonstrate exactly how these two cards came together in today’s video, showing you the blending, stamping, and paste application in action. Be sure to check it out below for detailed step-by-step instructions and practical cardmaking tips!

Thanks so much for stopping by and hanging out with me today! I hope you felt inspired to try adding a little spotlight shimmer to your next paper crafting project. Until next time, I hope you have a fabulous and creative day!
XOXO,
Carissa Wiley
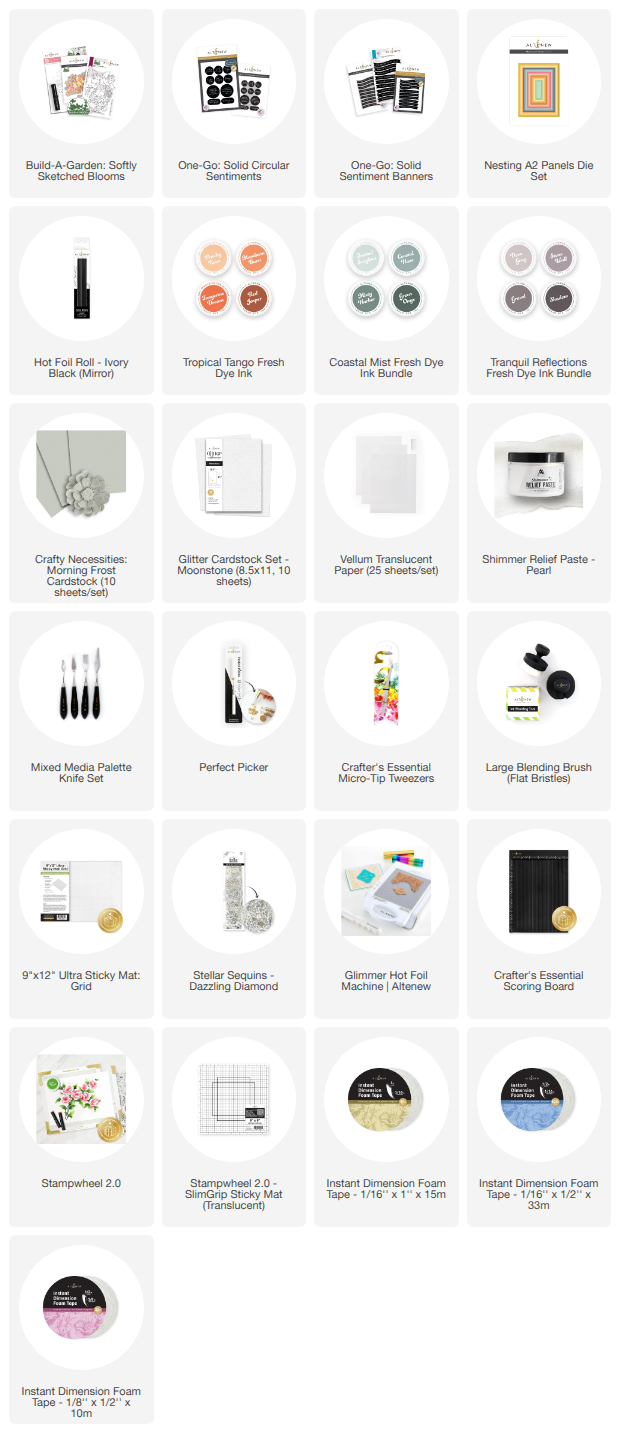
SUPPLY LIST