Enhance Your 3D Embossing with Just One Ink! (Step-by-Step Video Tutorial)
Hello there, Michelle here with another edition of Terrific Tags with Michelle. Today, I am adding shine to 3D embossing. Last year, I shared an idea using the back of embossing folders with black ink, today I am back for part 2. This time I'm using gold ink!

3D Embossing
I started off by die cutting two tags using one the larger tags from the Terrific Tags Die Set. I cut one tag from white cardstock and one tag from black cardstock.
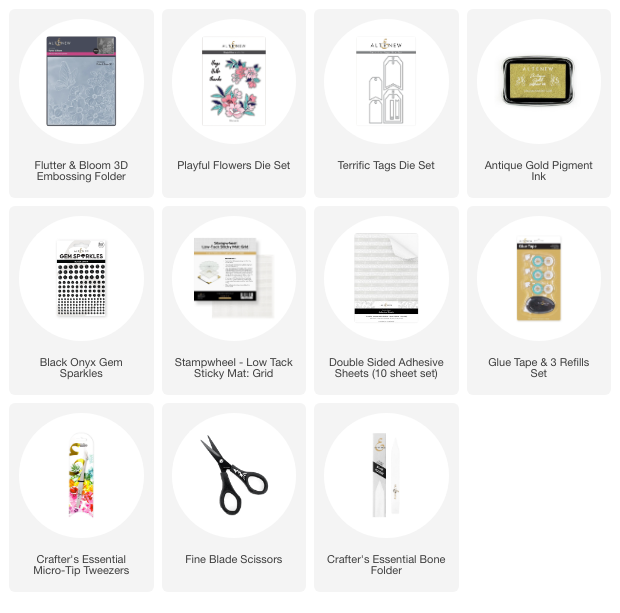
They were placed (one by one) into the back of the Flutter & Bloom 3D Embossing Folder and then run through my die cutting machine.
I added the tag to the back of the embossing folder as we are using the debossed side of the folder today, rather than the embossed. If you add the tag to the front of the folder and then turn it over, remember that the image will be mirrored!

Add Shine
I placed the tags onto a Sticky Mat and then going direct to paper, I smooshed Antique Gold Pigment Ink on top to add the ink to the raised areas.
How much ink you add to the debossed areas will be dependent on how much pressure you add with the ink pad.
For the white cardstock tag, I wanted the raised areas around the image to be completely opaque, with no white cardstock showing. For this, I took the corner of the ink pad and pressed and swiped heavily onto the tag to add as much ink as possible.

For the black cardstock tag, I wanted there to still be some cardstock showing through on the outsides, so I simply pounced the ink pad onto the tag to get the desired effect. I then heat set the tags using my heat tool to dry the ink.
Tip: Pigment ink does take some time to dry and if you add a lot of layers like I have on the tags, it will take even longer. Be patient, it will dry eventually!

Hide the Embossing on the Back
Since I used the debossed side of the tag, you can still see the embossed image on the back. To hide this, I die cut tags to add to the back. They were adhered to the back of the inked ones using Glue Tape.
This not only hides the embossing, but also gives me somewhere to write a personal message as well.
I then added black twine through the tags and tied in a bow at the front.

Add a Sentiment
I added Double-sided Adhesive Sheet to the back of a piece of black cardstock and also white cardstock. I die cut the ‘hello' word from the Playful Flowers Die Set from both sheets three times.
They were adhered one on top of another for added dimension (each word being three die cuts high). They were then adhered to the tags, pressing down firmly with a Bone Folder. To finish off, I embellished with Black Onyx Gem Sparkles.
Video Tutorial
I hope I have inspired you to try adding shine to 3D embossing with metallic ink! You can watch the full process video below or on YouTube.

Have you tried using pigment ink to add shine to your 3D embossed images? I'd love to hear from you. Let me know in the comment section below!
Thank you so much for stopping by today, I hope you have a wonderful day!
Supplies