Add Faux Gold Gilding to Projects | Terrific Tags with Michelle (With Video Tutorial)
Hello there, Michelle here with another edition of Terrific Tags with Michelle. Today I have a fun technique to share with you – faux gold gilding using 3D embossing folders and metallic watercolors.

Create a 3D Embossed Image
I started off by die cutting the largest size of tag in the Terrific Tags Die Set from Classic Crest 110lb Solar White Cardstock.
I placed it inside the Leafy Splendor 3D Embossing Folder and ran it through my die cutting machine to emboss the design on the tag.
I then placed the tag on a Sticky Mat to hold it in place and placed the first of the Leafy Spelndor Simple Coloring Stencils on top.

Add Color + Faux Gold Gilding
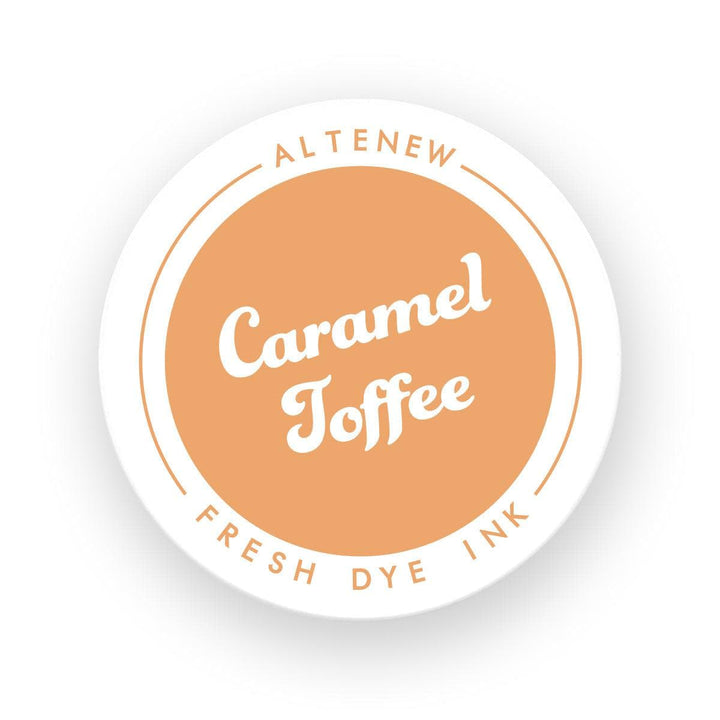
Using Micro Blending Brushes, I randomly added color to the leaves using Buttercream Fresh Dye Ink, Caramel Toffee Fresh Dye Ink and Ruby Red Fresh Dye Ink. I then added a little Midnight Violet Crisp Dye Ink.
TIP: Purple and orange create brown, so if you do not want that color on the leaves, make sure to add the purple where the red is, rather than the orange!
Before I removed the first stencil, I added a little water to Gold Pearl Metallic Watercolor and then using a sponge applicator, dabbed this onto the leaves. I made sure not to cover all the leaves but just added it in random places. This makes it look like the leaves have beautiful gold gilding on them!
I then did the same process with the second stencil to add the ink and gilding to all the leaves.
TIP: This gilding effect can be achieved with gold ink, but I knew that the watercolor would dry quickly (since I did not add much water to it and sponged it on). I wanted to move on to the next stencil without smearing the ink and it worked brilliantly!
I have also shared a similar technique adding gilding to 3D embossing with embossing powder. You can see that here.

I cut another of the tags from Classic Crest 110lb Solar White Cardstock and adhered it to the back of the embossed one using Glue Tape. This not only gives stability to the tag but also hides the debossing on the back.
I cut the hole reinforcer/eyelet from the Labels & Tags 2 Die Set from white cardstock and adhered it to the top of the tag.

Add a Sentiment & Embellish
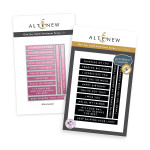
I made a few sentiments in my last post using the One-Go: Solid Sentiment Strips Press Plate & Die Set by pressing with Jet Black Ink. I took the ‘thinking of you' one and cut it in half. The strips were adhered to the tag using Instant Dimension Foam Tape.
I threaded Antique Gold Metallic Thread through the top of the tag and tied in a double bow at the front. I then embellished with Antique Gold Sequins to match the gilding.
Video Tutorial: Faux Gold Gilding
I hope I have inspired you to try adding faux gold (or any color) gilding onto your projects. It especially works well with 3D Embossing Folders but can be used in other ways too! You can watch the full process video below or on YouTube.
Thank you so much for stopping by today, I hope you have a wonderful day!
Supplies
|