Try This Idea for a Romantic Monochromatic Project feat. Build-A-Garden: Happy Blooms (+With Video Tutorial!)
Hello crafty friends! It's Nathalie with you to try a new idea for a romantic monochromatic project featuring the new Build-A-Garden: Happy Blossoms subscription from Altenew. This new set includes a gorgeous, detailed stamp set, a layering coloring stencil that will let you customize your project. I am using the new set to create pocket page spread for my 6x8 family album, but you can also use the idea for a creative project of your own.
Let's take a look at what I have created with these new Build-A-Garden:Happy Blooms set.

Start with A Simplified Color Palette
The first step when creating a romantic monochromatic project is to select a base color, then find tones/shades of the same color that you can layer to bring depth and interest to the color. Think as this as a gradient of the color, and the ability to highlight areas of the project by layering same-colored pieces.

The saturated tone of the Crafty Necessities Sandy Blush Cardstock is the perfect base for my project as it is rich in warm pink will help showcase the delicate details in the Build-A-Garden: Happy Blossoms. Imagine the possibilities in color when you build a romantic monochromatic project of your own,

Here is how I created the title/journaling side of the spread
- Trim a 5.75"x8.25", and two (2) 4"x4" pieces from Crafty Necessities Sandy Blush Cardstock.
- Use the Build-A-Garden: Happy Blossoms stamp set, Embossing Ink, and Pure White Crisp Embossing Powder onto heavy tranparent vellum
- Use the Build-A-Garden: Happy Blossoms Add-on Die to separate each of the stamp images fromt the vellum paper.
- Using Mauve Fresh Dye Ink, and Berrylicious Fresh Dye Ink to lightly color the back of each of the flowers, only.
- Adhere the vellum die cuts around the edge of the cardstock to create a frame around it. Clean all the excess vellum pieces from the edges.
Using Die Cutst to Bring A Romantic Touch to Your Project

The soft look of the heat embossed images is the perfect way to bring a romantic monochromatic project to the next level. The softness of the image has a similar feel of lace when added atop the cardstock. This is the key to a successful look for your project.
Finishing Details for A Romantic Monochromatic Project

The final touches in a romantic monochromatic project will ensure that the look of the spread remains soft but luxurious while staying simple in design and tying both sides of the spread together. Here is how it is created:
- Adhere a piece of the heat embossed images to the left side of each of the 4x4 cards.
- Adhere a Sandy Blush Enamel Dot to the center of each of the flowers in the die cuts in the cards.
- Use Iridescent Crystal Gem Sparkles to add extra interest to the centers of the flowers in the journaling/title page of the spread
- Use Timeless Sentiment Die set to cut the title sentiment from Moonstone Glitter cardstock, and the respective shadow from Crafty Necessities Sandy Blush Cardstock.
- Assemble title and adhere to title page.

- One final step to completing a romantic monochromatic project is to ensure that the extra embellishments also stay within the same color tone/gradient. This way the die cuts remain the focal point of the spread.
- Remember to play with textures when adding your embellishments. The different look or tactile feel of the embellishments will add interest to the spread.
- The frame created with the vellum die cuts will not be symmetrical. Instead focus on an organic look that leaves space for every piece to shine.
Try This Idea For A Romantic Monochromatic Project - Process Video-
Watch the video tutorial below to learn more about this technique and check how you can create a romantic monochromatic project featuring Build-A-Garden: Happy Blossoms.
I hope the video has inspired you to use this new creative idea for a romantic monochromatic project for your next crafting adventure. There is no limit to what you can create with this new idea. I cannot wait to see your projects.
XO!
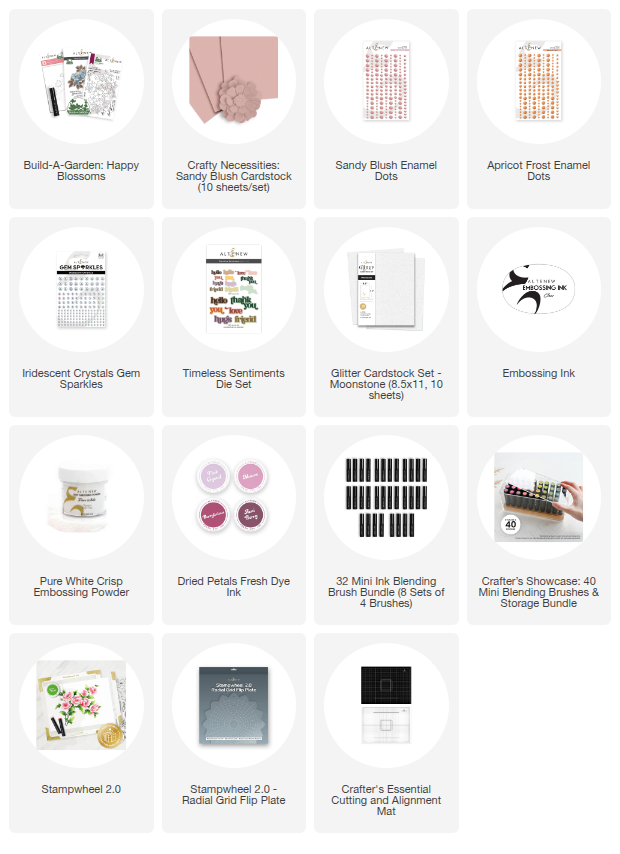
SUPPLY LIST
|