Easy Jewel-Toned Florals with Watercolor Brush Markers
Hi there, everyone! Welcome to Creative Coloring with Erum. Today, I am sharing an easy and relaxing way to create a jewel-toned floral card using Watercolor Brush Markers. This technique is stress-free, forgiving, and perfect if you enjoy loose watercoloring without worrying about perfection.

VIDEO: Easy Jewel-Toned Watercolor Florals
Watch the video tutorial below or CLICK HERE to learn more about this coloring technique! Or read step-by-step instructions after the video.
Step 1: Prepare the Watercolor Panel
- Start with a panel of 5x7 Hot Pressed Watercolor Cardstock. Since we will be heat embossing, prep the surface using an anti-static powder tool.
- Place the panel into the Stampwheel 2.0 and stamp the floral image from the Build-a-Garden Happy Blossoms Stamp Set using Embossing Ink. Stamp the image a few times to ensure good coverage.
- Heat emboss the image using Antique Silver Embossing Powder.
Tip: If you find it difficult to see the stamped image, stamp once more using a matching pigment ink. I used Silver Pigment Ink since I will be heat embossing with silver powder. This helps avoid missed areas where embossing powder may not stick.

Step 2: First Layer of Watercolor (With Paintbrush)
For coloring, I am using the Winter Wonderland Watercolor Brush Markers.
Flower colors:
Lagoon
Persian Blue
Leaf color:
Jet Black
If you find watercolor brush markers difficult to control, apply the pigment onto a palette or any smooth, non-porous surface and pick it up with a damp paintbrush.
I am using Fine Watercolor Brushes, sizes 1 and 2. Use any brush size you are comfortable with.
- For this project, I am working wet-on-wet. Apply water to the flower area and slightly outside the lines. This helps avoid a stark white edge after die-cutting.
- Apply Persian Blue to the base of each petal and Lagoon to the petal tips. Use clean water or diluted pigment to blend lightly while keeping both tones visible. Do not overmix.
Remember, it is okay to go outside the lines. This technique is loose and expressive, and perfection is not the goal.
Tip: Going outside the lines helps avoid white edges after die-cutting.

Step 3: Coloring with Watercolor Brush Markers
- Next, I switch to applying pigment directly from the Watercolor Brush Markers for more vibrant florals.
- Apply the pigment, then use the brush marker or a paintbrush with water to blend slightly. Adding water allows the pigment to flow and creates variation in each flower.
- I switched to a size 4 brush to apply water more freely. You can also alternate color placement, applying Persian Blue to the petal tips on some flowers and Lagoon to the base on others.
- Have fun with this step. This is very stress-free coloring.
- You can always go back and add more pigment. These markers remain reactive even after drying. You can also create a soft splatter effect by adding water splatters to the dry petals and blotting with a tissue.
- Apply water to the leaves and drop in Jet Black pigment at the base. Use a paintbrush to gently pull the color outward, keeping the tips lighter.
- If needed, add a bit more concentrated pigment at the base and let it flow naturally.
- Once completely dry, die-cut the floral image using the coordinating die.
Tip: Do not overblend your colors. Let them sit next to each other for a nice effect.

Step 4: Creating the Background
- For the card front, I used Industrial Diamond Cardstock.
- I die-cut five circles using the Nesting Circles Die Set in sizes 2, 3, 4, 7, and 10. To add texture, I embossed each circle using the Textured Blocks 3D Embossing Folder, placing each circle into a different block for varied texture.
- Ink the circles lightly with Jet Black Fresh Dye Ink, focusing on the edges and adding a bit more ink as needed. I also lightly inked around the edges of the background panel.
- Adhere the background panel to the card base.
- Pop up the two largest circles using Instant Dimension Foam Tape and adhere the remaining circles flat.
- Adhere the floral image using Instant Dimension Foam Tape.
- Add splatters using Sterling Silver Watercolor from the Metallic Watercolor 14 Pan Set. This is where I went a little overboard, but it works for this design.
- Finish by heat embossing a sentiment and adding Smoky Quartz Gem Sparkles.
Tip: Water splatters on dry pigment create beautiful organic texture.

This loose watercolor technique is one of my favorite ways to color florals. It is forgiving, relaxing, and always results in beautiful, expressive images. I hope you enjoyed this project and feel inspired to try jewel-toned watercoloring on your next card. Thanks so much for stopping by! Happy crafting!
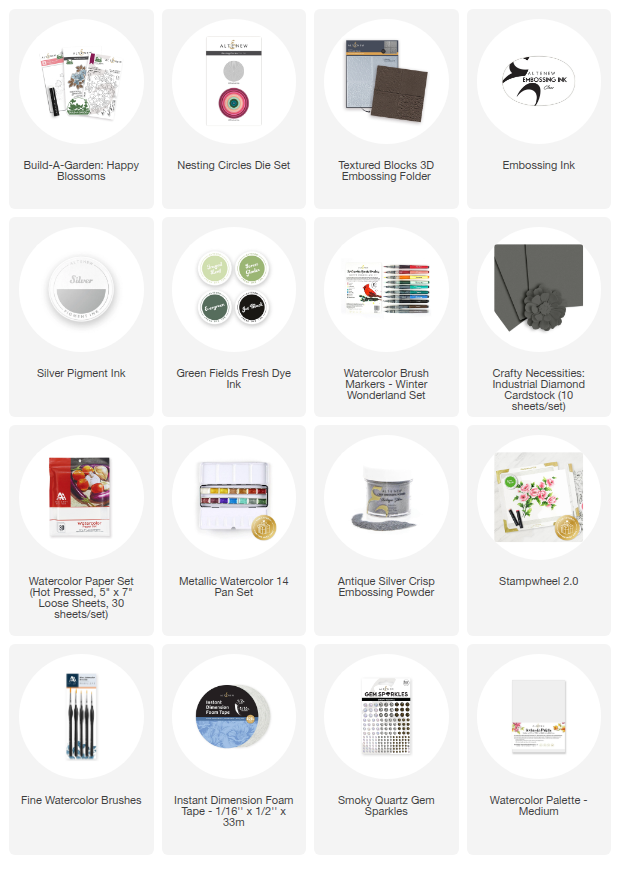
SUPPLY LIST