From Festive to Everyday: 2 Creative Ways to Enhance Your Die Cuts
by Michelle Short July 18, 2026

Key Takeaways
Stretching Holiday Supplies: You can easily repurpose festive/holiday die sets (like the Festive Greenery Die Set) for everyday, non-holiday occasions, such as creating a frosty winter birthday card.
Technique 1: Easy Ink Blending for Depth: Adding dye inks to colored cardstock using mini/micro blending brushes removes the "flat" look of paper. Precision isn't necessary, as modern dye inks smooth out naturally as they dry.
Technique 2: Textured Sparkle with Glitter Paste: Applying Iridescent Glitter Relief Paste to die-cut elements (like berries) adds dimensional shimmer. This can be done by painting the paste onto the final layout with an old brush, or by coating the cardstock before die-cutting.
Contrasting Backgrounds Make Elements Pop: Placing colorful, ink-blended die cuts against a crisp, neutral backdrop—like a white cardstock tag (Classic Crest 110lb Solar White Cardstock)—instantly draws focus and makes the colors vibrant.
Creating Dimension with Adhesives: Mixing liquid glue with Instant Dimension Foam Tape allows certain leaves and sentiments to stand out, creating physical layers and professional shadows on the card layout.
Hello there, Michelle here with another edition of Terrific Tags with Michelle. Today I am sharing two ways to enhance die cuts whilst using holiday products for a non-holiday card. This is a great way to stretch your supplies!
I'm using the new Festive Greenery Die Set today, which of course is perfect for holiday projects, but can also be used for non-holiday projects too. Today I am creating a winter birthday card.

Enhance Your Die Cuts - Part 1
I started off my card by die cutting the Festive Greenery Die Set.
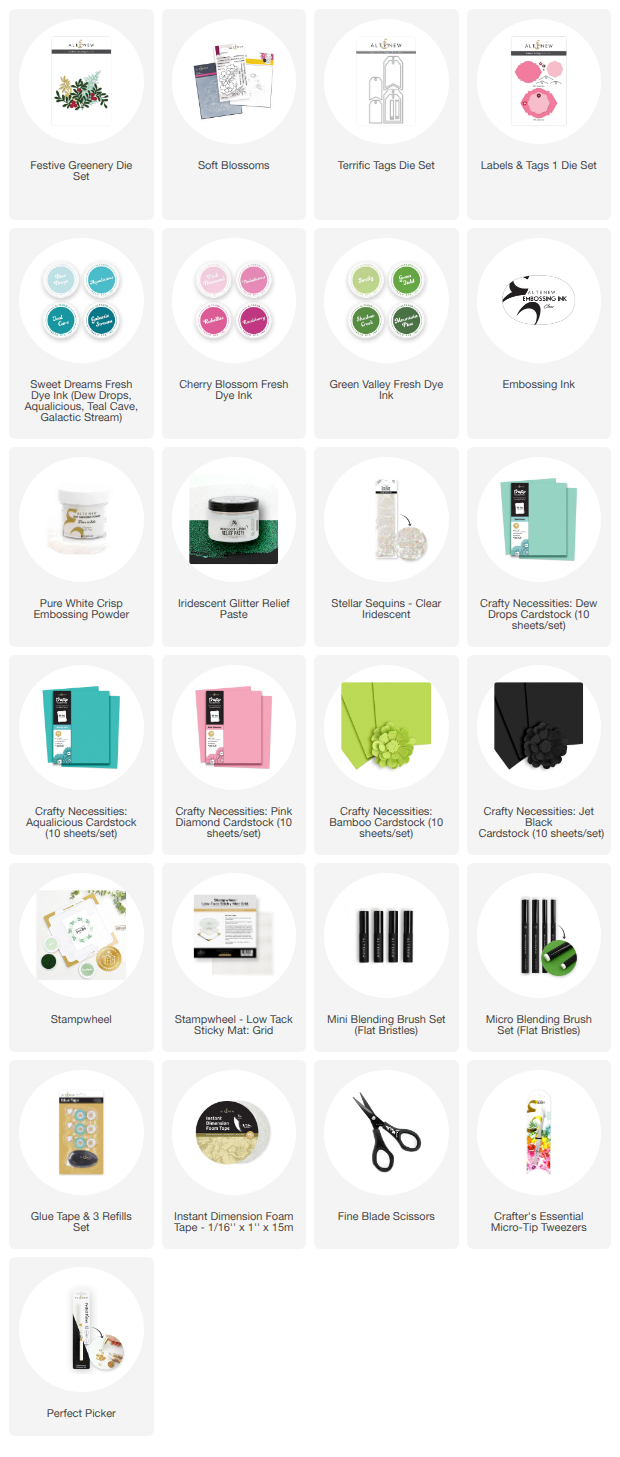
I cut the fern and leaf branch from Crafty Necessities: Bamboo Cardstock. I cut one of the berry branches from Crafty Necessities: Dew Drops Cardstock, and one from Crafty Necessities: Aqualicious Cardstock. The berries were cut from Crafty Necessities: Pink Diamond Cardstock.
To enhance them and add some depth and dimension to the die cuts, I added ink blending using Mini and Micro Blending Brushes. I used:
- Firefly, Grass Field and Shadow Creek (Green Valley Fresh Dye Inks) for the fern.
- Firefly and Grass Field for the leaf branch.
- Aqualicious, Teal Cave and Galactic Stream (Sweet Dreams Fresh Dye Inks) for the darker berry branch.
- Dew Drops, Aqualicious and Teal Cave for the lighter berry branch.
- Pinkalicious and Razzleberry (Cherry Blossom Fresh Dye Inks) for the berries.

This a really quick and easy way to enhance die cuts. You do not need to be precise with the ink blending. Remember, when these inks dry, they smooth out so It is not something that you need to spend a long time on. Even a little bit of ink blending will enhance the look and make them look less flat.
Creating the Card Base
For the card base, I took a panel of Crafty Necessities: Dew Drops Cardstock and adhered it to a white A2 sized card base using Glue Tape.
I then die cut one of the medium sized tags from Terrific Tags Die Set from Classic Crest 110lb Solar White Cardstock. I cut the hole reinforcer from Labels & Tags 1 Die Set, from the same white cardstock, and adhered that on top using liquid glue.
Whilst this isn't an official way to enhance die cuts - by either adding the die cuts onto a white background, or a dark background, it will really help them pop. I opted for white today and it really shows off the colors of the die cuts!

The festive greenery was adhered to the tag using liquid glue and a little Instant Dimension Foam Tape behind some of the leaves. I added black twine through the top of the tag and tied in a bow.
The tag was then adhered to the card using Instant Dimension Foam Tape.
I stamped the 'happy birthday' sentiment from the Soft Blossoms Stamp Set onto Crafty Necessities: Jet Black Cardstock using Embossing Ink. I applied Pure White Crisp Embossing Powder and heat set.
It was cut into a strip and adhered to the card using more Instant Dimension Foam Tape.

Enhance Your Die Cuts - Part 2
To enhance the berries and give the card a more frosty look, I applied Iridescent Glitter Relief Paste on top.
There are two ways that this can be done - you can apply the paste to the cardstock first, let it dry, and then die cuts out. Or you can apply the paste using a paintbrush after assembly. For today, I used the second method, but the first one works great too! Of course, you can also die cut the berries from glitter cardstock as well!
Make sure to use an old paintbrush when applying the paste. Although the paste cleans off from the brush really nicely just using water, it is better to not use one of your good brushes for this!
Again, just by adding this small detail, it really does enhance the berries and makes them into beautiful shimmering accents for the project. By adding the paste with a brush, you also get a little dimension on the berries which enhances them even further!
To finish, I embellished with Clear Iridescent Stellar Sequins.
Video Tutorial: 2 Ways to Enhance Die Cuts
I hope I have inspired you to enhance your die cuts with these two simple techniques. I also hope that you stretch your holiday projects by looking at them in different ways. Lots can be used for everyday projects too! You can watch the video tutorial below or over on YouTube.

Thank you so much for stopping by today, I hope you have a wonderful day!

Get 40% off Gilded Elegance Shimmer Relief Paste Bundle from July 17, 2026 at 12:01 AM EDT until July 18, 2026 at 11:59 PM EDT. Shop here: https://altenew.com/products/gilded-elegance-shimmer-relief-paste-bundle
SUPPLY LIST