2 Easy Ways to Showcase Stunning Dreamy Dahlias : Frame it!
Hello Altenew friends!
Hannelie here on Christmas day! Before we get to today’s cards, I want to wish everyone who’s celebrating, a very Merry Christmas!
I created two bright and bold cards using the Build-A-Garden Dreamy Dahlias set, incorporating a frame in both designs, to showcase the set's vibrant and dynamic design potential!

This outline stamp set features two elegant stemmed flowers, a delicate bud, and leaves that create a beautifully balanced arrangement. The 5-in-1 layering stencil set allows you to add detailed colors effortlessly, or you can use your favorite coloring medium for a personalized touch. With the add-on die set, the creative possibilities are endless—perfect for taking your designs to the next level! I absolutely love the bold sentiments and supportive phrases in this set—they make it incredibly versatile for a variety of designs!
To let the stunning florals take center stage, I added a simple frame to both cards—each in a unique way. The best part? This technique uses just one background to frame both designs!
So let’s get started!
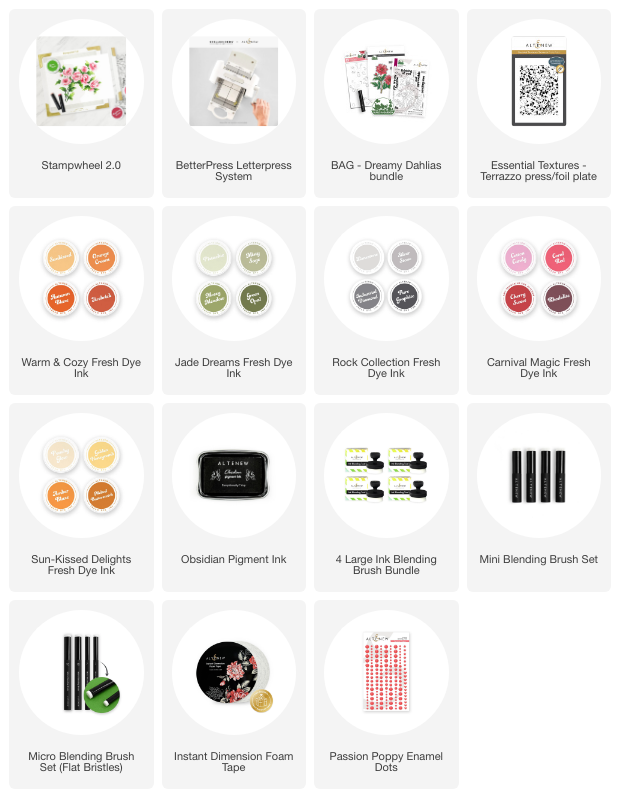
To make the background panel you will need:
- White cardstock
- Essential Textures: Terrazzo Press/Foil Plate
- Betterpress system with die cutting machine
- Industrial Diamond fresh dye ink from the Rock Collection Fresh Dye Ink set.
- Rectangle die
Step by step instructions to make the background panel:
- Adhere the cardstock to the clear plate using low-tack tape.
- Position the press plate on the magnetic platform.
- Apply ink to the press plate.
- Follow the manufacturer’s instructions and run the platform through your die-cutting machine.
- Remove the cardstock from the plate and trim it to A2 size.
- Use a rectangle die to cut out a frame from the A2 card panel. You’ll use both the frame, and the resulting rectangle, in your designs.
To make the “sending love” and “hello” cards you will need:
- White cardstock to create an A2 size card.
- BAG Dreamy Dahlia Bundle.
- Die Cutting machine.
- Stampwheel or Stampwheel 2.0.
- Obsidian Black Ink.
- Warm and Cozy Fresh Die Ink Set.
- Jade Dreams Fresh Dye Ink Set.
- Cherry Sweet ink from the Carnival Magic Fresh Dye Ink set.
- Golden Honeycomb ink from the Sun-Kissed Delights Fresh Dye Ink set.
- Blending brushes : Large , Mini and Micro.
- Background created earlier.
- Instant Dimension Foam Tape.
- Passion Poppy Enamel Dots.
Step by step instructions to make the “Sending Love” card:
- Use the Stampwheel to stamp the floral image and sentiment with Obsidian black ink on white card stock.
- Use the coordinating stencil set to color the image.
- Cut the image and sentiment out using the coordinating dies.
- Adhere the background rectangle to the card base using Instant Dimension Foam Tape.
- Adhere the floral image and sentiment to the card using your choice of adhesive.
- Trim the overhanging parts of the image.
- Embellish the card with enamel dots.

Step by step instructions to make the “hello” card:
- Use the Stampwheel to stamp the image directly onto the folded A2 card.
- Stamp the sentiment on a separate small piece of white card stock using obsidian black ink.
- Use the coordinating stencil set to color the image.
- Use the coordinating die to cut out the sentiment.
- Adhere the frame and the sentiment to the card using Instant Dimension Foam Tape.
- Embellish the card with enamel dots.

Thanks so much for joining me today to explore these bold and vibrant designs with the Build-A-Garden Dreamy Dahlias set! By using a single background to craft two uniquely framed designs, you can maximize your supplies while highlighting the focal point to create elegant and eye-catching cards.

Have you tried using a single background for multiple designs before? I'd love to hear how you make your florals stand out in your creations! Share your ideas in the comments below—happy crafting!
SUPPLY LIST :