Texture Made Easy: 5 Techniques for Show-Stopping Cards!
by Erum Tasneem December 23, 2024

Hi there, everyone! Welcome back to Creative Coloring with Erum! Today, I’m sharing a dramatic, bold floral card that will wow you with its depth and textures. Let’s dive into the step-by-step process here.
Elevate Your Cards with Texture & Dimension | Step-by-Step Guide

Step 1: Prepare the Floral Die Cuts
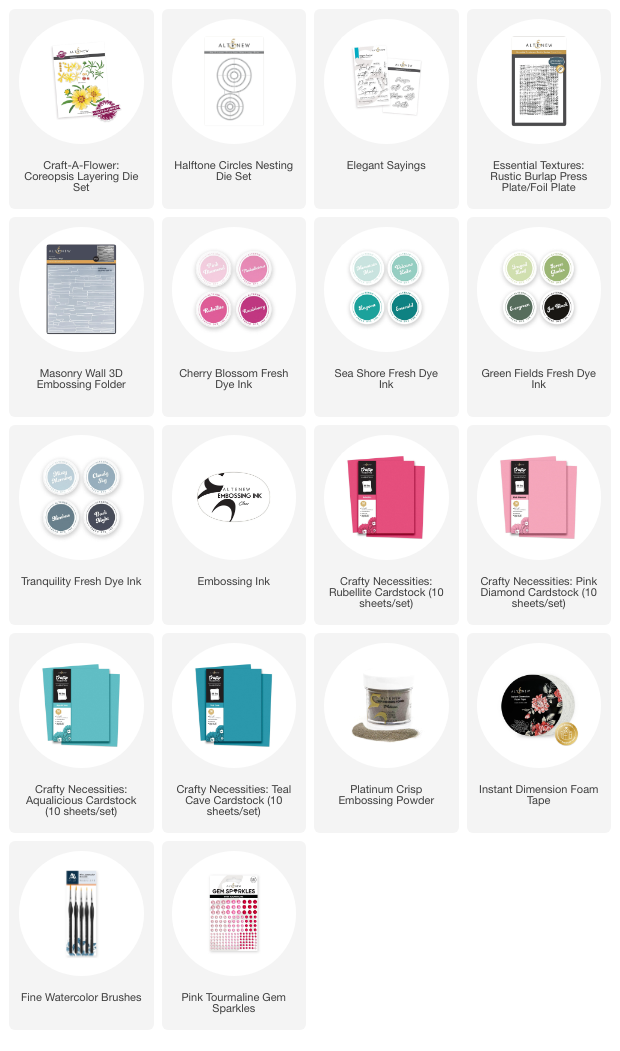
- Die cut the flowers from the Craft-a-Flower: Coreopsis Layering Die Set using Rubellite Cardstock.
- Ink the flower layers:
- Apply Razzleberry Fresh Dye Ink from the center outward, leaving the petal tips untouched.
- Add Cosmic Berry Fresh Dye Ink in the center for deeper contrast.
- For the flower centers, cut from Pink Diamond Cardstock and lightly ink edges with leftover ink on the blending brush.
Step 2: Prepare the Leaves
- Die cut the leaves from Aqualicious Cardstock.
- Add Emerald Fresh Dye Ink, leaving tips lighter for variation.
- Add clean water splatters to the leaves, let them sit, and blot for a subtle visual texture.
Step 3: Prepare the Background Panel
- Cut a card panel using Teal Cave cardstock.
- Ink the panel edges with Emerald Fresh Dye Ink and add Jet Black Fresh Dye Ink at the extreme edges for depth.
- Use the Rustic Burlap Press Plate and Embossing Ink to add letterpress texture to the panel.

Step 4: Add Dimension and Embellishments
- Use a circle die (Halftone Circles Nesting Dies) on Aqualicious Cardstock. Emboss with the Masonry Wall 3D Embossing Folder and blend Emerald + Dark Night inks.
- Adhere the circle element to the card front with foam tape.
- Curl the flower petals using the end of a fine watercolor brush for dimension.
- Assemble the flowers using liquid adhesive, adhering the layers carefully.
- Place the leaves on the card base with liquid adhesive, followed by the flowers using foam tape.
Step 5: Add Finishing Touches
- Add Pink Tourmaline Gem Sparkles as the flower centers for bling.
- Heat-emboss a sentiment from the Elegant Sayings Stamp Set in Platinum Embossing Powder and adhere to the card.
Love this floral card—perfect for making a statement!

Video: FIVE Texture Tricks for Cards That WOW!
You can watch the process video on YouTube by clicking the photo below or THIS LINK.

5 different ways to create texture in this project:
- Ink blending – Adding depth and dimension to the die-cut flowers, leaves, and background.
- Water splatters – Adding visual texture to the leaves.
- Press Plate (Rustic Burlap) – Achieving a letterpress look with added texture using the Betterpress system.
- 3D Embossing Folder (Masonry Wall) – Adding raised details to the circular element.
- Petal curling – Using a brush end to curl the petals for dimensional texture.
We can also include heat embossing and gem sparkles in the mix! I hope you enjoyed the tutorial. Let me know in the comments what your favorite way to add texture is! Thanks for stopping by; see you soon!
~SUPPLIES~