Two Ways to Use One Stamped Background and Artists' Watercolor Tubes
Key Takeaways
Maximize Craft Supplies: Crafting a larger 5x7 watercolor background allows you to stretch your supplies and create multiple unique card designs from a single piece of artwork.
Always Use Waterproof Ink: When combining stamping with water-based mediums, using a permanent ink like Obsidian Pigment Ink ensures clean, crisp outlines that won't bleed or smudge.
Choose Hot-Pressed Paper: For detailed watercolor card making, smooth hot-pressed watercolor paper is ideal because it allows for sharper stamped impressions than textured cold-pressed paper.
Embrace Loose Watercoloring: Forgiving techniques—like painting outside the lines and filling negative space—create a relaxed, artistic, and organic aesthetic.
Vary Your Card Layouts: One background can yield entirely different styles, from a bold, full-panel focal design to a clean, minimalist framed accent card.
Hello, everyone! Aga here, and today I'm sharing two simple cards created from just one stamped background colored with premium Artists' Watercolor Tubes.
One of my favorite things about creating watercolor card backgrounds is that no two projects are ever exactly alike. Every blend of color creates a unique piece of art, making each handmade card truly one of a kind. I also love working on a piece of watercolor paper that's larger than my card base because every leftover piece can be used to create something new. Whether it's a second card, DIY gift tags, die-cut elements, or sentiment strips, none of that beautiful background must go to waste.

How to Create a Stamped Background with Artists' Watercolor Tubes
If you are wondering how to watercolor a stamped image efficiently, maximizing your paper size is the perfect place to start. For this project, I used a few staple crafting supplies to build a vibrant, artistic base.

Step 1: Stamping the Floral Outline
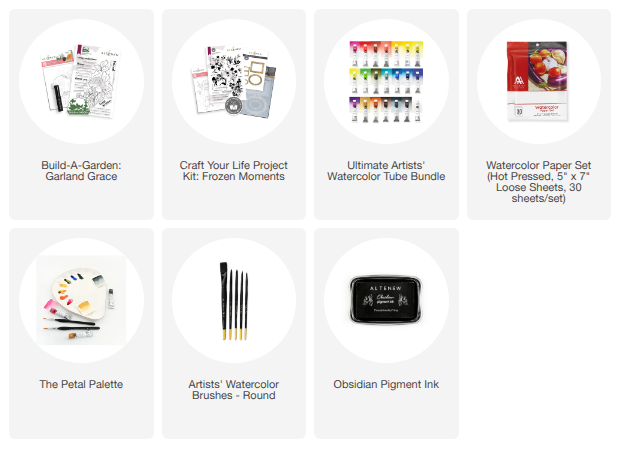
I started with a sheet of hot-pressed watercolor paper, which is available in a convenient, travel-friendly 5" x 7" size. To create my floral background, I stamped an outline image from the Build-A-Garden: Garland Grace Stamp Set.
Crafting Tip: I highly recommend using Obsidian Pigment Ink for this step. This specific pigment ink is completely waterproof once dry, meaning it works beautifully with watercolor and other water-based mediums without smudging or bleeding.
Step 2: Mixing and Applying the Watercolors
Next, it was time to bring the flowers to life. I colored the images using Artists' Watercolor Tubes together with the Petal Palette, which provides plenty of space for mixing custom color gradients.
I loosely watercolored the flowers and leaves, purposely not stressing about staying within the lines. By allowing the paint to flow freely, you get a gorgeous, organic look. I also added color to the negative spaces between the images to create a more artistic, relaxed effect.
Bringing It Together: Designing Two Unique Cards
Once the watercolor background was completely dry, it was time to split the artwork and maximize its potential across two distinct card designs.

Card 1: The Full-Panel Focal Design
When the background was ready, I chose the best, most vibrant section for my first card and trimmed it down to size. I adhered the trimmed panel directly to the main card base. To keep the focus on the vibrant watercoloring, I completed the design with a simple, elegant foiled sentiment. This creates a bold, stunning visual right out of the gate.
Card 2: The Minimalist Framed Accent
For the second card, I utilized the remaining piece of the watercolor background. Instead of letting it go to waste, I trimmed it to fit a beautiful frame created with the embossing folder and die set from the Craft Your Life Project Kit: Frozen Moments.
I thought this small watercolored element could be just as impactful as a full background, adding a soft, deliberate pop of color within the crisp white frame. I finished it with another simple sentiment to keep the overall design clean, minimal, and perfectly balanced.
Tips for Customizing Your Watercolor Cards
Whether you're brand new to watercolor card making or have been paper crafting for years, this is a remarkably fun and forgiving technique that's easy to adapt to your own personal style. If you want to put your own spin on this project, try:
Changing up the color palette (try monochromatic or warm sunset tones).
Using different floral or geometric stamp designs.
Adding metallic watercolor splatters for extra texture and shine.

I hope these cards inspire you to pull out your stamps and watercolor tubes to create something beautiful today. Thank you so much for stopping by!
Frequently Asked Questions
Can you use regular ink for watercolor stamping?
It is not recommended to use standard water-based dye inks for watercolor stamping, as the ink will bleed and smear when it comes into contact with water. For the best results, always use a dedicated waterproof ink, such as Obsidian Pigment Ink.
What is the advantage of hot-pressed watercolor paper?
Hot-pressed watercolor paper has a smooth surface with very little texture. This smooth finish makes it much easier to get a crisp, detailed stamped impression compared to rough, cold-pressed paper.
Supply List