2 Creative Cardstock Techniques Meet Ink-Blended Florals | Perfect Pairings with Jaycee
by Jaycee Gaspar August 25, 2024

Hello, crafty friends! Today, we’re diving into the wonderful world of colored cardstock with two fantastic techniques featuring vibrant ink-blended florals. Altenew has recently released full 8.5 x 11 letter-sized colored cardstock sheets, and I’m thrilled to show you how they can elevate your cardmaking game. Let’s get started!
Video Tutorial: Colored Cardstock Techniques + Ink Blended Floral Cards
Watch the video below or on YouTube HERE.

Organizing Your Crafting Supplies Like a Pro
Before we create our cards, let’s talk about organizing our supplies. I love reusing packaging whenever possible. For instance, cutting the sleeve from my cardstock packaging allows me to create little tabs that stick out for easy coordination. Pairing your cardstock with its matching ink has never been easier! I store my 4.25 x 5.5-inch cardstock panels in bins that fit perfectly, keeping my crafting space neat and tidy.

Flourishing Garden Bouquet
For our first creation, we’ll be using the Craft Your Life Project Kit: Flourishing Garden. This kit includes a stunning floral outline image with a coordinating stencil set—perfect for our project.
Step 1: Stamping the Outline
I’ve started with a Blush Cardstock panel, centering it on my Stampwheel with the Black Slim Grip mat. The outline will be stamped using Velvet ink—the darkest shade in the Red Sunset Color Family—to achieve a solid foundation for our floral bouquet.
Step 2: Ink Blending with Stencils
Now, let's add some color! I’m beginning with the first stencil in the Flourishing Garden kit. Using a mini ink blending tool, I’ll apply Blush ink to the floral images for a lovely gradient effect. It’s important to note that the transparency of Altenew Fresh Dye Inks means the final result may differ from what you see while blending.

With a mix of inks from the Red Sunset and Golden Sunset families, I’ll layer the colors, moving through each stencil to create a vibrant and blooming floral arrangement. From Chamomile to Terracotta, each layer brings depth to our flowers, making them pop against the Blush background.
Step 3: Adding the Finishing Touches
To finish off this card, I’ll use a sentiment from the Big Hugs set, stamped in Crimson and Velvet inks for a beautiful gradient effect. Instead of my usual black or white splatter, I’ll stick with the Red Sunset color family, diluting Rouge Watercolor Brush Marker Refill for a harmonious look. Gluing the panel to a folded note card base completes this stunning pink color-blocked card.

Marigold Delight
For the second card, I’m sticking with the Craft Your Life Subscription and using the Butterfly Marigold Project Kit. This kit comes packed with an outline stamp, coordinating stencils, and an embossing folder—all you need to make magic happen!
Step 1: Stamping and Embossing
Using Buttercream Cardstock as my base, I’ll stamp the outline of the marigold cluster with Warm Sunshine ink for a no-outline look. Then, I’ll cut out the cluster with the coordinating die.
Step 2: Inking the Petals
This time, I’m going to show you the technique of embossing first and then applying the stenciling. With gradients of ink, I’m creating two distinct palettes for the marigold flowers: using Warm Sunshine and Caramel Toffee for the outer ones and Warm Sunshine and Crimson for the center flower. Each petal takes on a life of its own!
Step 3: Assembling the Card
I’ll foam mount the embossed cluster on another Buttercream panel that has a stamped outline in a different orientation. Then, I’ll add splatters using Mountain Mist Watercolor Brush Marker Refill to add a playful touch before finishing with the “Just A Note” sentiment, stamped in Warm Sunshine on white cardstock.

And there you have it—two unique ways to use colored cardstock to create vibrant floral cards!
Using colored cardstock as a base is an effortless way to achieve bright and stunning results. I hope you feel inspired to try these techniques on your next handmade card.
Happy crafting and see you next time!
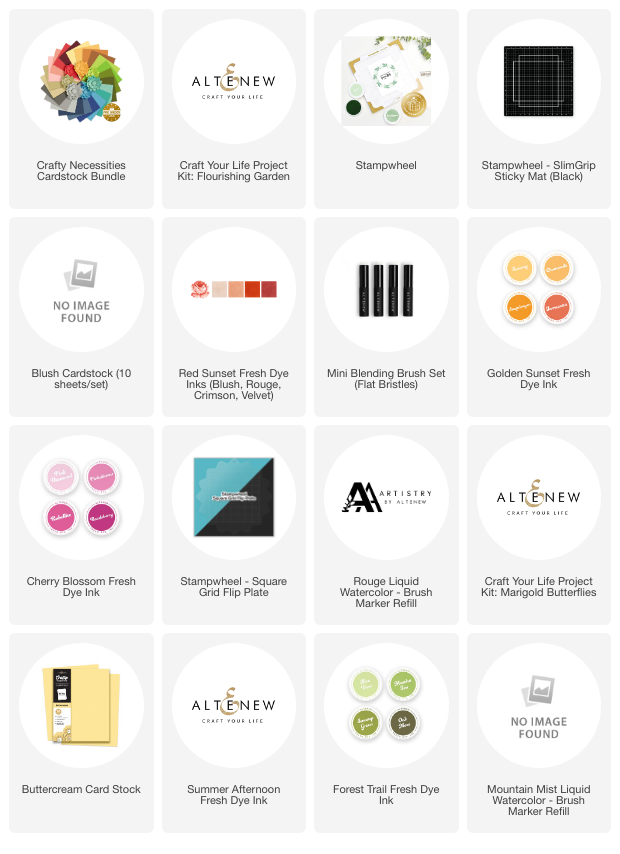
~Supply List~