16 Fun Cardmaking Techniques With Ink Blending Brushes
by Irick Arbuso April 19, 2024
Achieving flawless, seamlessly blended backgrounds can sometimes feel challenging as a crafter. But with the right tools, like ink blending brushes, getting the perfect background for your card can be as easy as pie.
The 411 on Ink Blending Brushes
Ink blending brushes are popular tools used to create smooth, gradient-like effects when working with inks. Altenew’s Ink Blending Brushes, in particular, come in various shapes and sizes to suit different blending needs, from large round brushes to smaller, more precise ones.

Even famous crafters like Jennifer McGuire love these nifty tools, and they’re part of her highly recommended crafting tools, as shown in this video below (skip to minute 28:44 to see the blending brushes in action!) Click here to watch the video
Why are Altenew Ink Blending Brushes a cut above the rest?
- Ergonomic – The best quality of ink blending brushes is their ergonomic form. Large blending brushes can fit the palm of your hand, offering much-needed support that allows you to blend ink without immediately getting tired hands. Smaller blending brushes, on the other hand, can be handled like you’re holding a pencil or a pen for easy ink application and blending!

- Versatility – Ink blending brushes can be used across various projects, whether you’re creating a dreamy sunset background for a scenic card, adding subtle shading to a die-cut embellishment, or blending details on the finer sections of your stencil set. With their soft, bristled heads and ergonomic handles, they can effortlessly blend ink to perfection, giving you that professional-grade finish every time.
- Cleaner results – Traditional sponges or daubers sometimes leave unsightly streaks and blotches. Blending brushes, on the other hand, offer even and clean results with great control and precision for your projects. With just a few gentle swirls and strokes, you can achieve seamless transitions between colors, creating a mesmerizing ombré effect that'll make your projects stand out.
- Easy cleaning and maintenance – Blending brushes are easier to clean and maintain than other blending tools. Just rinse them under running water while gently rubbing the bristles to tease out the residue ink. You'll spend less time scrubbing and more time doing what you love – getting crafty!

- Satisfying process – Finally, the most compelling reason to invest in ink blending brushes is often the sheer satisfaction they bring to your crafting experience. There's something incredibly therapeutic about the rhythmic motion of swirling ink across the paper, watching as colors blend and meld together beautifully. It's a mindful practice that allows you to escape the chaos of everyday life and immerse yourself fully in the creative process.
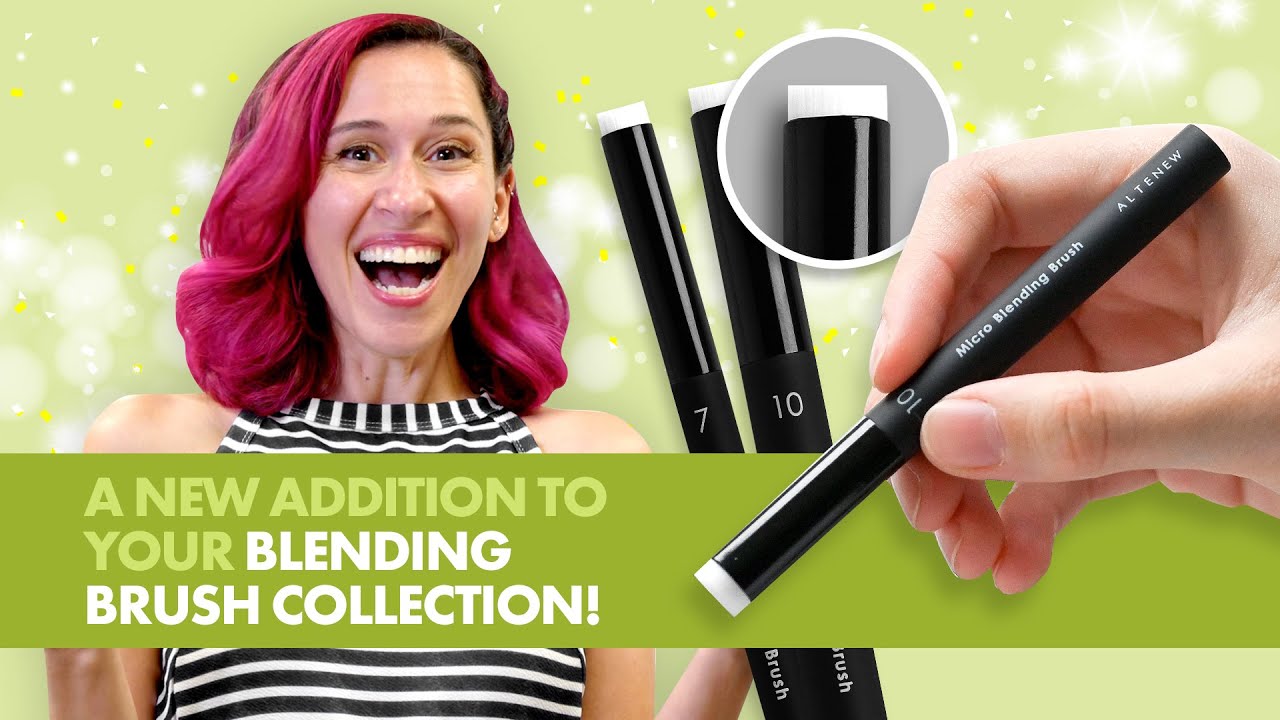
To learn more about blending brushes, here’s a deep dive into the various sizes of Altenew’s ink blending brushes, their pros and cons, and some FAQs! Click the image below to watch the video.
16 Techniques to Use Ink Blending Brushes
Want to learn more ink blending brush wizardry for your cardmaking and paper crafting adventures? Here are 18 tips to unleash your ink blending brushes’ full potential!

1. Ombre Backgrounds
Blend two or more complementary colors using circular motions to create a stunning ombre effect for your card backgrounds.

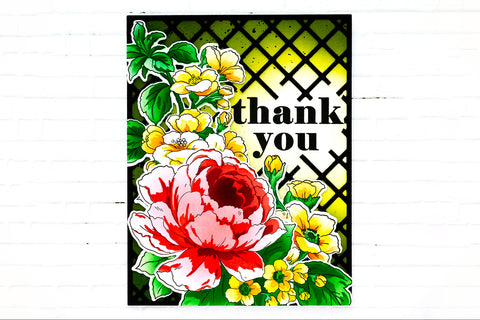
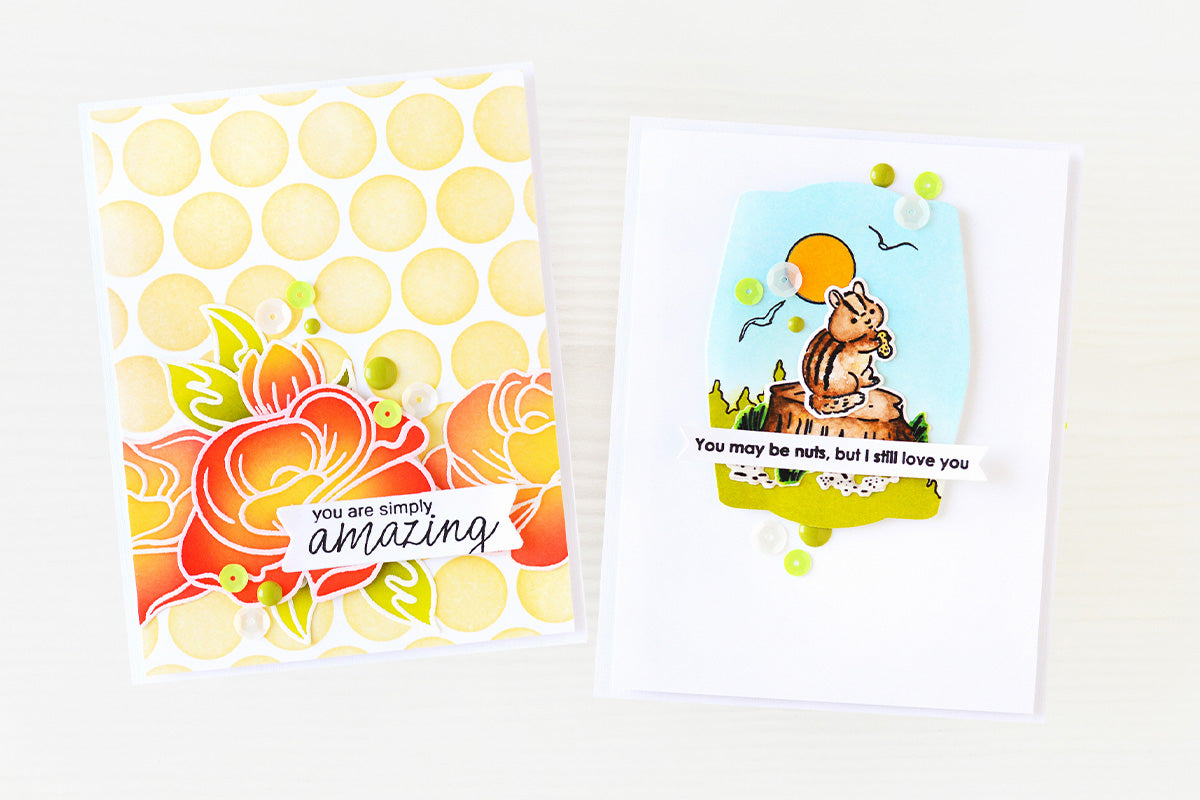
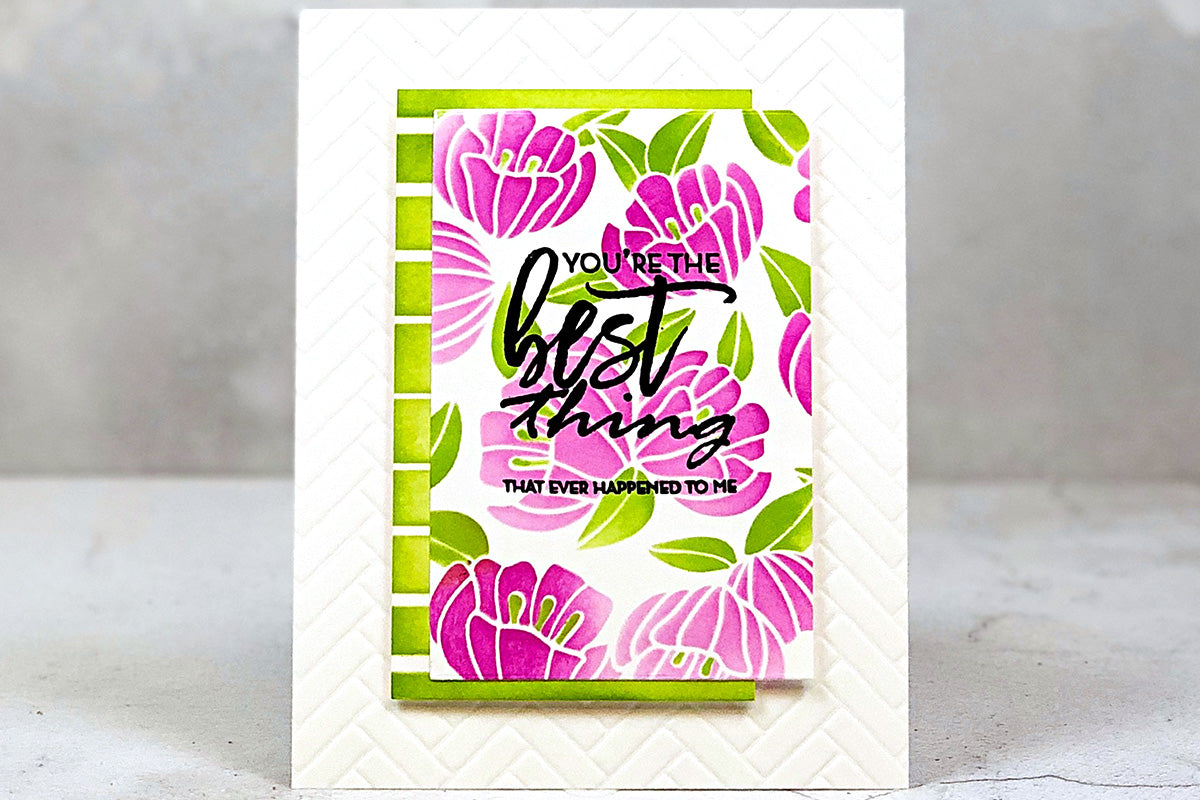
2. Stenciling
Use ink blending brushes with stencils to add intricate patterns and designs to your projects. Simply hold the stencil in place and blend your chosen ink colors over it for a beautifully detailed result.
| Pro tip: Having a hard time blending while keeping the stencil in place? Use a sticky mat to keep your panels and stencils in place, and free your hands to do more crafting! |
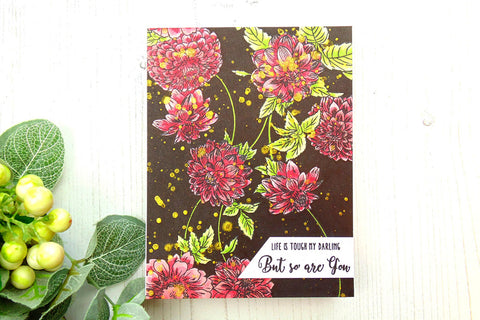
3. Distress Ink Techniques
To create a distressed or vintage feel to your projects, use dark brown tones around the edges of your cardstock to add an aged feel.

4. Layering Colors
Layer different shades of the same color or complementary colors to create depth and dimension in your backgrounds or focal points. Start with the lightest color and gradually build up to the darkest shade for a seamless blend.
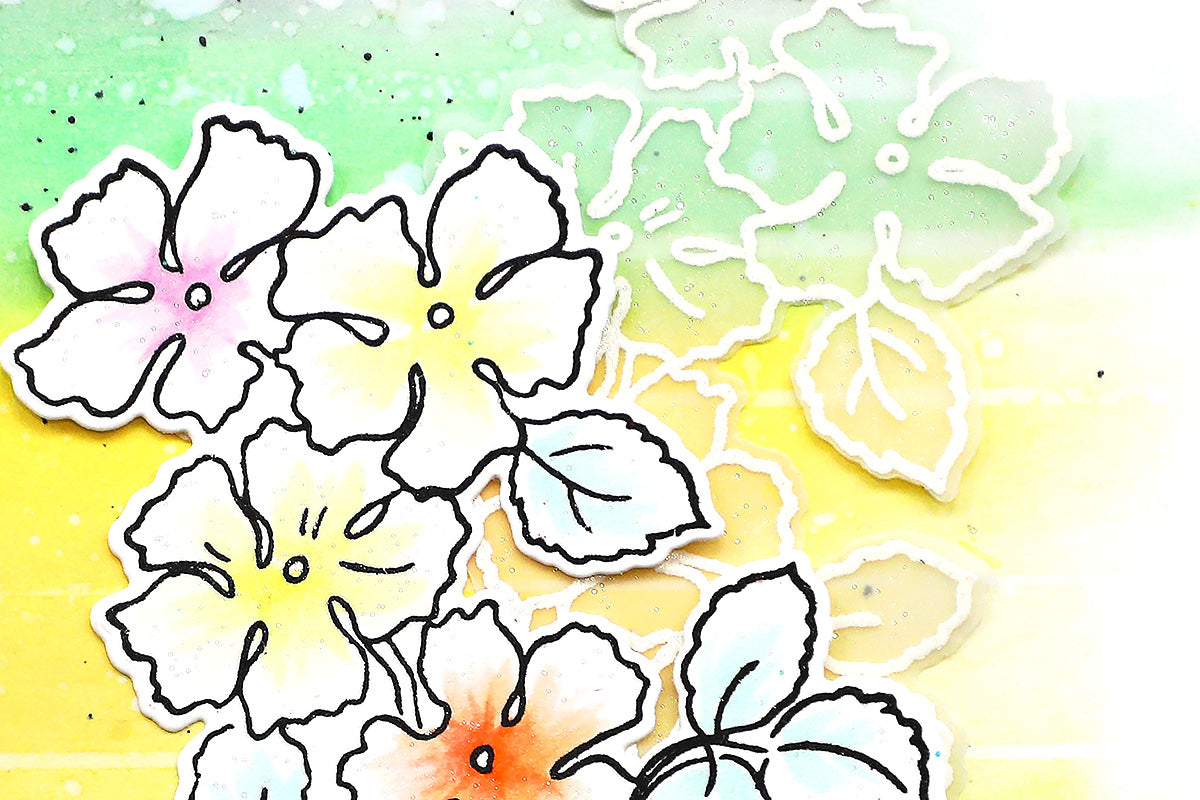
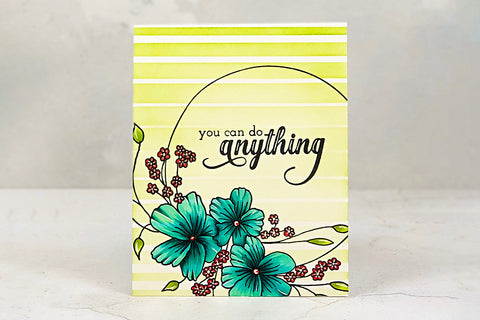
5. Faux Watercolor
Achieve a soft watercolor effect by blending ink onto watercolor paper using your blending brush, then spritzing the paper lightly with water after blending to add interest.
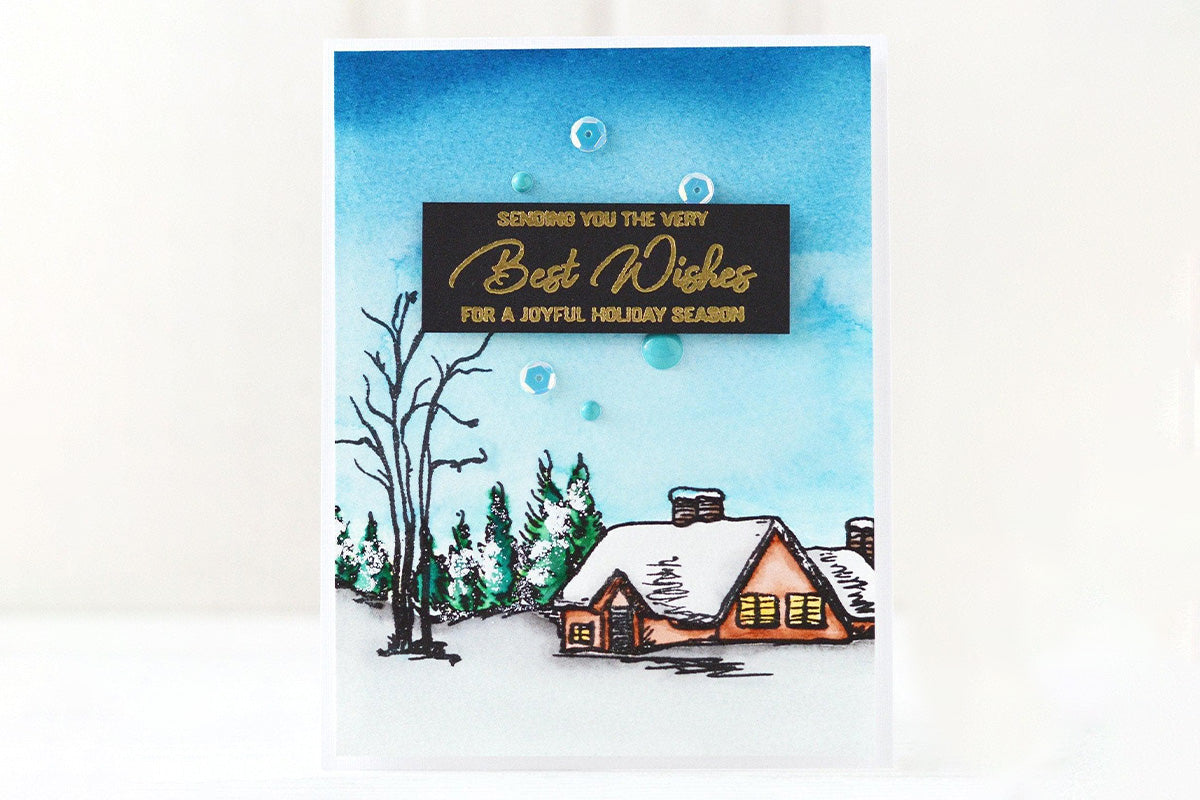
6. Sunset/Sunrise Scenes
Create stunning sunset or sunrise scenes by blending warm, vibrant colors like reds, oranges, and yellows in a gradient effect. Add silhouettes of trees or buildings for extra drama.
Check out this amazing example of a sunset slimline card with ink blended background. Click the image below to watch the video.
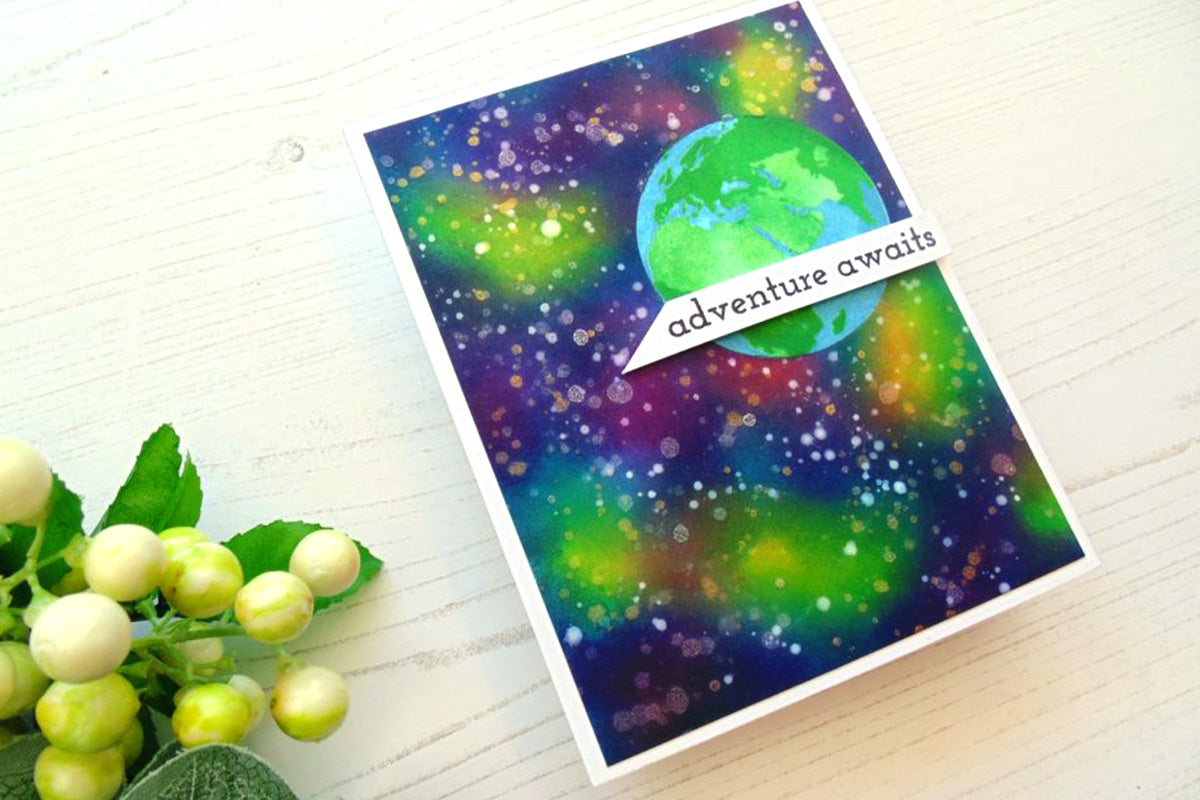
7. Galaxy Backgrounds
Blend dark blues, purples, and blacks to create a mesmerizing galaxy background for your space-themed cards. Splatter white or metallic paint over the blended colors for stars. Want some inspiration for this one?
Check out this tutorial video on how to create galaxy backgrounds.
8. Masking
Use masking techniques to create layered designs with ink-blending brushes. Cut out shapes or use masking paper to cover areas of your project while blending, then remove the masks to reveal crisp, clean edges.

9. Ink Resist
Combine ink blending with heat embossing for a stunning resist effect. Emboss a design or sentiment onto your paper, then blend ink over it. The embossed areas will resist the ink, creating a beautiful contrast.
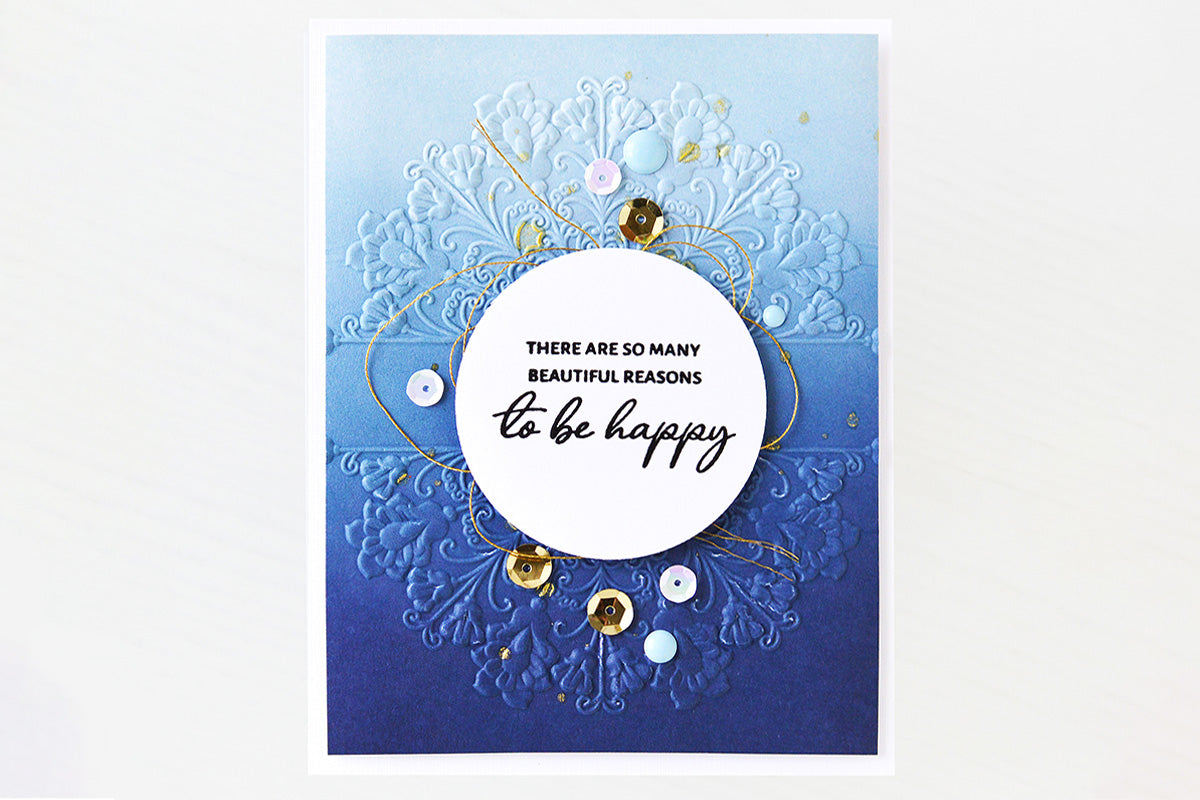
10. Texture Backgrounds
Experiment with different textures by blending ink over textured cardstock or 3D embossed panels. The ink will catch on the raised areas, adding depth and interest to your backgrounds.
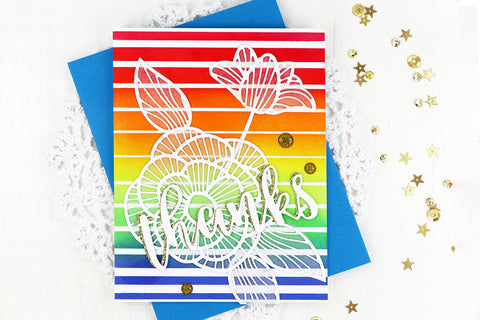

11. Rainbow Blending
Create a vibrant rainbow background by blending all the colors of the rainbow in a seamless gradient. Start with red at one end of your paper and blend through orange, yellow, green, blue, and purple.
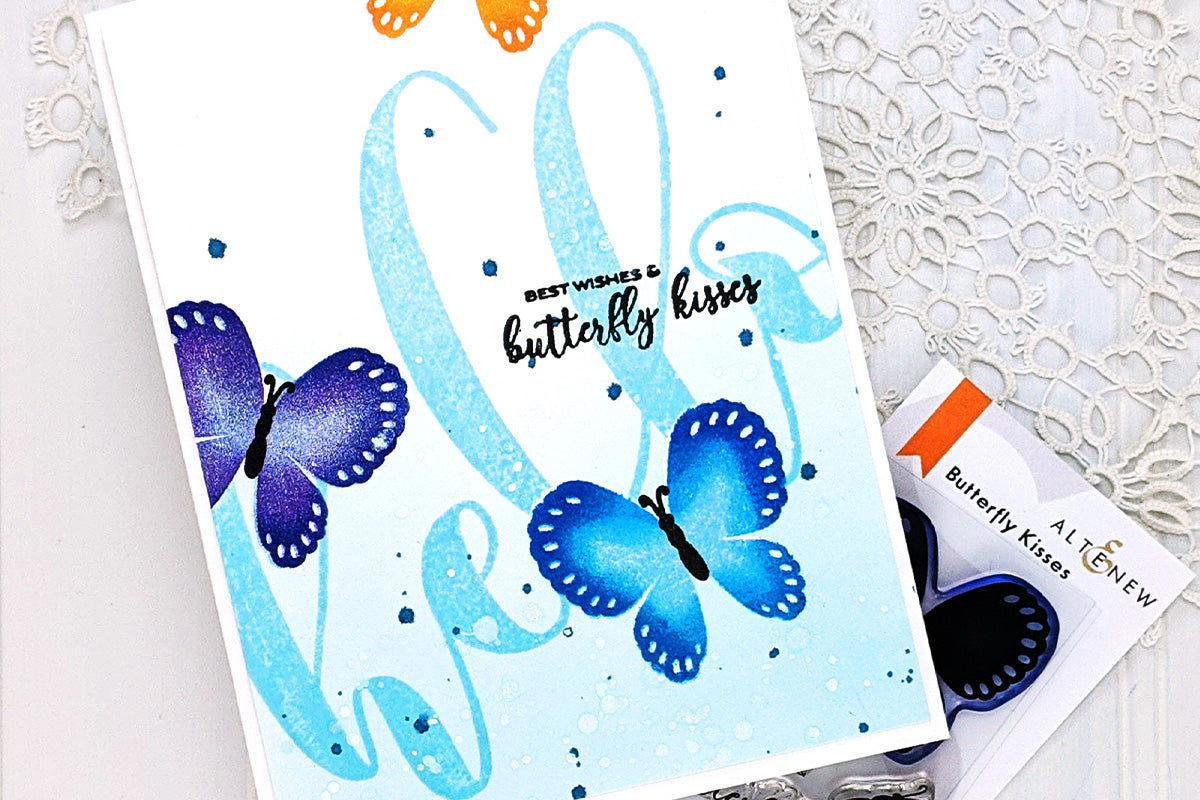
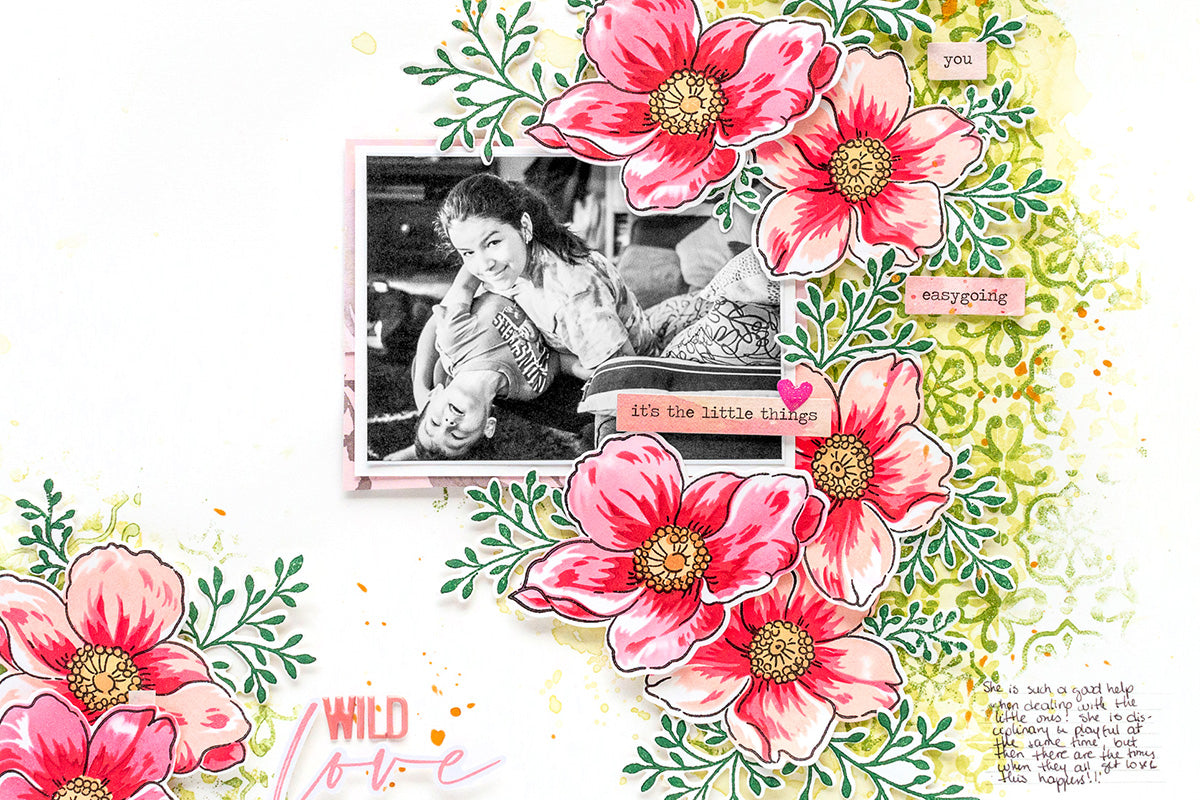
12. Soft-Stamped Backgrounds
Use ink blending brushes to create colorful stamped backgrounds. Blend ink onto your stamp using your brush, then stamp onto your paper for a soft, blended look.
13. Color Mixing
Experiment with color mixing by blending two or more colors directly on your blending brush before applying them to your project. This allows you to create custom shades and gradients.
14. Vintage Edges
Give your projects a vintage touch by blending brown ink around the edges of your paper to create a distressed, aged look. Focus on the edges or blend inward for a softer effect.
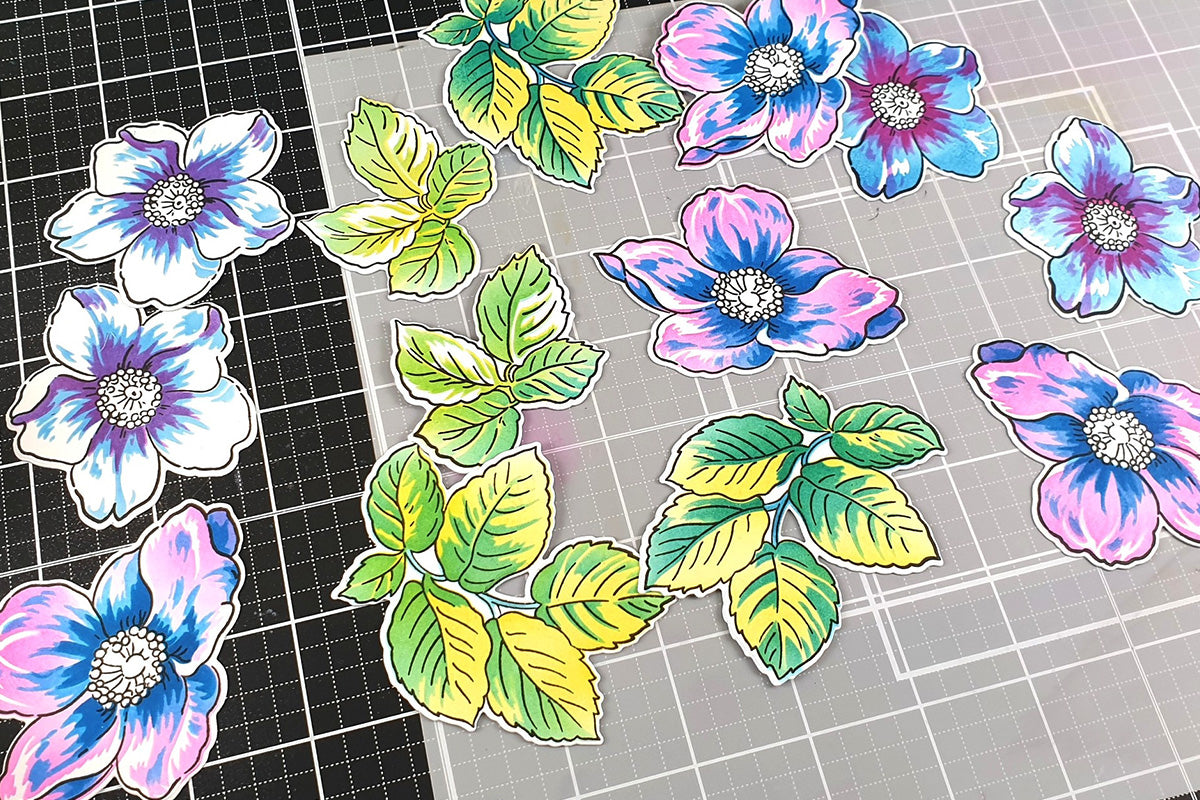
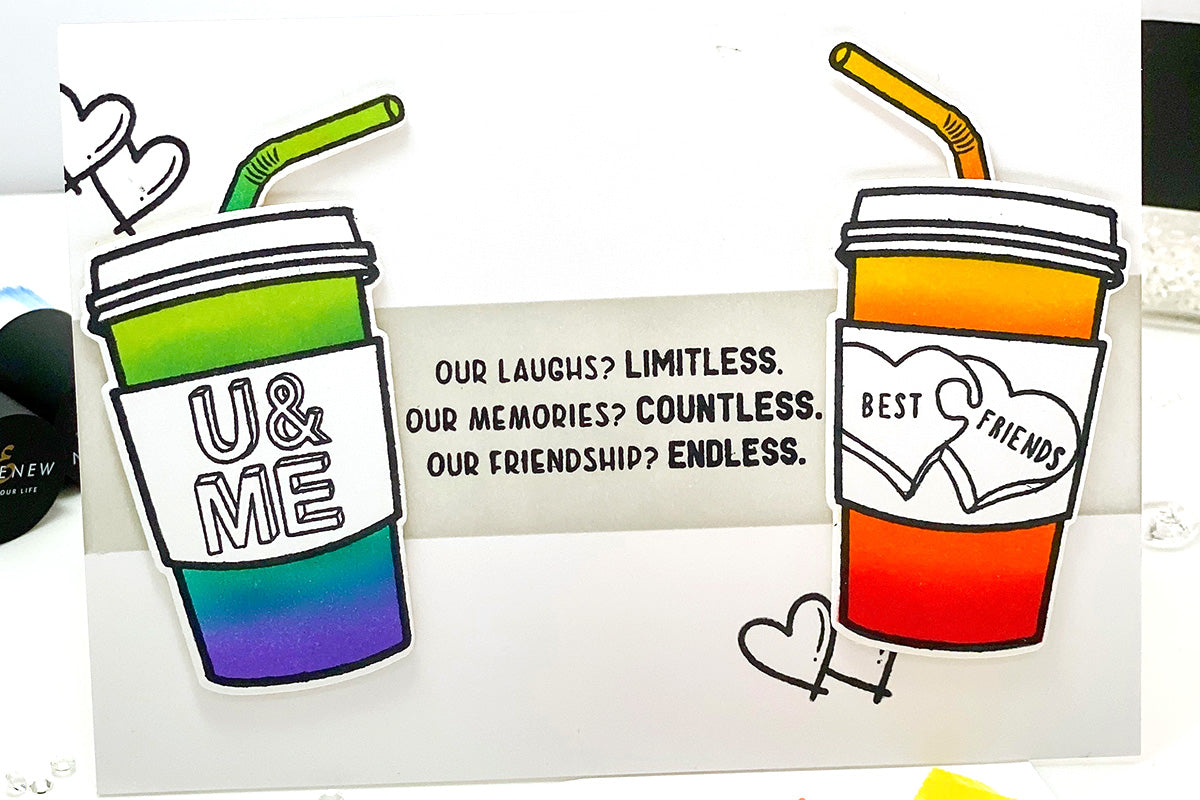
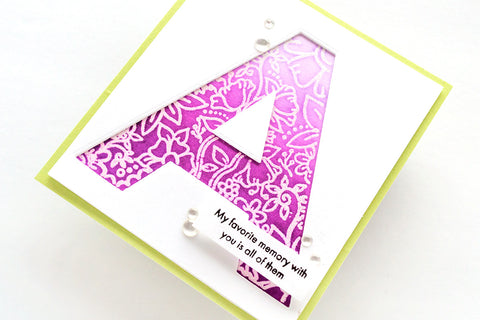
15. Gradient Die-Cuts
Blend ink onto white cardstock before die-cutting shapes or sentiments for a gradient effect. This adds dimension and interest to your die-cuts, making them stand out against your background.
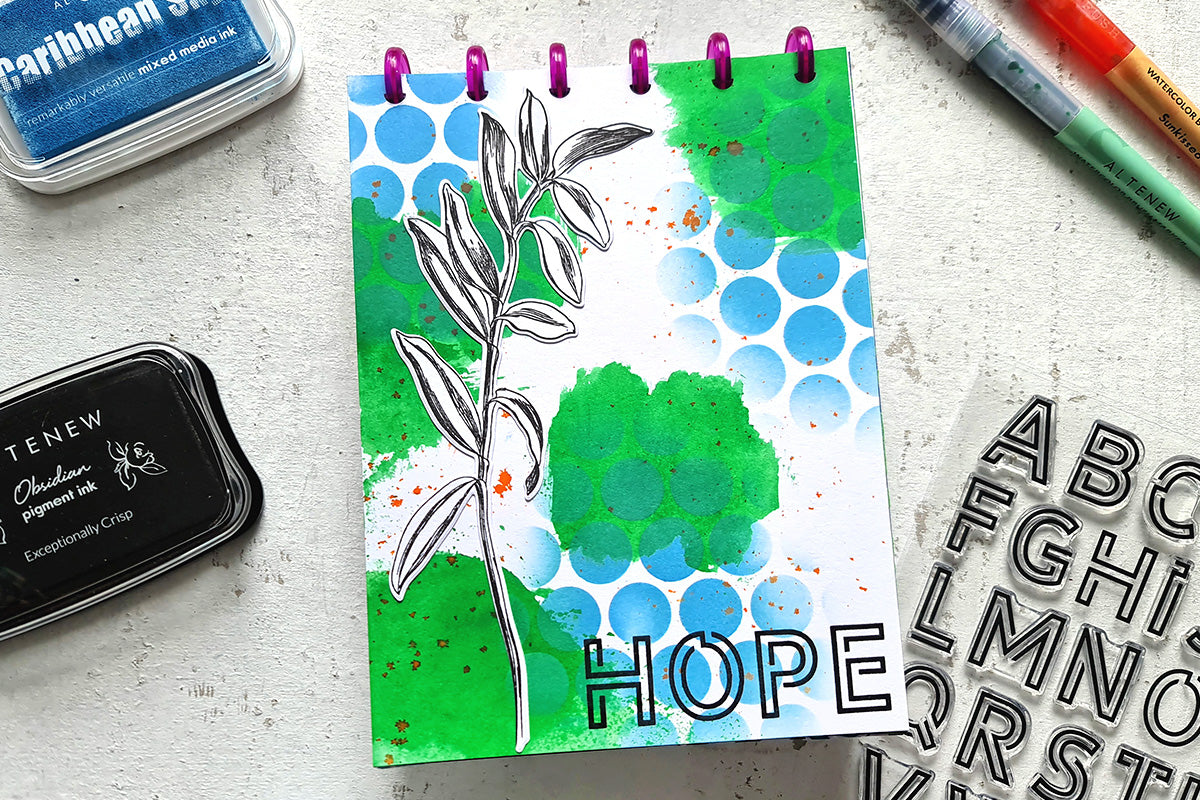
16. Faux Bokeh Effect
Create a faux bokeh effect by blending ink onto your paper, then stamping small circles or dots with a lighter ink color using the end of your blending brush or a round sponge dauber.
More Handy Tips for Ink Blending
Pick the right paper.
The best option for blending is thick, smooth cardstock. You may use light, dark, or colorful paper, but ensure that it has a smooth texture to allow ink blending in different colors.
Get the right inks.
Dye inks are water-based and dry quickly, and are among the top choices for blending colors. They are also more affordable than other popular blending inks and can be utilized in a range of other paper crafting techniques. To learn more about the type of inks you can use in paper crafting, read more here.
Begin blending off the paper.
Start on your craft mat or sheet, then gradually transition into your project. This will guarantee uniform ink coverage and reduce dark streaks. Additionally, you can collect the leftover ink on your craft mat and redistribute it to your project, so there’s no ink wasted!

Take your time.
You can always add more ink, but you can't remove it! Blend with a light layer of ink first, then gradually apply additional layers if you want darker results.
Learn color theory.
Avoid creating muddy colors. Consult a color wheel to see which colors complement each other.
For example, brown and orange, red and green, and purple and yellow are colors that don’t blend well with each other. They might exist in the same project, but putting them close together or blending them can be jarring and might make your project look uncoordinated.
In contrast, reds, oranges, pinks, and yellows can be blended, while blues, greens, and yellows work together, as well.
Avoid smudges.
While you might not be bothered by getting ink on your fingers, you definitely don't want inky fingerprints to spoil your blends! Utilize a spare piece of cardstock or a soft microfiber cloth to shield your fingers from inadvertently leaving inky marks on your project!
Practice and experiment.
The key to mastering ink blending is by actually blending ink! So allow yourself to experiment with your inks and blending techniques to discover what works best for you, what doesn't, and which techniques and tools suit you the most!
Ink blending brushes are not just another crafting tool – they're a game-changer. With their versatility, ease of use, and ability to elevate your projects to new heights, these brushes are a must-have for any cardmaker or paper crafter. So go ahead, treat yourself to a set of blending brushes, and prepare to take your crafting game to the next level. Your inner artist will thank you.
Happy crafting! Feel free to drop by In the Craft Room for more unique ideas and crafty inspiration!