


Two Bold Thank You Cards with One Stencil | Playful Stripes
Hi there, everyone, Erum here. Today on Creative Coloring with Erum, I’m showing you how to stretch one stencil, Playful Stripes, to create two completely different thank you cards. Whether you're a fan of soft florals or bold, high-contrast designs, you'll love how easily this versatile stencil can create both dry texture and heat-embossed dimension.
If you enjoy stenciling, die-cutting, embossing powders , or simply want to build up your handmade card stash, this tutorial has something for you. Let’s make the most of our supplies and get inky!
Two Looks, One Stencil

Card 1: Emboss Resist Zebra Stripe with Gold & Black Accents

Step 1: Ink the Background
Ink an A2-sized panel with Fresh Dye Inks:
Rubellite at the top
Coral Berry in the center
Coral Bliss at the bottom
Focus on covering the white and allow for overlaps between colors. No need for perfect blending.
Step 2: Heat Embossing the Stencil Pattern
- Apply glue tape to the stencil to keep it in place securely.
- Position the stencil over the panel. Gently press the Embossing Ink pad over the stencil, and then go over the whole surface with a Mini Blending Brush to transfer the ink completely.
- Remove the stencil then cover with Crystal Clear Embossing Powder. Remove any excess with a fine brush and heat-set the powder. Set it aside for a few minutes to cool.

Step 3: Add Black Ink
- Use Obsidian Pigment Ink to cover the panel using a swipe + blend method.
- Clean off the embossed area using a tissue (damp, if needed).
Optional: Try this technique on a green-blue background for a more masculine look.
Step 4: Assemble the Card
Trim the emboss resist panel half an inch smaller than A2. Use the gold marker from the Essential Permanent Marker Set to edge the panel.
Die cut the “Thank You” sentiment from the Timeless Sentiments Die Set three times using Jet Black cardstock, and once using Brushed Gold Metallic Cardstock.
Stack and adhere all black layers, then offset the gold layer at the end.
Die cut the shadow layer out of White Cardstock, then ink it using matching inks (Rubellite, Coral Berry, Razzleberry).
Die cut leaves from the Craft Your Life Project Kit: Bold & Beautiful in black and gold. Rub some Antique Gold Pigment Ink on the black ones.
Tuck leaves behind the sentiment.
Add sequins and gold pigment to the card base for a finished touch.
Card 2: Dry Embossed Floral Thank You with Prairie Roses

Step 1: Ink & Dry Emboss Through Stencil
- Apply Rubellite, Coral Berry, and Coral Bliss Fresh Dye Inks by swiping them on another A2 panel.
- Use a Mini Blending Brush to cover any white areas (if showing).
- Place the inky stencil (with Embossing Ink still on it) ink-side down onto your panel, then run it through your die-cutting machine using the embossing sandwich for stencils.
Step 2: Die Cut & Color the Flowers
Use Craft-a-Flower: Prairie Roses to cut flowers, leaves, and stamens from white cardstock.
Ink leaves fully with Razzleberry Fresh Dye Ink, then the tips with Coral Bliss Fresh Dye Ink.
Add shading to the base of leaves and vines using Acai Berry Fresh Dye Ink.
Step 3: Color the Petals
- Use Coral Berry and Coral Bliss Fresh Dye Inks with a light hand to create soft pink flowers with coral hints.
- For flower centers, use Razzleberry and Acai Berry Fresh Dye Inks.

Step 4: Assemble the Floral Card
Adhere leaves with liquid glue and flowers with Instant Dimension Foam Tape.
Pinch the petals slightly for dimension.
Add Titanium White and Carbon Black Gouache splatters.
Finish with Coral Pearl Dots as the flower centers.
Stamp and die-cut a sentiment from the Elegant Sayings Stamp & Die Set.

VIDEO: Add Stunning Texture with One Stencil
You can watch the process video below or on YouTube in HD.
Both cards use the same stencil but lean into different moods: one is bold and graphic, while the other is comparatively softer. It’s amazing how your technique choices alone can redefine a product.
I hope you enjoyed today’s tutorial and feel inspired to try out new techniques with your stencils. Whether you go bold or subtle, the possibilities are endless.
Until next time, happy crafting!
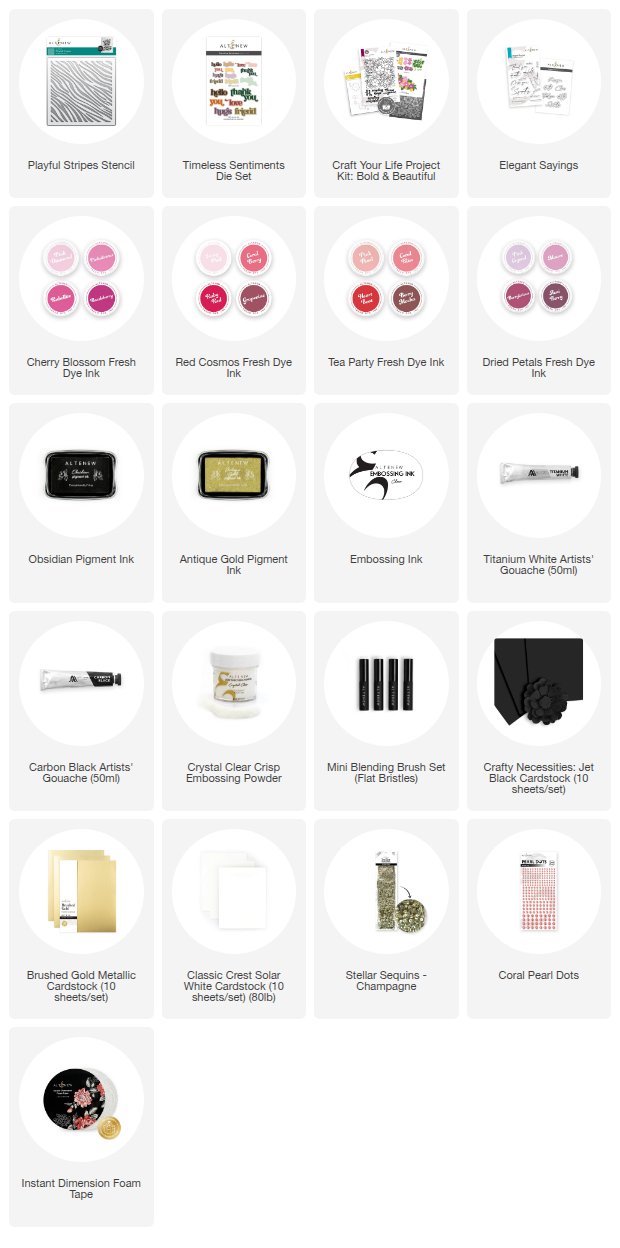
Supplies


Leave a comment