How to Choose the Best Wax Seal Stamp Kit for Beginners: A Complete Guide

Wax sealing has surged in popularity, thanks to its old-world charm and the satisfying process of melting and stamping beautiful designs into wax. But if you’re new to this craft, choosing your first wax seal stamp kit can feel overwhelming.

You might be wondering: How do I choose the best wax seal stamp kit? What’s a good starter wax seal set? And how exactly does one begin wax sealing for beginners without ending up in a sticky mess?
Key Takeaways
- A wax seal stamp kit typically includes a stamp, sealing wax, melting spoon, and heat source.
- Brass stamp heads create the clearest and most durable impressions.
- Wax beads offer better control and less waste than traditional wick wax sticks.
- Most wax seals require only 2–3 wax beads per impression.
- Silicone mats and wax warmers help keep your workspace clean and organized.
- Wax sealing is beginner-friendly and can add a personalized touch to cards, journals, gifts, invitations, and packaging.
What is Wax Sealing?
Wax sealing is the process of using a stamp to press down on melted wax, thus revealing a beautiful stamped image. This creative activity is growing in popularity for many reasons:
-
It’s surprisingly easy to learn and oh-so-fun.
-
Wax seals bring elegance and uniqueness to cards, letters, packaging, and journals.
-
There are endless designs, colors, and ways to personalize your projects.
-
Melting wax and stamping designs can be therapeutic and calming.
What Comes in a Wax Seal Stamp Kit?
Let’s demystify what comes in a wax seal stamp kit so you know what to look for.
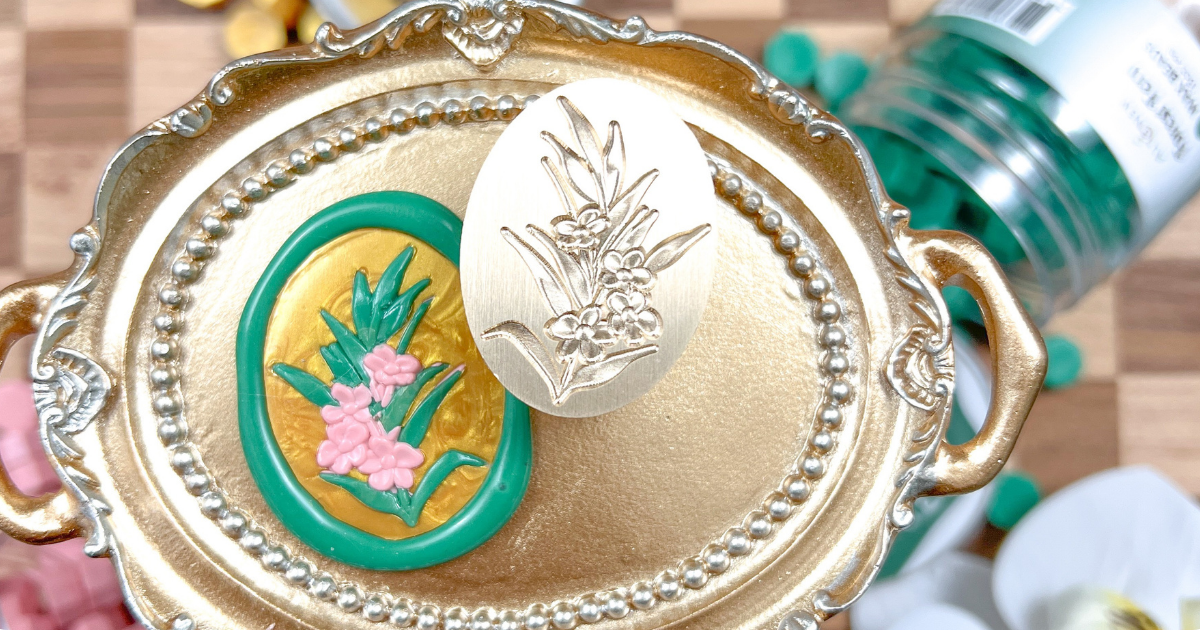
1. Wax Seal Stamps
A wax seal stamp is a brass stamp with a carved design that you press into melted wax.
-
They are made of brass (for crisp impressions) with a wooden handle.
-
They often have interchangeable heads, so you can swap out designs.
-
They come in styles from monograms and florals to geometric patterns and custom logos.
Tip: Start with a simple, versatile design, like an initial or classic floral motif.

2. Wax
Wax is used for sealing comes in two main forms. Many crafters prefer wax beads because you melt only what you need, helping reduce waste. But it’s ultimately up to you, your budget, and your wax sealing needs.
|
Wax Type |
Best For |
Pros |
Cons |
|
Wick wax sticks |
Occasional use |
Affordable, no extra tools |
Can be messy, uneven drips |
|
Regular use |
Easy to control |
Requires a melting spoon and a heat source |
3. Melting Spoon
This small spoon is essential for melting your wax beads over a heat source. It’s important to look for a spoon with a handle that stays cool and a smooth and easy-to-clean interior.

4. Heat Source
You’ll need gentle heat to melt your wax. Two popular options:
-
Tea light candle: A simple, budget-friendly choice, but watch for soot.
-
Wax warmer set: This keeps the spoon steady so you don’t have to keep holding it over the candle. It also offers even heat.
5. Optional Accessories
Some wax seal kits include extras. These aren’t essential for beginners but can make your experience neater and more fun.
-
Silicone mats to protect your workspace.
-
Tweezers for placing glitter, dried flowers, or embellishments.
-
Storage boxes to keep supplies organized.

What to Look For in the Best Wax Seal Stamp Kit
Shopping for your first wax seal stamp kit? Keep an eye out for these features:
-
Quality materials. Brass stamp heads and sturdy wooden handles last longer and produce clearer impressions.
-
Variety of wax colors. It’s nice to have more than just red wax—explore gold, teal, or even glitter-infused wax for a unique look.
-
Easy-to-clean tools. Melting wax leaves residue, so choose non-stick spoons and silicone accessories if possible.
-
Clear instructions. A good kit includes basic directions on how to use wax seals.
Budget-friendly options. You don’t have to spend a fortune to get started—there are excellent starter sets at reasonable prices.

How to Use a Wax Seal Kit Without the Mess
Wax sealing has a reputation for being messy, but it doesn’t have to be! Follow these simple steps for a smooth experience.
Step 1: Prepare Your Workspace
-
Lay down a silicone mat or parchment paper.
-
Keep tissues or paper towels handy for quick cleanups.
Step 2: Melt the Wax
-
Place 2-3 wax beads in your spoon.
-
Hold the spoon over a tea light until the wax is fully melted (usually 30-60 seconds).
-
Stir gently for an even consistency.
Tip: Avoid overheating the wax—it should be fluid but not bubbling.

Step 3: Pour and Stamp
-
Pour the melted wax onto your project in a small circle.
-
Press your stamp straight down into the wax.
-
Hold for 20-25 seconds, then gently lift the stamp away.
Step 4: Clean Up
-
Wipe out the melting spoon with a paper towel while it’s still warm.
-
If wax hardens inside, briefly reheat the spoon to loosen the residue.

Common Wax Sealing Mistakes (and How to Avoid Them)
Here are a few beginner wax sealing pitfalls and how to steer clear of them.
Wax Drips Everywhere
-
Solution: Use wax beads instead of wick sticks for better control.
Cloudy Seals
-
Solution: Let the melted wax cool a few seconds before pressing the stamp. Don’t press the wax seal stamp too hard!
Stamp Sticking to Wax
-
Solution: Chill your stamp briefly on an ice pack to help it release easily.
Wasted Wax
- Solution: Melt only a few beads at a time to avoid leftovers. 2-3 beads are often enough for a couple of wax seal stamps.
Remember, no seal has to be perfect. Even slightly irregular shapes look beautiful and add a handmade character!
Start Your Wax Sealing Journey Without the Mess!
Wax sealing might seem a bit intimidating at first glance. The melting wax, the tools, the fear of making a mess. But the truth is, it’s one of the most approachable and rewarding crafts you can try. You don’t need a mountain of supplies or hours of free time to get started. Even a simple starter kit can open the door to a world of creativity.
Dive in, have fun with it, and discover the simple joy of creating beautiful wax seals that make your projects truly one-of-a-kind. Find more wax seal stamping ideas and projects HERE.
Leave a Reply