Try This Easy Design Tip With Romantic Roses to Make Your Focal Points Pop!
Hello Altenew friends! Hannelie here with two eye-catching cards featuring the Stencil Art – Romantic Roses stencil set and add on die set.
This set features 2 gorgeous 3-layered rose arrangements, a lovely rosebud, & a delicate baby’s breath branch, each symbolizing love & affection (The last mentioned elements are not featured on today’s cards). The 6th stencil introduces a unique background in flowing script. I think this is the perfect addition to the set and really adds a romantic touch!

Today, I’m thrilled to share two creative card ideas with an easy design tip that highlight the power of contrast to draw attention to the focal point. Contrast can be achieved by pairing opposites—like color values, textures, or shapes. For these romantic roses cards, I balanced bold, vibrant, and detailed focal points with soft, blended backgrounds, creating harmony within the design. I also incorporated geometric rectangle elements to contrast with the organic lines of the roses and leaves.
The best part? Creating contrast is easy! You can achieve stunning results using items that are likely within arm’s reach in your craft room—or maybe even right there on your desk! So, let’s get started!
To make today's cards you will need:
- Stencil Art – Romantic Roses with add on die set
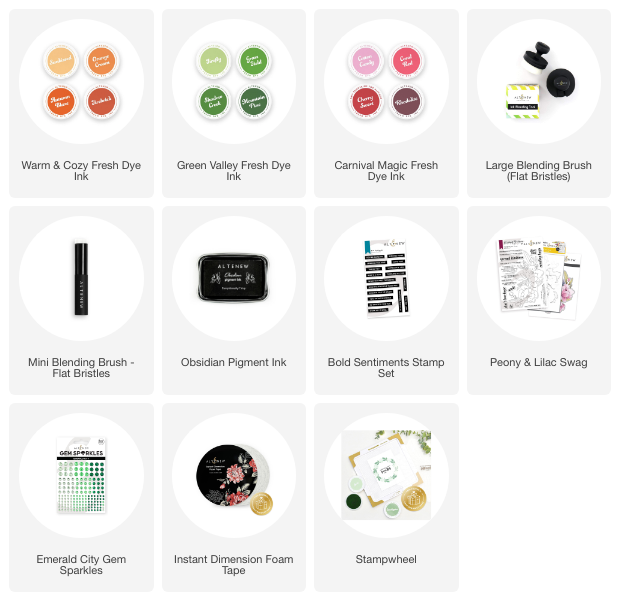
- Warm and Cozy Fresh Dye Ink set
- Green Valley Fresh Dye Ink Set
- Rhodolite Fresh Dye Ink
- Blending brushes: Large & Mini
- Rectangle dies
- Obsidian black ink
- Bold sentiment Stamp Set
- Sentiment from Peony & Lilac Swag Stamp Set
- Emerald City Gem Sparkles
- Instant Dimension Foam Tape
- Stampwheel
- Die Cutting Machine
Step by Step Instructions to Make the Romantic Roses Card With Rectangle Focal Point:
- Trim and fold a sheet of white cardstock to create an A2 size card.
- Position a piece of white cardstock on the sticky mat of the Stampwheel and stencil your chosen rose image (I used Rose “A”) by following the instructions provided in the package.
- For this rose, I used Sunkissed, Orange Cream, Autumn Blaze, and a touch of Firebrick.
- For the leaves, I used Grass Fields, Shadow Creek, and Mountain Pine.
- Use a rectangle die to cut/crop the rose image and leave it to dry for a couple of minutes. ** Hold on to the left-over piece of card stock, you will use it to create a background effect on the second card.
- Select a rectangle die slightly larger than the one used to crop the rose image and cut a mask from a piece of scrap cardstock for the background you’ll create in the next step.
- Position the mask over the card base and use large blending brushes to create a soft, blended background.
Tip: There’s no need to add extra ink to the brushes—residual ink should be enough to create a delicately blended effect. - Place the rectangle stenciled panel on the sticky mat of the Stampwheel and use Obsidian black ink to stamp the sentiment.
- Adhere the rectangle stenciled panel to the card base using Instant Dimension Foam Tape.
- Embellish the card with Gem Sparkles.

Step by step instructions to make the card with script background:
- Trim and fold a sheet of white cardstock to create an A2 size card.
- Secure the folded card base to the sticky mat of the Stampwheel.
- Use the leftover cardstock (frame) from Step 2 above, to create a small ink-blended rectangle on the top left edge of the card base. Repeat the process with green ink to add a similar rectangle on the lower right edge of the card. Once again, the residual ink on the blending brushes might be enough to achieve the soft blended look.
- Use stencil #6 to add the script element to the background. I used a mini blending brush to achieve the desired effect.
- Remove the card base from the stampwheel and secure a new piece of white card stock to the sticky mat.
- Stencil the second flower (I used Rose “B”)
- For this rose I used: Orange cream, Autumn Blaze, Firebrick and a touch of Rhodolite
- For the leaves I used : Grass Fields, Shadow Creek, and Mountain Pine.
- Use the coordinating die to cut out the rose.
- Use the Stampwheel and Obsidian black ink to stamp the sentiment strip. Trim the sentiment.
- Adhere the rose to the card base using Instant Dimension Foam Tape.
- Adhere the sentiment to the card, I once again used foam tape.
- Embellish the card using Gem Sparkles.

Thanks for stopping by and joining me to explore how using contrasting elements can elevate your card designs! By pairing bold focal points with soft, harmonious backgrounds and mixing geometric shapes with organic elements, you can create cards that are both dynamic and balanced. The best part is how easy it is to incorporate contrast using supplies you already have on hand!

How do you like to use contrast in your own designs? Do you have a favorite technique or go-to combination? I’d love to hear your ideas and see your version of these romantic roses cards—let’s inspire each other! Happy crafting!
SUPPLY LIST :