Transform Your Stenciled Image with a 3D Embossing Folder

Hi friends! It's Mindy Eggen with my series Inking It Up with Mindy and today I’m sharing a gorgeous way to take your stencil-colored images to the next level — by pairing them with a coordinating 3D embossing folder. This technique adds instant texture, dimension, and a truly elevated finish to your cardmaking.

I’m using the previously released Craft Your Life Project Kit: Arched Foliage along with its coordinating 3D embossing folder, and I think you’re going to fall in love with how beautifully these two products work together!

Die Cut First - Then Add Color
I started by die cutting the Arched Foliage image from white cardstock. I really love die cutting first — it makes it easier to line up the coordinating stencil.
Stencil with a Unique Color Palette
Using the Sugarplum Fresh Dye Ink, I added color through the coordinating stencil. To achieve soft blends and gradients, I worked with a mix of small, mini, and micro blending brushes — the smaller heads help get into the tightest areas around the foliage, giving the image beautiful natural variation.
Line Up & Emboss
Next, I placed the fully inked die cut back inside the Arched Foliage 3D Embossing Folder. I recommend using a small piece of low-tack tape to hold everything securely in place, so the lines stay perfectly aligned. Then run it through your die-cut machine — and watch it transform! The embossed detail adds incredible depth and makes the foliage look almost sculpted.

Metallic Splatter for Extra Texture
I added a bit of shimmer by splattering the image with Bronze and White Pearl from the Metallic Watercolor set. This adds highlights and visual texture that catches the light just right.
Create a Coordinating Background
To keep everything cohesive, I ink blended the background using the same Sugarplum palette for a monochromatic look. Once again, I finished it off with the same metallic splatter colors to tie everything together — repetition of color helps the entire design feel intentional and seamless.
Sentiment & Assembly
I stamped the sentiment using the Arched Foliage stamp set in Plum ink and trimmed it down. Then I added foam tape to both the embossed focal piece and the sentiment before adhering them to the background. That lift is what brings the focal panel forward and gives the card its polished finish.

Combining a coordinating stencil with a matching 3D embossing folder is such a simple way to add elegance and dimension to your cards — and it truly gives your stenciled images a whole new life. Whether you're using a floral set like Arched Foliage or another favorite, I hope this encourages you to try die cutting, stenciling, and then embossing for the most impactful results.
VIDEO TUTORIAL
You can watch the video tutorial below or on Youtube.
Thank you so much for spending time with me today — I hope this inspires your next crafting session! 💜
If you create something using this technique, be sure to share it and tag me — I would love to see your work!

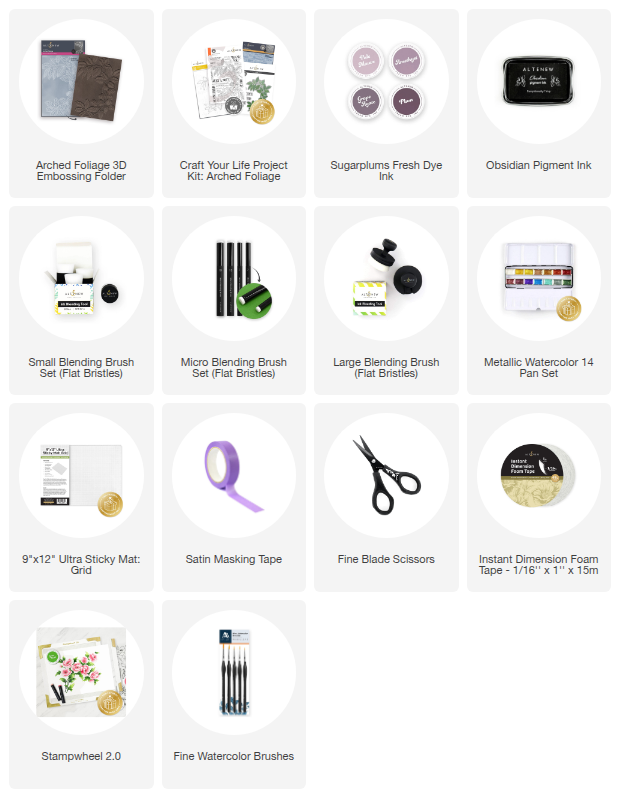
SUPPLIES
2 Comments
quite beautiful and elegant.
Beautiful card Kelly,
Leave a Reply