3 Secrets for No-Outline Watercoloring: The Art of the Disappearing Line | Perfect Pairings with Jaycee

Imagine turning a simple grey outline into a professional, hand-painted masterpiece. Welcome to the grand finale of Perfect Pairings for 2025! You’ve made this such an incredible year for our Altenew community, and to celebrate, I’m pulling back the curtain on my three biggest secrets for flawless no-outline watercoloring.

We're diving into the details in this blog, but feel free to take a look at the video over on Altenew's YouTube channel too!
The Perfect Base: Botanical Elegance
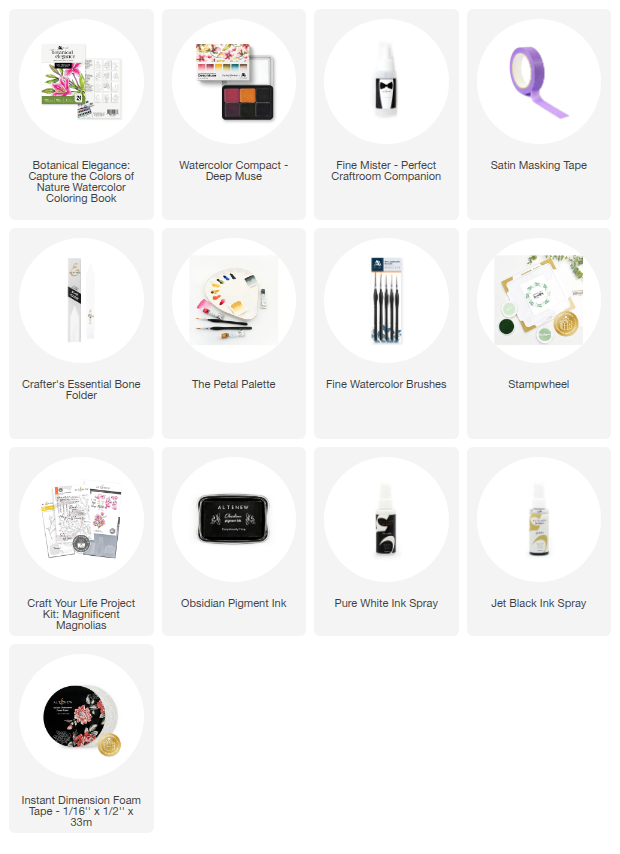
For today’s project, I’m using the Botanical Elegance Watercolor Coloring Book. This book is a total game-changer because each of the 12 images comes in two versions: a bold black outline and a faint grey outline.
Pro Tip: I recommend tearing out both pages. Keep the black outline version nearby as a "map" to help you distinguish overlapping petals and leaves once you start adding color to the grey version!
The Palette: Deep Muse
I’m featuring the Deep Muse Watercolor Compact, a stunning collaboration between Sarah Simon (The Mint Gardener) and Artistry by Altenew. This palette is all about rich, soulful tones:
- Petals: Golden Ochre (Base), Raspberry Rose (Hue), Lilac Burgundy (Details)
- Leaves & Stems: Mossy Oak (Hue), Still Waters (Shadows), Origin Umber (Stems)

My 3 Phases of No-Line Watercoloring
To simplify the process, I break my painting down into three distinct phases. This ensures the grey lines "vanish" into the art rather than acting as a border.
Phase 1: Color Mapping (Establishing the Under-Glow)
Using my largest brush (#6), I start with a wet-on-wet technique. I apply a wash of clean water, then drop in dilute pigment.
- The Goal: We aren’t saturating the paper yet. We are establishing where the light and shadows live.
- The Secret: I used Golden Ochre as a base for both petals and leaves. This creates a "warm under-glow" that unifies the entire piece, giving it a professional, cohesive feel.

Phase 2: Building Value & Form
Once the base is set, it’s time to define the shapes.
- For the Hibiscus: I concentrated Raspberry Rose toward the center, blending it out toward the Golden Ochre tips.
- For the Leaves: I used Still Waters to drop in intense shadows where leaves overlap or curl.
- The Strategy: By matching the darkness of your paint to the darkness of the grey printed line, the line effectively disappears into the shadow.

Phase 3: Artistic Movement & Dry Brushing
After the panel dried completely, I followed these steps to turn the painting into a professional card:
- Clean Removal: Peel your Satin Masking Tape back on itself slowly to avoid tearing the paper or transferring pigment.
- The Margin: I trimmed a tiny 1/8th-inch margin around the image to remove the uncolored edges.
- The Sentiment: Using the Stampwheel and Obsidian Pigment Ink, I added a bold "You Are Special" sentiment from the Magnificent Magnolia set.
- Splatter: No Jaycee project is complete without it! A little Pure White and Jet Black ink spray adds the perfect "filler" to the background.
- Dimensions: I used Instant Dimension Foam Tape to mount the panel onto a 5x7 note card. It flattens any slight warping and gives it a high-end finish.

The Finishing Touches
This is the ultimate payoff for painting a large image: Two Cards!
- The Cut: Strategically cut the painted bouquet into two separate arrangements, leaving enough white space for a minimalist arrangement and sentiment placement.
- Splatter: Use Jet Black Ink Spray and Pure White Ink Spray splatters across the panel. This helps fill in the negative space and ties the loose watercolor look together.
- Sentiment: Use your Stampwheel and Grid Flip Plate to ensure perfectly straight sentiment stamping in Obsidian Pigment Ink.
- Final Assembly: If your panel warped slightly (mine did!), use thin 1/16 inch Instant Dimension Foam Tape on the back. Adhere the panels to a folded note card base, using the corner of the Stampwheel Stage as a guide for perfect centering.
The Final Pair!
We ended up with two stunning, loose watercolor cards using just a few basic techniques. Which one is your favorite: "Collect Moments" or "Heartfelt Gratitude"?
Let me know in the comments below! And don't forget, there's a second Watercolor Compact coming!
Thank You for an Amazing 2025!
As we close out another year of Altenew releases, I want to thank you for joining me on this journey. Whether you are a master artist or just starting, there are infinite perfect pairings waiting for you in your stash.
Ready to try this? Grab your favorite palette and that grey-outline page, and let’s see those lines disappear!
I’ll see you in 2026 for even more tutorials and techniques. Happy crafting!

Save up to 60% off on Grand Year-End Celebration! Stock up and enjoy massive discounts on our stamps, dies, inks, and more from December 30, 2025 at 12:01 AM EDT until January 2, 2026 at 11:59 PM EDT. Shop here: https://altenew.com/collections/papercrafting-warehouse-sale
Leave a Reply