Zero Waste Cardmaking: 3 Stunning Designs with Altenew’s Oval Serenity Die Set

Hello Altenew friends! Hannelie here today and I’m excited to share some fresh card designs featuring a fabulous die set that’s as versatile as it is inspiring. I am talking about the Oval Serenity Die Set from the Altenew April release!

This set includes two versatile dies—an oval frame and a floral cluster—perfect for mixing and matching! Together, they give you plenty of elements to craft a wide range of beautiful arrangements.

The Oval Serenity Die Set is part of Altenew's Zero-Waste Collection – dies in this instance – which aims to help you get the most out of every single die-cut—right down to the leftover card stock scraps. Say goodbye to waste! With these dies, you can create beautiful backgrounds, striking accents, custom stencils, and unique design details that take your projects to the next level. Think of all the creative possibilities these clever dies open up!
Alright, let’s jump into today’s card-making fun!
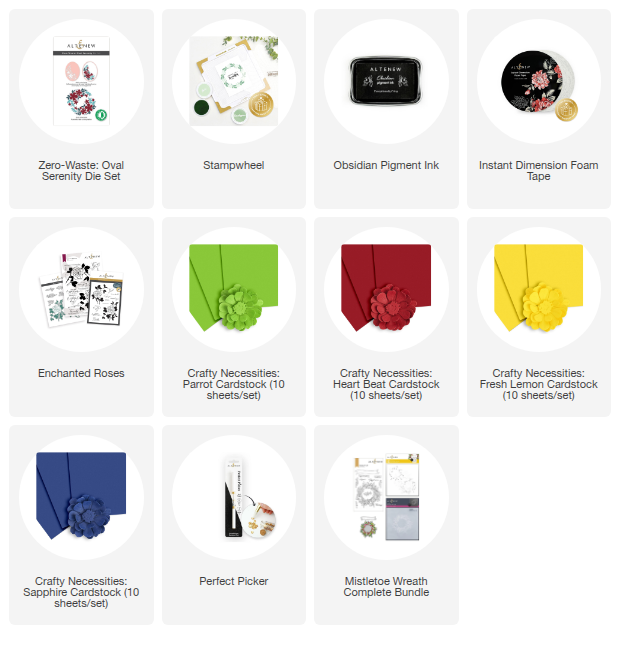
To make today's cards you will need :
- Oval Serenity Die Set.
- Die Cutting Machine.
- White card stock.
- Card stock : Parrot , Heart Beat , Fresh Lemon , Sapphire .
- Obsidian Black ink.
- Stampwheel.
- Banner die from the Mistletoe wreath complete bundle.
- Perfect Picker.
- Sentiment from Enchanted Roses stamp set.
- Instant Dimension Foam tape.

We’ll kick things off by die cutting all the elements from the Oval Serenity die set, using the cardstock colors listed above. This gives us a colorful mix to play with as we build our card designs! Tip: Cut a few extra pieces while you’re at it—having options on hand makes it easier to experiment with layouts and layering.
Step by step instructions to make the “wishing you the happiest day” card:
- Trim and fold the white card stock to create an A2 card.
- Next, trim another piece of white cardstock to create a panel that fits perfectly on an A2-sized folded card. This will serve as the base layer for building your design.
- Use the floral cluster die to cut the design twice into your panel, creating negative space. This will be the perfect spot to inlay your colorful cardstock flowers for a dimensional, eye-catching effect. Please refer to the photo above for layout suggestion.
- Adhere the die cut panel to the card base.
- Use the Perfect Picker to easily lift the colored cardstock flowers and elements, then adhere them into the coordinating spaces on your panel. It’s a great way to keep everything neat and precise! I used Instant Dimension Foam tape to pop up the larger elements.
- Die cut the banner for the sentiment.
- Use the Stampwheel for precise stamping of your curved sentiment. The stampwheel makes aligning and stamping a breeze! As you can see in the photo below, it helps you achieve perfectly positioned curved sentiments with ease. *** In case it’s not clear from the photo below, here’s how I used the Stampwheel to position the curved sentiment. I placed the banner on the sticky mat of the Stampwheel, then closed the flip plate. On the outside of the flip plate, I taped the negative die-cut piece in place using washi tape. This acted as a guide to help me align the sentiment. Once the sentiment stamp was positioned within the curve of the negative cut, I applied ink and stamped it—easy, precise, and perfectly placed!

- Remove the stamped banner from the sticky mat, apply Instant Dimension Foam tape to the back and adhere it to the card to complete the design.
Take a look at the completed card!

Step by step instructions to make the “love you, my friend” cards :
- Trim and fold the white card stock to create an A2 card.
- Adhere the oval frame to the card base.
- Arrange the die cut elements inside the frame using your preferred color choice and adhere pieces to card base. *** TIP*** Use one of the negative cuts of the floral cluster as a guide to determine the positioning of the elements inside the frame. For the one card I used Sapphire card stock as the main color and added pops of Parrot, Heart Beat and Fresh Lemon card stock. For the other card I used Heart Beat as the main color with pops of Fresh Lemon and Sapphire card stock.
- Carefully remove the guide you used to determine the position of the elements.
- Use the Stampwheel to stamp the sentiment using Obsidian Black ink.
Take a look at the two completed cards !


The three cards together make a pretty picture :

And that’s it! With just a few simple steps, we’ve created beautiful cards using vibrant die-cut elements from the Oval Serenity Die Set. And the best part? With the leftover die-cut elements, you’re all set to whip up a quick card for any unexpected occasion!
I hope you had fun crafting along.
SUPPLY LIST