The Magic of Monochrome! | Terrific Tags with Michelle (With Video Tutorial)
Hello there, Michelle here with Terrific Tags with Michelle and another edition of Creativity Unlocked featuring Craft Your Life Project Kit: Wings & Petals. Today I am sharing the magic of monochrome!
Craft Your Life Project Kit: Wings & Petals
The Craft Your Life Project Kit: Stamp Set unveils a captivating wildflower garden, blending delicate outlines with bold silhouettes. Use your favorite inks and Artists Alcohol Markers to bring this enchanting design to life, whether as a vivid background or a stunning focal point.
The Wings & Petals Layering Die Set features two exquisite monarch butterflies, each with four detailed layers, along with 11 large sentiments from the matching stamp set. Monarch butterflies symbolize transformation & beauty, making these dies a perfect focal point or complement to the included 3D embossing folder & wildflower garden image in the stamp set.
The Magic of Monochrome Butterfly Tags

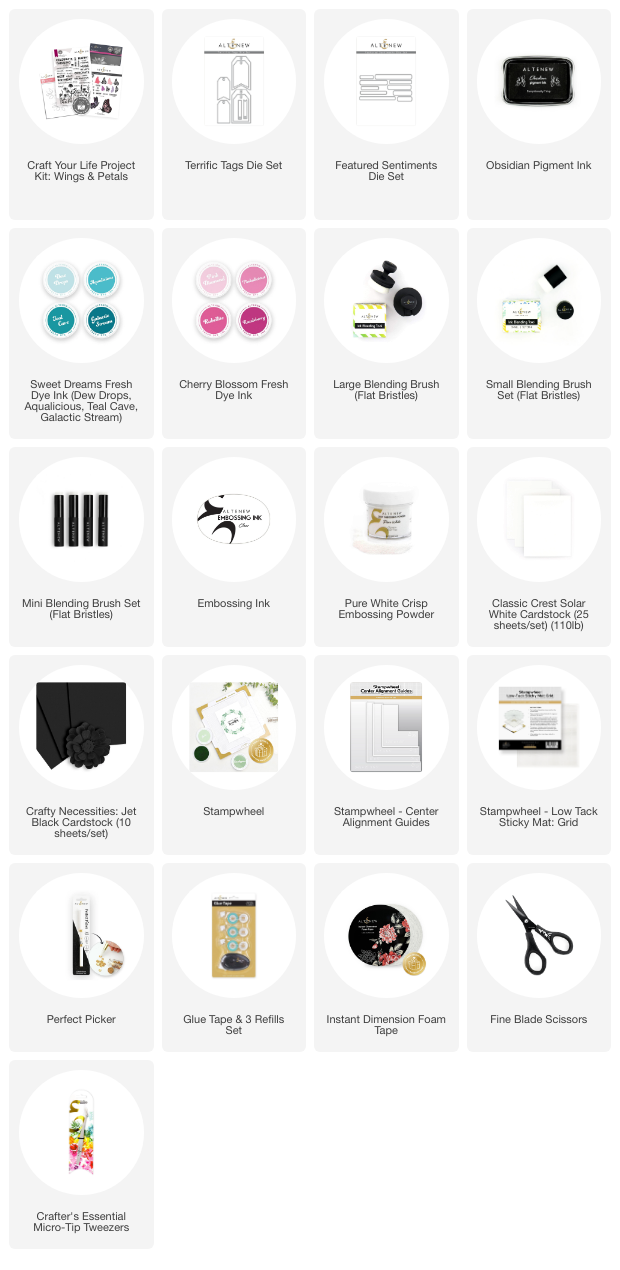
I started off my tags by die cutting the smaller of the two butterflies from the Craft Your Life Project Kit: Wings & Petals Die Set. I cut the base layers of the body/wings from Classic Crest 110lb Solar White Cardstock and the top layers from Crafty Necessities: Jet Black Cardstock.
I added in blending to the base layers using Fresh Dye Inks and a Mini Blending Brush. I used all four shades of the Sweet Dreams Fresh Dye Inks Collection for the aqua blue butterfly, and three shades from the Cherry Blossom Fresh Dye Ink Collection (I missed out Rubellite) for the pink butterfly.
Tag Bases

I die cut the largest tag in the Terrific Tags Die Set four times from Classic Crest 110lb Solar White Cardstock. I set two aside and added ink blending to the other two.
I added the first three shades of Sweet Dreams Fresh Dye Inks (Dew Drops, Aqualicious and Teal Cave) to the aqua blue tag using a Large Blending Brush. I then wanted to intensify the saturation of color, so switched to a Small Blending Brush. I then finished off the ink blending with the darkest shade of ink (Galactic Stream) using the Small Blending Brush.
TOP TIP: Utilize the size of blending brushes! The large blending brush is perfect for covering large areas, but it also perfect for getting a very smooth, soft application of color. The small and mini brushes are perfect for not only covering small areas but also for adding a higher saturation of color.

For the pink tag, I used the Large Blending Brush for the first three shades of Cherry Blossom Fresh Dye Inks (Pink Diamond, Pinkalicious and Rubellite) and then switched to a Small Blending Brush for the darkest shade (Razzleberry).
I set them aside to dry for a few minutes and then placed them in the Stampwheel to stamp the silhouette image from the Craft Your Life Project Kit: Wings & Petals Stamp Set on top. I used the Stampwheel – Center Alignment Guides to ensure I stamped it in the same place on each tag, using Obsidian Pigment Ink.

Once the tags were dry, I adhered the other two tags cut from white cardstock to the back using Glue Tape. This gives me a nice clean look to the back of the tags in case I want to write a personal message on them.
I then threaded black twine through the holes in the tags and tied in bows at the front.
I stamped the ‘for you' sentiment from the Craft Your Life Project Kit: Wings & Petals Stamp Set onto Crafty Necessities: Jet Black Cardstock using Embossing Ink. I applied Pure White Crisp Embossing Powder and heat set.
They were die cut out using the Featured Sentiments Die Set, cutting the sides down with a guillotine. They were then adhered to the tags using Instant Dimension Foam Tape.
Monochrome vs. Contrast

I assembled the butterflies by adhering the top layers to the base (ink blended) layers using liquid glue. I then adhered the two pieces together so that there are both front wings and back wings.
I wanted to keep the butterflies very dimensional, so I only adhered the back wings to the tags and manipulated the front wings forward slightly. If you wanted less dimension, you could add foam tape in-between the layers or simply adhere them flat.
I really love the look of having the same color butterflies on the same color background. Do you like working with a monochrome color palette or do you prefer contrast? Let me know in the comments! In the video below, I show what they would look like switched over to add more contrast.
Video Tutorial: The Magic of Monochrome!
I hope I have inspired you to try using a monochrome color palette for your next project! You can watch the full process video below or on YouTube.

Thank you so much for stopping by, I hope you have a wonderful day!