

Creativity Unlocked feat. Stencil Art: Amorous Dream Layering Stencil Set + Add-Ons | Floral Garden Card

Welcome to Creativity Unlocked, where we highlight a new product from each month's collection or a fan favorite from past collections!
Hello everyone! Svitlana here, and today I’m sharing a maximalist floral garden card featuring the awesome Stencil Art: Amorous Dream Stencil Set.
Keep on reading for more tips and project ideas using this new stenciling set!

Stencil Art: Amorous Dream
The 6″ x 6″Stencil Art: Amorous Dream Layering Stencil Set features a trio of blooms that will create a breathtaking focal point for your handmade projects. With intricate details and simple layering, these flowers will effortlessly come alive. The beautiful design is perfectly suited for cards, scrapbook layouts, or even framed art.
I call this design “maximalist” as there is a lot of layering going on with this card and almost no “white space” is left. Let's check out how this card is made!
A Stunning Floral Garden Card feat. Stencil Art: Amorous Dream

I started making the card by creating two floral arrangements using the Stencil Art: Amorous Dream Stencil Set.
The floral design offered by this set is quite large and is totally suitable not only for cards but for larger projects as well.
Since the card is a smaller object I was able to fill it up completely with just two floral elements.

Another great thing about this set is it allows you to color each element separately, resulting in flowers of different colors.
I used the Pocketful of Sunshine and Enchanted Garden Crisp Dye Ink Bundles to create the flowers. For the leaves, I applied Frosted Foliage and Green Fields Fresh Dye Inks.
After I finished with color layering the floral elements, I die cut them with the coordinating Stencil Art: Amorous Dream Add-On Die.

Prepping the Panels and the Background
I made a panel out of Solar White Cardstock and inked it up with the Eucalyptus Fresh Dye Ink.
I did it in case some panel space is not covered with the flowers (which you can see peeking out in the top and bottom right corners) so it wouldn't be white. I feel that having a green background makes the design more cohesive.
Next, I cut each floral element into two parts and adhered them to the panel. I put one die-cut piece above the other to create this multi-dimensional layered look. Here's how I did that:
- I adhered the bottom piece flat onto the panel.
- Next, I popped up the left one using thin foam squares to raise it a bit above the first element.
- After that, I adhered the top one, also popping it up a bit.
- Lastly, I popped the remaining element (on the right) onto the panel.
I used thin and regular foam squares to achieve different heights for each element.

The floral panel was foam mounted onto a white card base using the Instant Dimension Foam Tape.
Adding the Sentiment
I made the sentiment using the Versatile Greetings Die Set. Both parts of it were die-cut out of white cardstock and then the shadow part was colored with the Andromeda Crisp Dye Ink.

To accentuate the card I added Fall Harvest and Enchanted Garden Enamel Dots.
1 Product, Multiple Ways!
Before you go, here are a few card ideas featuring this new stencil set!
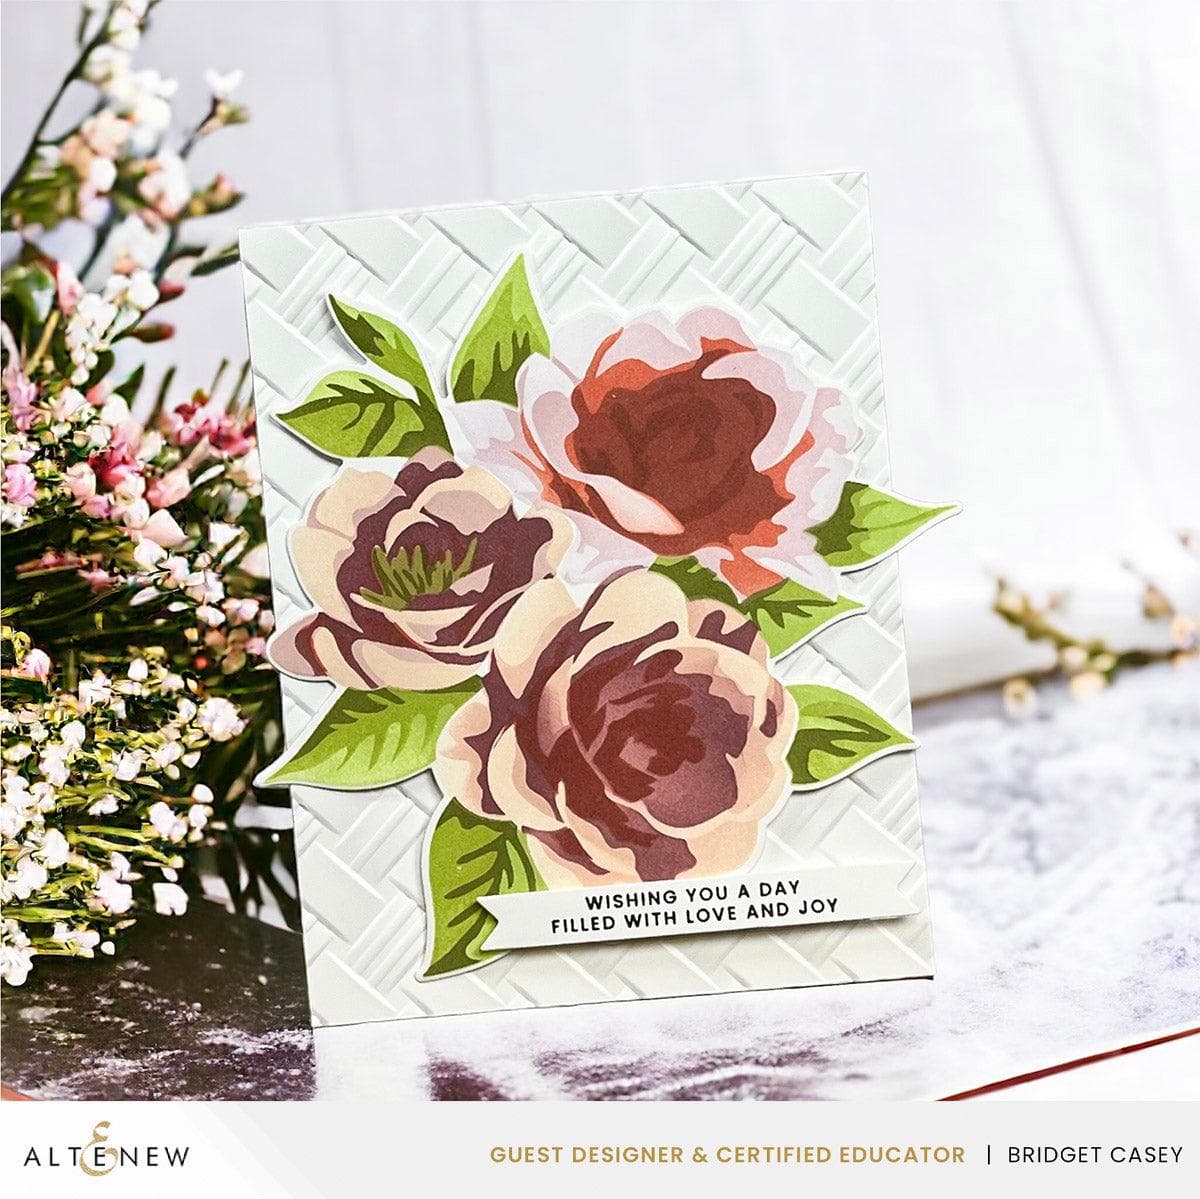
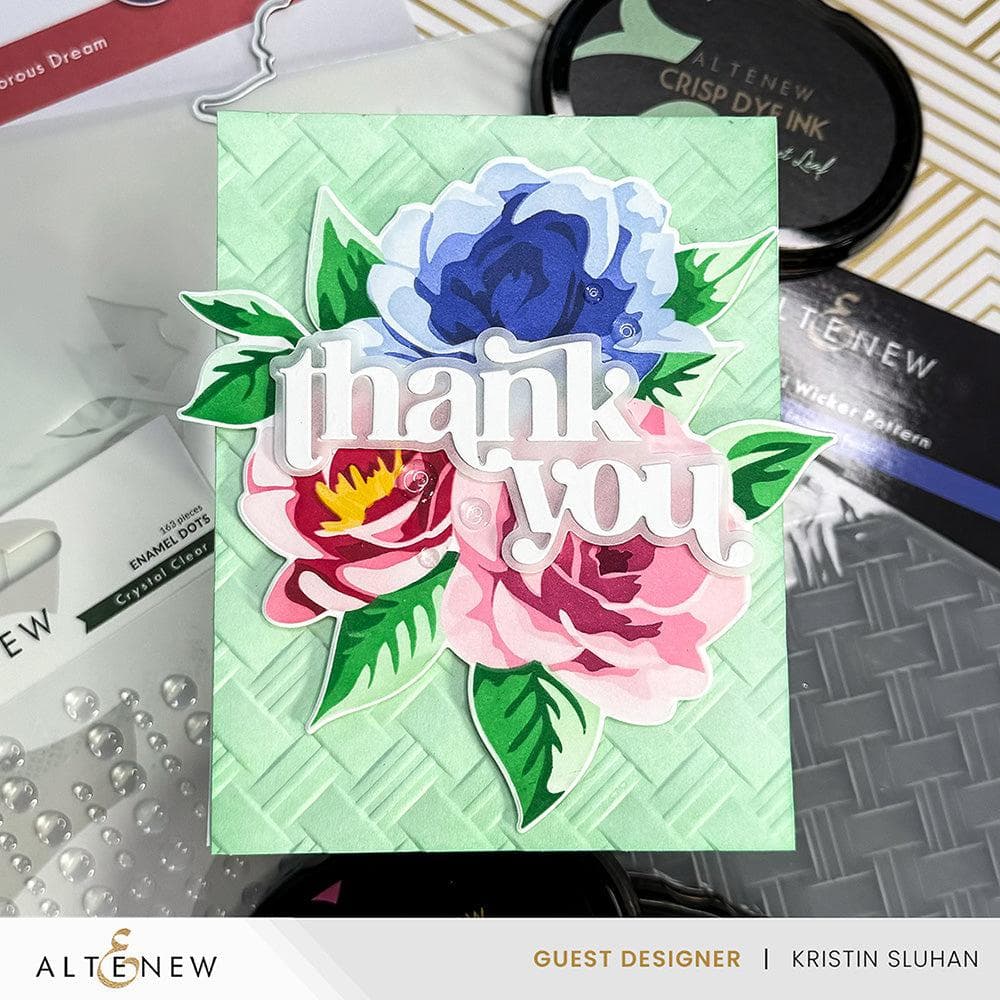
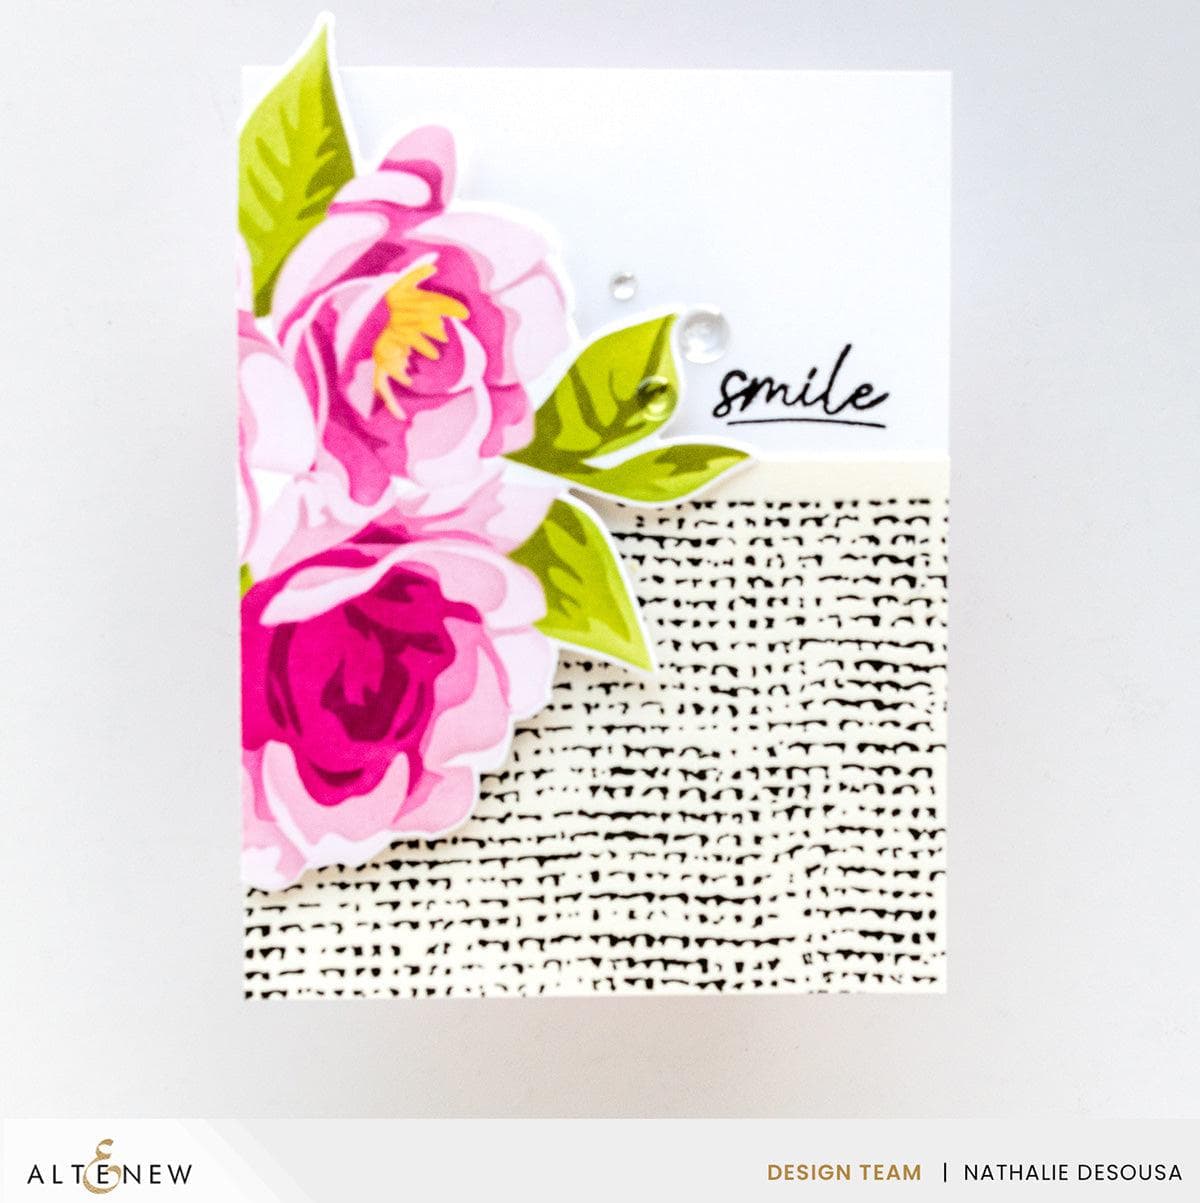
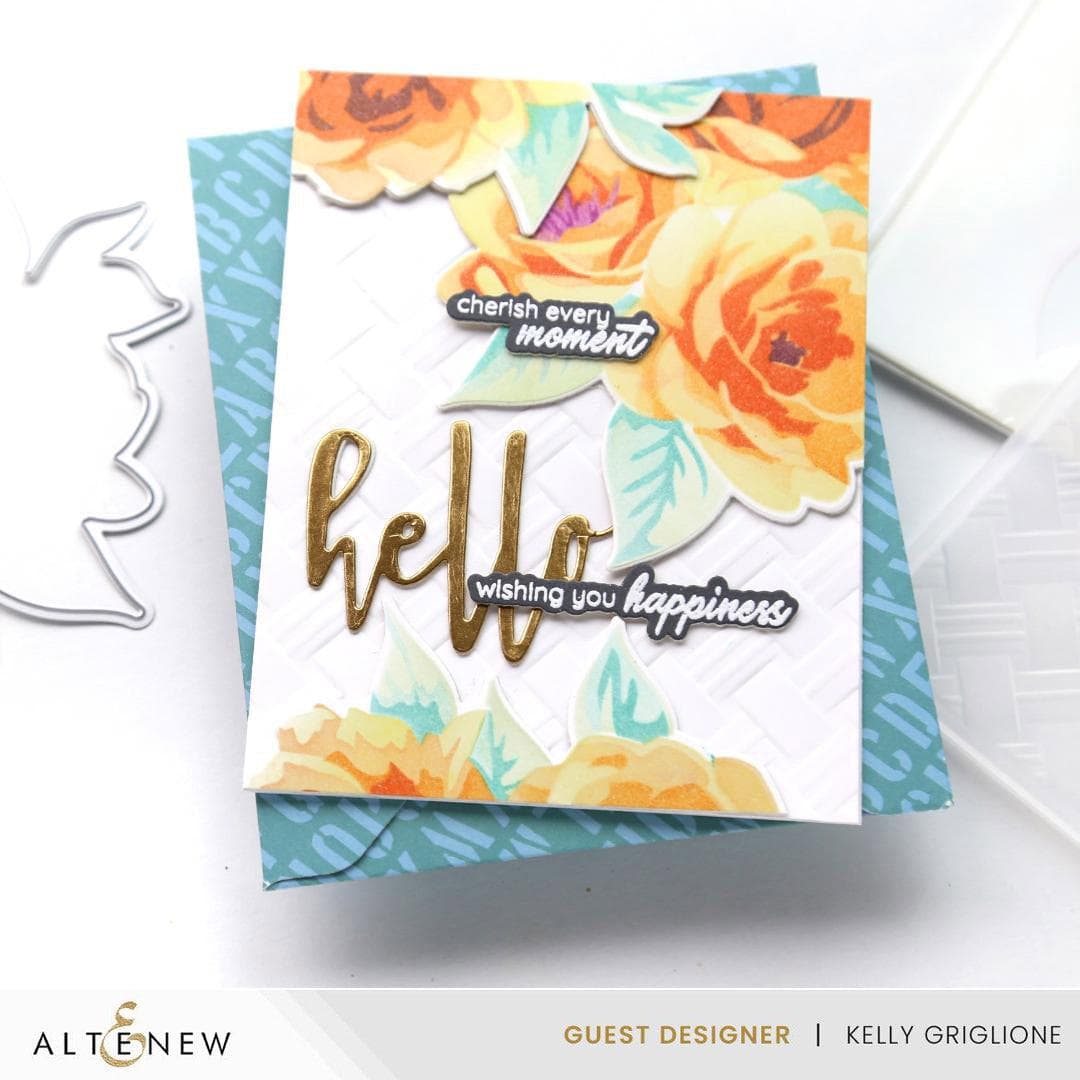
What do you think about the new Stencil Art: Amorous Dream Layering Stencil Set? Which project/s caught your eye? Comment down below!
Thank you for stopping by!
~Supply List~


