Simple Stenciling with 3D Embossing Folders (With Video Tutorial)
by Michelle Short November 15, 2025
Hello there, Michelle here with another edition of Terrific Tags with Michelle. Today I have a tag to share using simple stenciling with 3D embossing folders. Adding stenciling to 3D embossing folders really brings out the fabulous texture created by the different levels of embossing.

3D Embossing
I started off by die cutting the largest of the Terrific Tags Dies from white cardstock twice.
I placed one inside the new Dancing Cosmos 3D Embossing Folder and ran it through my die cutting machine.
Before I did this, I spritzed the back of the tag with water. Some people say that this helps to deepen the embossing. Since these folders are so amazing, I am not sure this step is necessary for that, but it does help to prevent cracking of the cardstock in areas where there is no embossing, like at the top of my tag.

Simple Stenciling
I placed the tag on my Sticky Mat and using the Dancing Cosmos Simple Coloring Stencil Set, added ink blending to the image with Mini and Micro Blending Brushes.
For the ink blending I used:
- Bubblegum Dreams Fresh Dye Inks (Baby Pink, Fuchsia & Magenta) for the petals.
- Golden Sunset Fresh Dye Inks (Sunray & Chamomile) for the flower centers.
- Green Valley Fresh Dye Inks (Firefly, Grass Field & Shadow Creek) for the stems and leaves.

As you can see, when the ink is added on top, it brings out the embossed detail on the image, especially on the petals.
I really love the simplicity of simply coloring the embossed image with ink blending. Of course you can add extras here too, but I left it as is.

Sentiment + Finishing Touches
I adhered the other tag I cut to the back of the the one I added embossing to, using Glue Tape, this not only hides the embossing but gives a clean area to write a personal message.
I then tied twine through them both and secured in a bow at the front.
For the sentiment, I stamped the 'sending hugs' from Build-A-Garden: Climbing Clematis onto white cardstock using Obsidian Pigment Ink. It was die cut out using the coordinating dies and adhered to the tag with Instant Dimension Foam Tape.
To finish, I embellished with Stellar Sequins - Clear Iridescent (my favorite!).
Video Tutorial:
I hope I have inspired you to try simple stenciling with embossing folders. You can watch the video tutorial below or over on YouTube.
Thank you so much for stopping by today, I hope you have a wonderful day!
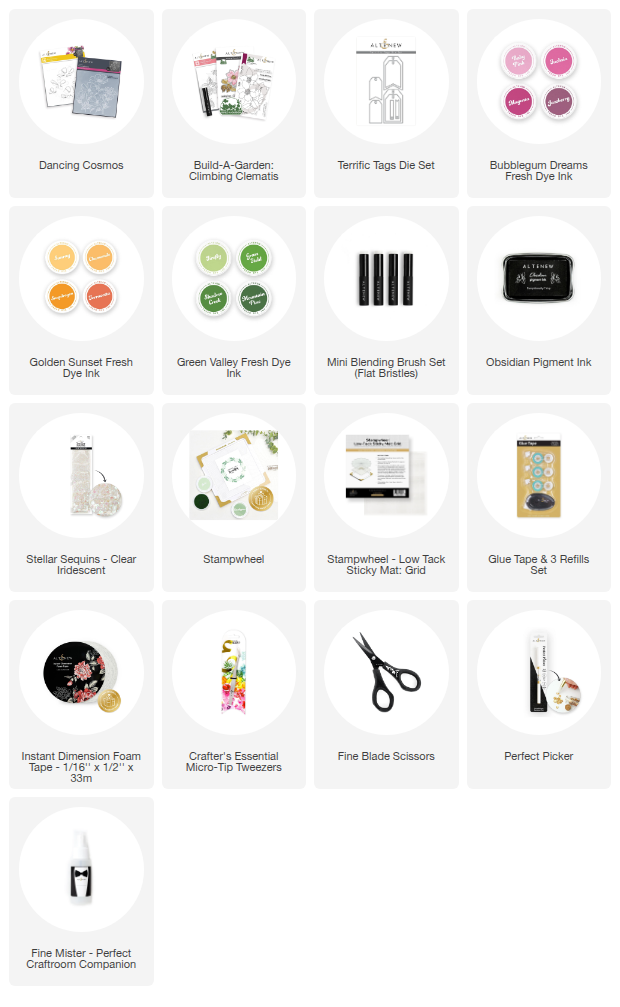
SUPPLY LIST