Simple Focal Point Techniques with Big Impact!
Ready to give your bird images a moment in the spotlight? Today I’m sharing two bird focal point card ideas that show just how easy it is to create big impact with simple techniques and a few coordinating supplies.
Hi there, it's Therese, and I'm back with another edition of Take 2 with Therese!

The Craft Your Life Project Kit: Whispers in the Canopy has everything you need to spark creativity and make the most of your collection.
Before we jump in, the trick to these designs is all about creating a strong focal point. A little selective colour here, a soft background there… and your bird becomes the star without needing complicated techniques.
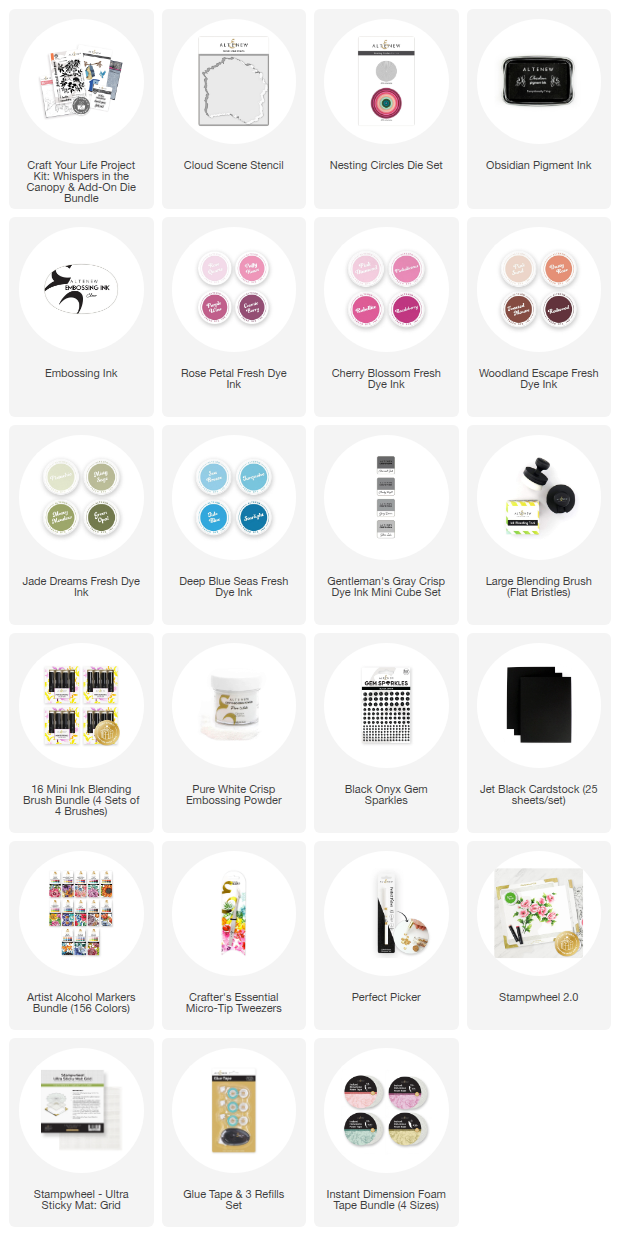
Shop the supplies used to make this card:
- Craft Your Life Project Kit: Whispers in the Canopy
- Crafty Necessities: Jet Black Cardstock
- Rose Petal Fresh Dye Ink
- Cherry Blossom Fresh Dye Ink
- Jade Dreams Fresh Dye Ink
- Woodland Escape Fresh Dye Ink
- Summer Afternoon Fresh Dye Ink
- Rock Collection Fresh Dye Ink
- Artist Markers - Set A | Set C | Set F | Set K.
Card #1: Selective Colour for a Standout Focal Point
For this design, I selectively inked the main flower using the layering stencil set from Whispers in the Canopy, in Cherry Blossom pinks and some Jade Dreams green for the leaves. I kept everything else in muted gray tones. This simple shift in colour does all the heavy lifting - it draws the eye straight to the focal point of the bright bloom and the little blue bird that’s about to land right on it.

The bird is die cut, colored with Artist Markers, and popped up for extra lift, while the surrounding foliage stays subtle to support the focal point without competing.

I kept the sentiment bold and simple. I used Pure White Crisp Embossing Powder to heat emboss the main portion and stamped the sub-sentiment from the stamp set. You may notice that this sentiment is tied in as part of the focal point itself!

Shop the supplies used to make this card:
Card #2: Spotlight Silhouette Technique
For this card, I stamped the large silhouette image to create a soft gray leafy background, giving the design a subtle, patterned base. Then I used the Large Blending Brush to ink blend a simple pink-and-blue Cloud Scene Stencil sunset sky and stamped the same silhouette image, including the bird, in Obsidian Pigment Ink over the top.

Creating the Focal Point!
By die cutting just the area I wanted with one of the Nesting Circle dies, I created a clean focal point that pops against the muted background underneath. The lifted circle lines up with the pattern below, which adds a really fun layered effect without any complicated steps.

I added another bold sentiment and decorated the design with a few simple Black Onyx Gem Sparkles.

If you'd like to watch the instructions for these focal point techniques projects in-depth, take a look at the video on YouTube.
Which Simple Focal Point Technique Will You Try First?
I loved seeing all the different looks you can create with this Simple Focal Point Techniques with Big Impact - there are so many beautiful combinations waiting to happen!
Thanks for joining me for these bird focal point card ideas. I hope they spark something fun in your next crafty session. It’s amazing how a small shift in color or a simple spotlight can completely change the focus of a design and make your images shine.
Don’t Miss the Year-in-Review Sale!

While you’re here, make sure to check out our Year-in-Review Crafters’ Edition Sale! For a limited time, you can save up to 50% OFF on essentials like stamps, dies, sequins, brush storage, and more.
Stay Updated: Deals move fast! Visit our Ways to Save page to stay up to date with all the latest ongoing offers and exclusive discounts.
SUPPLY LIST