The Compact Watercolor Hack: Beautiful Blending, Zero Stress!
Welcome back to another edition of Perfect Pairings with Jayce! Today, we’re showing you a No Stress Stamping method that results in a vibrant, satisfying watercolor card—or in our case, two beautiful cards! This technique is perfect for any skill level because it requires zero tricky precision.
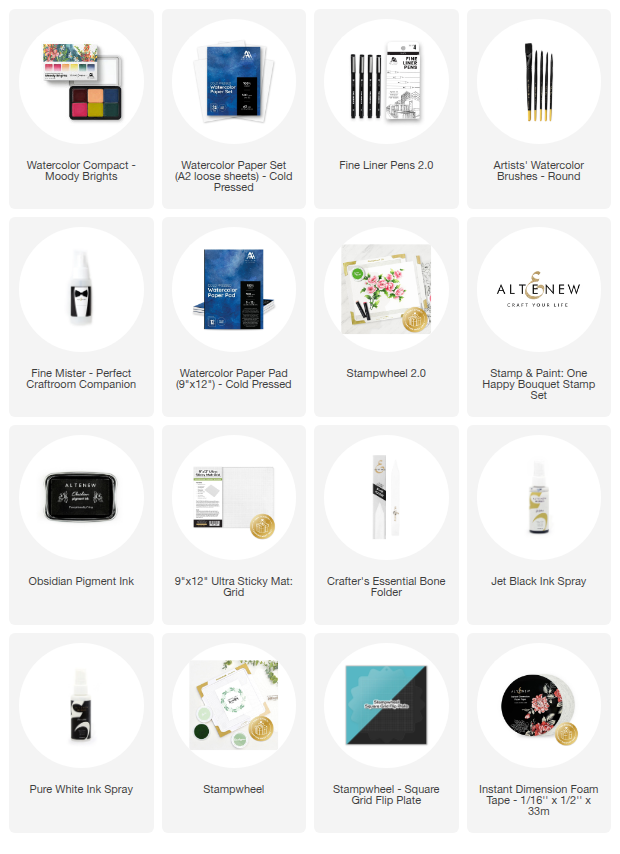
We're putting a gorgeous new watercolor compact to work with a beloved stamp set to create stunning, loose floral art.

We're diving into the details in this blog, but feel free to take a look at the video over on Altenew's YouTube channel too!
Step 1: Meet the Moody Brights & Swatch!

- Before we paint, let's get acquainted with our new palette! The Moody Brights Compact is sleek, travel-friendly, and features magnetic pans, making it easy to customize. The color names and characteristics are helpfully printed on the bottom of each pan.
The Swatch Hack:
- Use the Fine Mister to hydrate the pans.
- Cut an A2 panel of Cold Pressed Watercolor Paper and create evenly spaced rows (I used 15/16ths inch height).
- Use the wide Square 18 Brush to create thick swatches of each color.
- Swatch cards are essential! They help you plan your color placements and understand the true value and intensity of the color on your preferred paper.
Step 2: Stamping Your Canvas

The key to a successful watercolor card is the base layer.
- Paper Choice: We are using the larger 9x12 Cold Pressed Watercolor Paper Pad. Note that one side is more textured; we chose the smoother side for stamping.
- Stamping: Use your Stampwheel 2.0 for perfect placement of the large One Happy Bouquet image in the center.
- The Perfect Ink: Stamp the outline using Obsidian Pigment Ink. This pigment oil-based ink is the ultimate choice for mixed media, as it holds up beautifully against water. Give it a few minutes to set!
- Securing the Panel: Transfer the panel to your 9x12 Sticky Mat Grid. Use a scrap piece of paper and the Bone Folder to gently burnish the watercolor sheet onto the mat—this keeps your "canvas" secure and minimizes warping during painting.
Step 3: No-Stress Watercolor Techniques (Wet-on-Wet & Wet-on-Dry)

-
Our goal is a loose, spontaneous look—not precision!
A. The Base Layer: Wet-on-Wet Magic
- Hydrate Your Panel: Apply a light, even wash of clean water across the entire panel, moving vertically, then horizontally. You want a sheen, not a puddle!
- Color Plan: With six colors in the Moody Brights and six main elements in the bouquet, we assigned a color to each: Magenta Crimson (tulip), Velvet Berries (rose), Peachy Glow (daisies), Lemon Drops (centers), Mermaid Green (foliage), and Starry Night (hydrangea).
- Drop-In Technique: Use your Round 4 Brush. First, drop clean water inside the area you are coloring (e.g., a daisy petal). While the paper is still wet, touch your pigment-loaded brush to the wet area, letting the color flood and feather naturally. The illustration is supposed to be loose and suggestive, not detailed!
- Hazy Foliage: For soft background leaves, drop clean water into empty space, then tap in Mermaid Green. The color feathers out, creating a dreamy, hazy gradient.
- Adding Depth: Wet-on-Dry Glazing
After letting the first layer dry for about 10 minutes, we move to the detail layer.
- Glaze: Use the same colors but with darker values (less water, more pigment). Apply this wet pigment to the dry image. This technique creates a beautiful glaze and adds depth.
- Blending: Use clean water to blend the edges of this new, darker pigment into the previously painted area.
- Highlights: Remember to leave small areas of the white watercolor paper peeking through—this acts as a natural highlight and adds to the spontaneous feel!
Step 4: Cut, Splatter, and Finish

This is the ultimate payoff for painting a large image: Two Cards!
- The Cut: Strategically cut the painted bouquet into two separate arrangements, leaving enough white space for a minimalist arrangement and sentiment placement.
- Splatter: Use Jet Black Ink Spray and Pure White Ink Spray splatters across the panel. This helps fill in the negative space and ties the loose watercolor look together.
- Sentiment: Use your Stampwheel and Grid Flip Plate to ensure perfectly straight sentiment stamping in Obsidian Pigment Ink.
- Final Assembly: If your panel warped slightly (mine did!), use thin 1/16 inch Instant Dimension Foam Tape on the back. Adhere the panels to a folded note card base, using the corner of the Stampwheel Stage as a guide for perfect centering.
The Final Pair!
We ended up with two stunning, loose watercolor cards using just a few basic techniques. Which one is your favorite: "Collect Moments" or "Heartfelt Gratitude"?
Let me know in the comments below! And don't forget, there's a second Watercolor Compact coming!
Level Up Your Skills: Join the Watercolor Stamped Images Class!

If you loved this "no-stress" method, you’ll enjoy our Watercolor Stamped Images Class! This class dives deeper into the techniques we explored today, showing you even more ways to transform your favorite stamps into painterly masterpieces. Whether you're looking to master loose florals or perfect your blending, this class is the perfect next step for your creative journey.
Sign up HERE.