Silhouette Stamping: An Easy Technique with Beautiful Results
Hello there, Michelle here with another edition of Terrific Tags with Michelle. Today I have a fun technique to share - silhouette stamping. This technique is great for both large and small stamps, but ideally you would want solid ones. You can use outline stamps, but you would need to fill in the gaps with pen to achieve the the look of a silhoutte.

Creating the Base
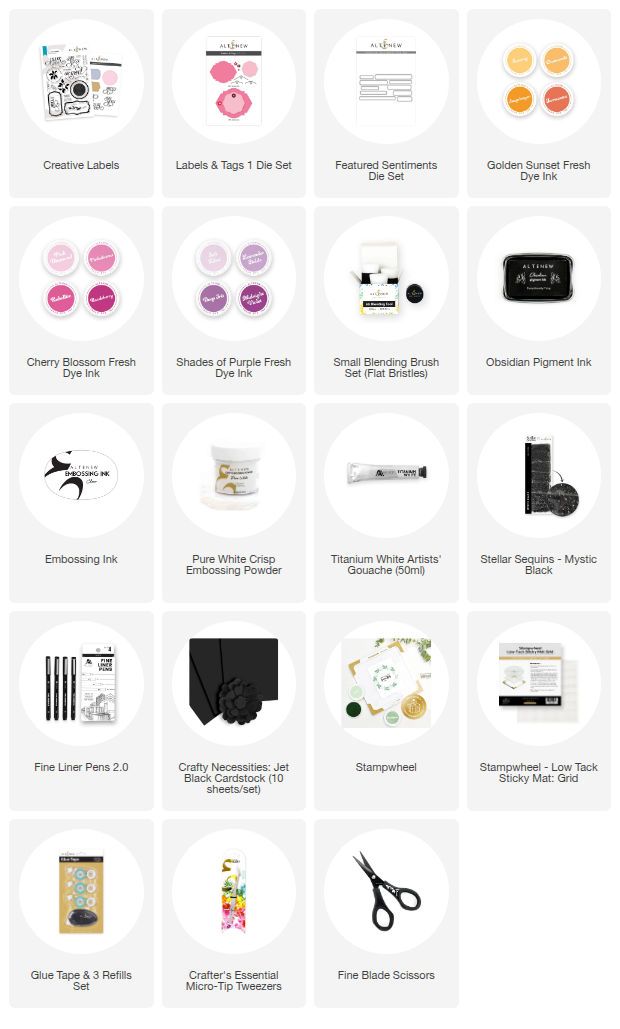
To start with, I created the base for the silhouette stamping to be on. I took two of the label dies from the Creative Labels Die Set and die cut them each twice from white cardstock.
To make them into tags, I took the hole die from Labels & Tags 1 Die Set and placed it towards the top of the labels. I ran it through my die cutting machine to cut the hole and instantly, the labels then became tags!
I am creating tags today for my project, but silhoutte stamping can be used on any project - cards, tags, scrapbook pages, art journalling. The list is endless!

I then added ink blending to my tags. I wanted colorful backgrounds for my silhouette stamping, as I felt that would help them pop the most. I used Small Ink Blending Brushes to apply Fresh Dye Inks. I used:
- Tag 1 - Sunray, Chamomile, Snapdragon and Rubellite.
- Tag 2 - Pink Diamond, Pinkalicious, Deep Iris and Midnight Violet.
I then placed the tags inside the Stampwheel to do the silhouette stamping on top.

Silhouette Stamping
I took the leaf stamps from the Creative Labels Stamp Set and stamped them onto the tags using Obsidian Pigment Ink. I did need to stamp these multiple times (one layer on top of another) to get a solid silhouette.
I really love how the silhouettes look on top of the colorful ink blended backgrounds. It really makes them both pop - both the ink blending and the silhouettes!
Silhouette stamping can be done with different colors of inks but you would want a dark color - dark puple would have worked for the pink-purple tag nicely, but I really love the contrast of the black ink.

To add some extra interest to the tags. I watered down Titanium White Artists' Gouache a little and using a paint brush, splattered it onto the tags. I then let them sit to dry while I worked on the sentiments. I kept the sentiments fairly small in size, so that I did not cover up too much of the silhouettes.
I stamped three sentiments from the Creative Labels Stamp Set onto Crafty Necessities: Jet Black Cardstock using Embossing Ink. I applied Pure White Crisp Embossing Powder and heat set.

I die cut the 'hello' using the coordinating Creative Labels die. The two other sentiments 'just a note' and 'thanks for being there' were die cut into strips using the Featured Sentiments Die Set. The two ends were cut down using a mini guillotine.
I die cut another two of the 'hello' die and adhered them to the back of the stamped one. I then adhered it to the yellow-pink tag. The 'just a note' was adhered below using Black Instant Dimension Foam Tape.
I adhered the other tags to the back of the stamped ones and then threaded black twine through them and tied in a bow at the front. To finish, I embellished with Stellar Sequins - Mystic Black.
Video Tutorial: Silhouette Stamping
I hope I have inspired you to try silhouette stamping. It works particularly well on colorful backgrounds but will work with any background you have! A simple technqiue with beautiful results! You can watch the video tutorial below or over on YouTube.

Thank you so much for stopping by today, I hope you have a wonderful day!
Don't Miss This!

FREE U.S. Shipping on orders over $49 from March 4, 2026 at 12:01 AM EST until March 6, 2026 at 11:59 PM EST. Shop here: https://altenew.com/collections/all-altenew-products
SUPPLY LIST