Shimmer Relief Paste Designs Made Easy With Stencils!
by Mindy Eggen February 21, 2025

Hey there Crafty friends! Do you want to learn how easy it is to use Shimmer Relief Paste on your projects? Then stick around my friend because that is exactly what I’m going to show you today! This is Mindy Eggen and I'm excited for my new video series on the Altenew Youtube channel, Inking It Up With Mindy. You'll find me there once a month sharing video inspiration!
Now let's jump into the brand new Shimmer Relief Paste!

Shimmer Relief Paste is a fantastic way to quickly and easily add gorgeous shimmer and texture to your projects! Perfect for backgrounds, accents, and layered designs, it brings a beautiful shine that makes your creations stand out.
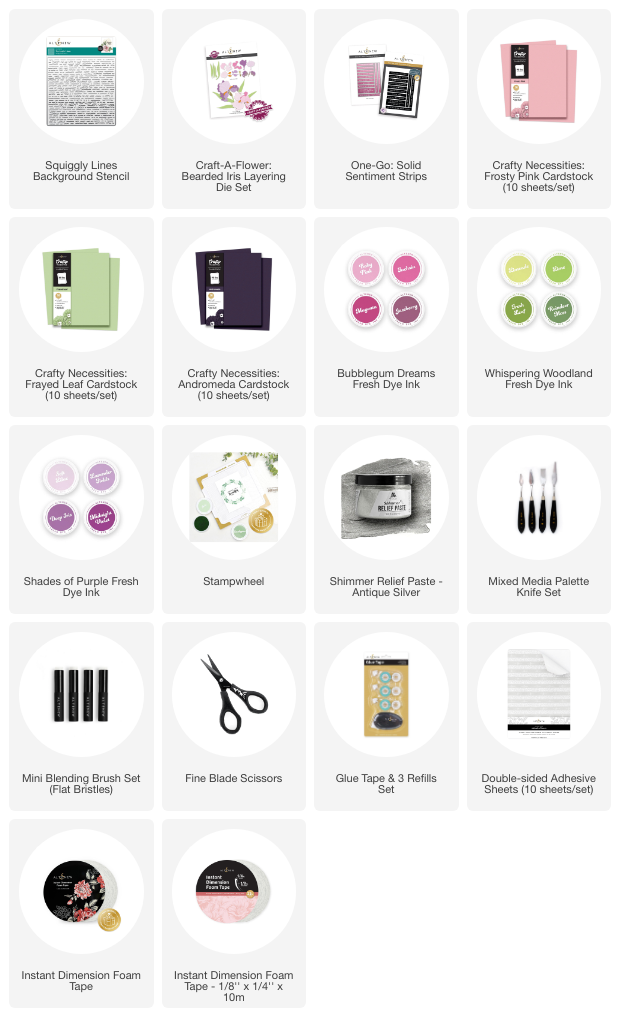
Before starting on my background, I create a focal image, which for today’s project is the stunning Craft-A-Flower Bearded Iris. This layered floral die set brings beautiful dimension and elegance to my design, setting the stage for the rest of the card.

I start by die-cutting the design from Frosty Pink and Frayed Leaf cardstock. These soft, delicate colors are a perfect starting point for some ink blending, which will add beautiful depth and dimension to the design. Blending over the die cuts brings out subtle shadows and highlights, making the layers come to life!
For the flower, I'm using Fuchsia and Jazzberry from the Bubblegum collection, with a hint of Deep Iris from the Shades of Purple collection. These rich, vibrant shades blend beautifully, adding stunning depth and dimension to the petals.
For the stem and leaf, I'm using Reindeer Moss, a rich, earthy green perfect for adding natural tones. I achieved all of this blending with a mini blending brush, allowing me to add precise shading and beautiful depth to the details.

Now that my flower is colored, it’s time to choose the background! Andromeda cardstock is the perfect choice to add a touch of drama and make the floral image truly pop against its rich, deep tone.
Using my Stampwheel Sticky Mat to hold my cardstock and the Squiggly Lines stencil in place, I apply Antique Silver Shimmer Relief Paste with a palette knife. I prefer a scattered application of the paste—it adds texture and interest to the background without overpowering the focal point.
The shimmer adds such elegance to the card!

To keep the focus on my design without being too distracting, I'm using the One-Go: Solid Sentiment Strips BetterPress Plate for my sentiment. I attached it with 1/4″ x 1/8″ foam tape for a subtle pop of dimension.
I’d love to hear from you—have you tried the new Shimmer Relief Paste yet? Which color is your favorite, and how are you using it in your projects? Drop a comment below!
Thanks so much for joining me, friends! Don’t forget to check out the How-To video for a full walkthrough of this project.

Happy crafting, and I’ll see you next time!