Create Faux Metal accents for your card projects
Faux metal accents are the perfect way to elevate any card project, and they're much easier to create than you may think! Whether you are looking to add a touch of vintage elegance or a modern industrial vibe, mastering the art of the metallic look will take your paper crafting to the next level.
It's Carissa Wiley here with you today, sharing a fun way to add a touch of sparkle to your cards with faux metal frames. They're easy to make, and you may already have what you need to create them right in your craft room!

The Secret to Realistic Faux Metal Textures
To create faux metal accents, all you need is some brushed metallic cardstock, like the Altenew Brushed Rose Metallic Cardstock, and an embossing folder. The magic happens when the pressure of the die-cutting machine hits the metallic surface, stretching the light-reflective particles to mimic real forged metal.
For today's project, I used the Brushed Rose Metallic Cardstock combined with the Craft Your Life Project Kit: Frozen Moments. Adding embossed details to brushed metallic cardstocks gives a cool embossed faux metal look, and it's easy to do for any element, not just a frame. Try it with any embossing folder you may have on hand to see how the different patterns catch the light!
I also used the Creative Cuts: EZ Arrangements Antique Leaves to embellish my frames. These are designed to easily create a beautiful wreath but can also be trimmed to use as individual elements for your cards.

To create faux metal accents, all you need is some brushed metallic cardstock, like the Altenew Brushed Rose cardstock, and an embossing folder.
For today's project, I used the Brushed Rose cardstock and the Craft Your Life Frozen Moments dies and embossing folder. Adding embossed details to brushed metallic cardstocks gives a cool embossed faux metal look and it's easy to do for any element, not just a frame. Try it with any embossing folder you may have on hand!

Step-by-Step Guide: How to Create Faux Metal Frames
Creating the look of heavy, expensive metal with just paper is a game-changer for your bulky-mail concerns. Follow these steps to achieve a high-end look without the weight.
1. Select Your Base Material
While you can use shiny foil cardstock, I find that brushed metallic cardstock provides the most authentic faux metal finish. The matte-satin texture hides fingerprints and looks more like high-end pewter, copper, or rose gold.
2. Choose Your Die and Folder
For these cards, I focused on the Frozen Moments set. The intricate details in the dies create a delicate "ironwork" feel. When you pair a die-cut shape with a matching embossing folder, you double the dimension, making the faux metal look even more convincing.
3. The "Double-Pass" Technique
To ensure your faux metal has maximum depth, run your cardstock through your machine with the die first. Once you have your shape, place it carefully inside the embossing folder. This ensures the "veins" and "textures" of the metal are perfectly aligned with the edges of your cut.
4. Adding "Patina" with Ink
If you want your faux metal to look aged, you can lightly swipe a dark pigment ink or a metallic wax over the raised embossed areas. This mimics the natural oxidation found on real antique metal frames.

Watch the Video Tutorial
Ready to see this technique in action? Watch the video tutorial below to learn more about this cardmaking technique and see exactly how I layered these elements to create these cards.

Thanks for stopping by and hanging out with me today! I hope you were inspired. And until next time, I hope you have a fabulous day!
XOXO
Carissa
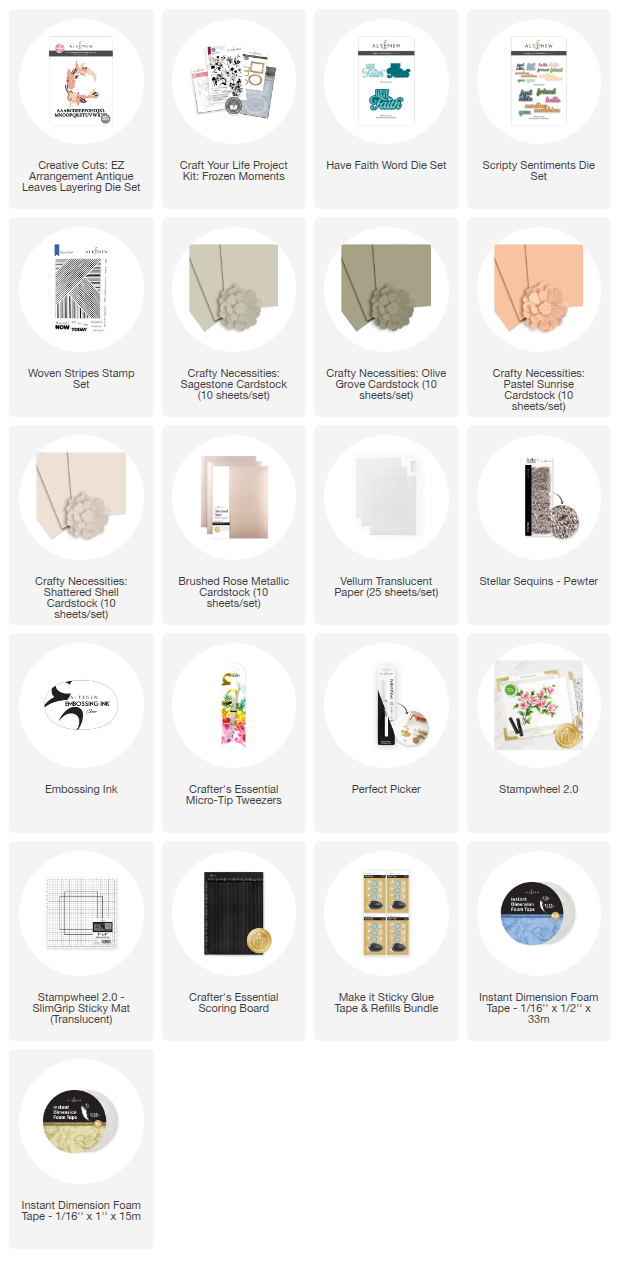
SUPPLY LIST